Welcome to part 20 of our 5.2 magnum swap, follow along as we swap a 5.2 magnum from a 1993 ZJ into our 2004 4.0 TTB WJ. The days of mocks up are gone, from this point forward everything we bolt in is considered final assembly and is being covered in lock-tight and torqued to spec.
Read The Rest
Part 1: It’s Finally Happening
Part 2: Out With the Old
Part 3: The Last of the Stock Components
Part 4: All About Brakes
Part 5: Pulling the 5.2 (time lapse)
Part 6: The Test Fit
Part 7: Cutting and (not) Fitting
Part 8: Broken and Upgraded Parts
Part 9: Leaky Plenum Gasket
Part 10: Side Projects and Summer Fun
Part 11: Setting the Motor
Part 12: Custom Exhaust & Driveline
Part 13: Cutting and Rebuilding
Part 14: Giant Radiator in a Little Jeep
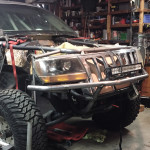
Part 15: Custom Tube Bumper
Part 16: Driveshafts
Part 17: A Real Firewall
Part 18: Starting Final Assembly
Part 19: Extending The Engine Cage
Part 20: Still Assembling
Part 21: It Lives!
Part 22: Brakes and Wiring
Still Assembling
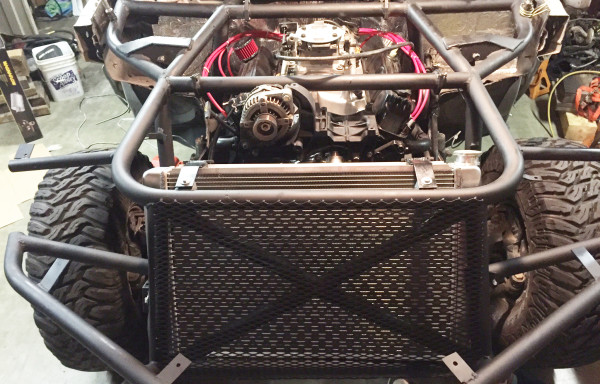
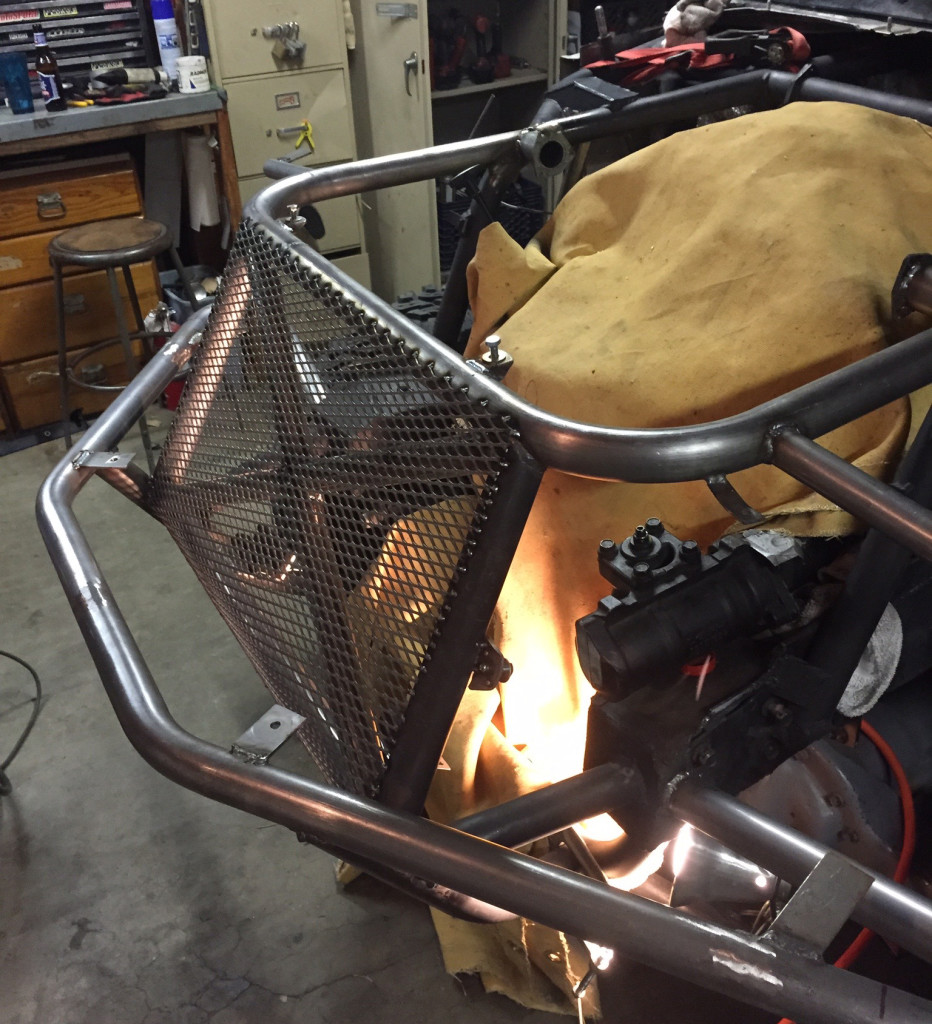
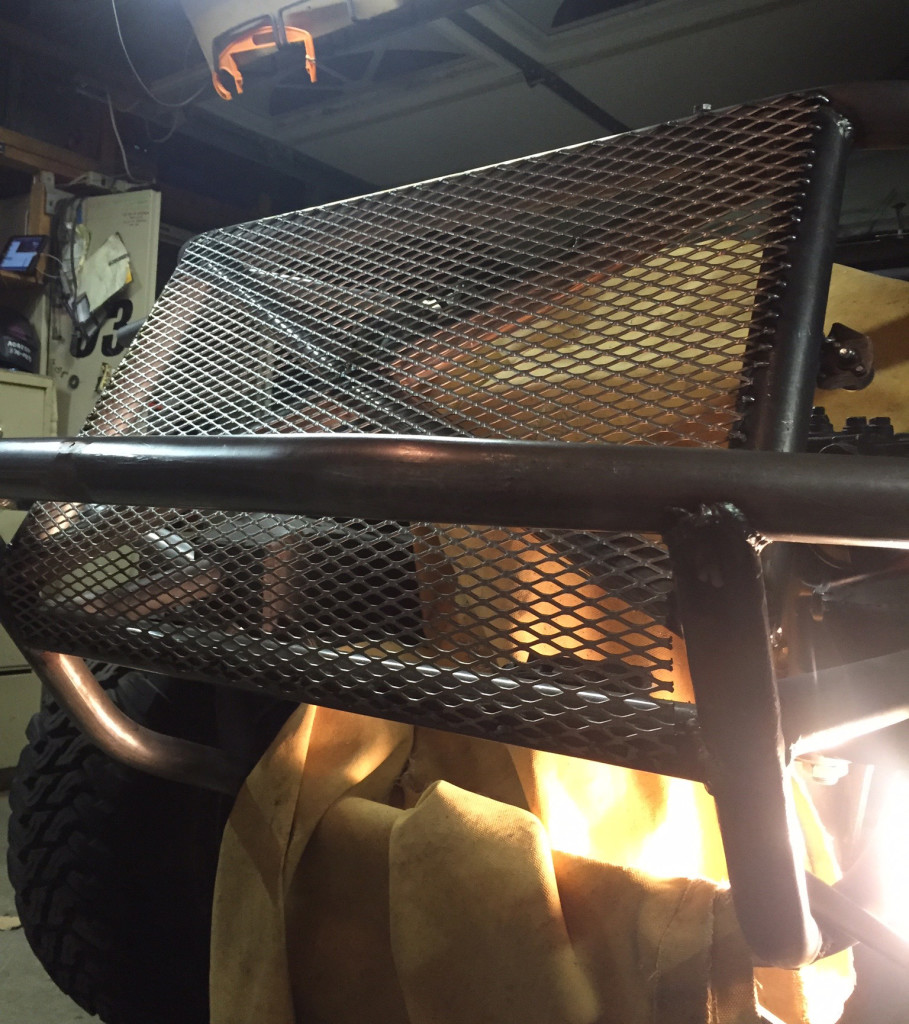
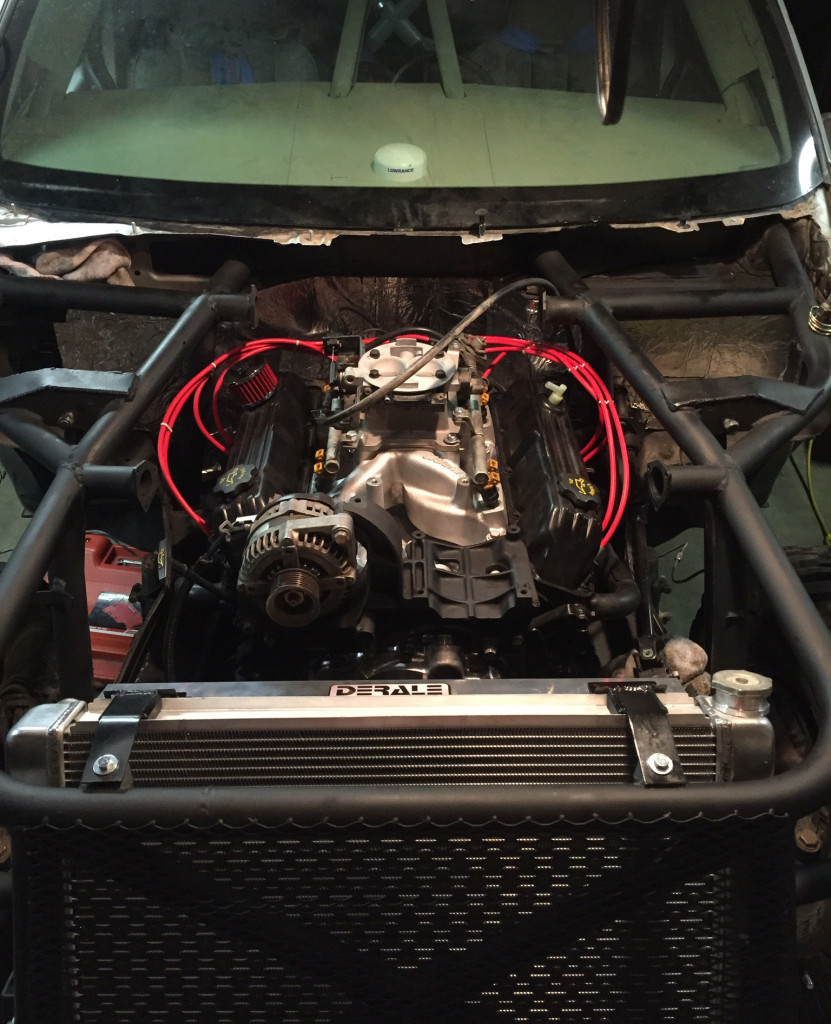
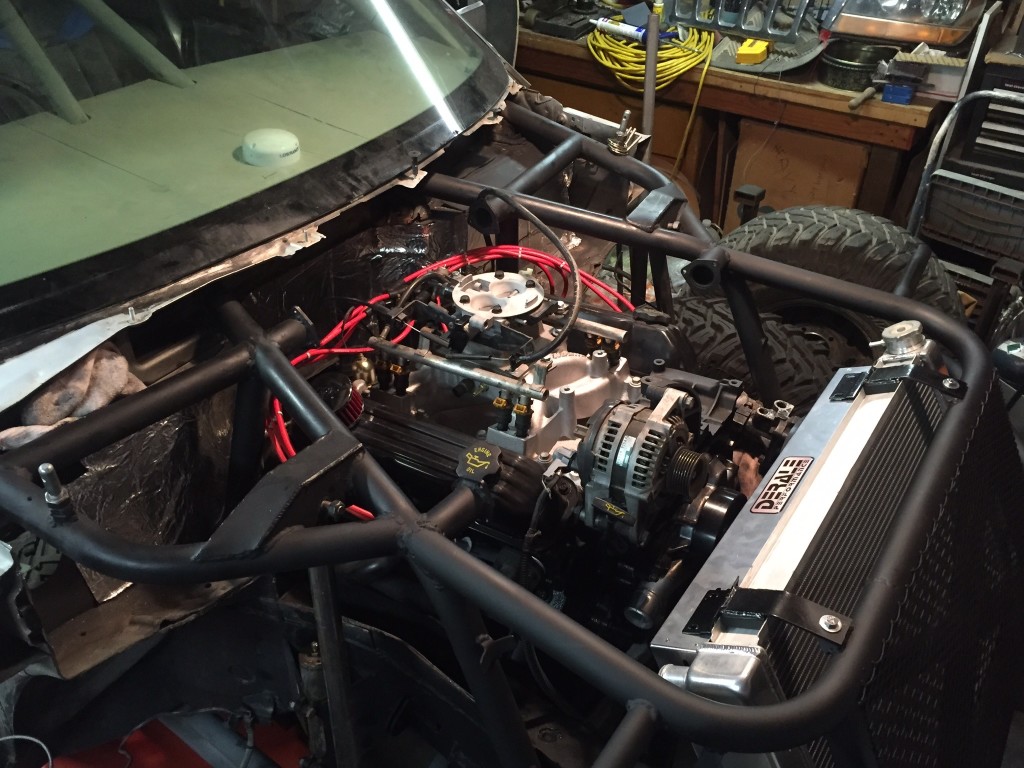
Five months into the swap and we are getting very close to being able to turn it over and see how it all comes together. This week we bolted up the transmission and transfer case, installed our trans cooler, bolted on the intake, throttle body, accessory bracket, and 160 amp Durango alternator, we also mounted the Griffin 1-26272-x 31×19” radiator and Derale 16927 dual fans. To protect our new radiator we added some some Expanded metal over cage in front of the radiator. First some images, then the process.
Going step by step, the oil pump drive shaft and distributor was first. Before we could start anything we needed to make sure the motor was at Top Dead Center (TDC). This is done by putting a finger over cylinder 1 and turning the crankshaft until we felt compression, then aligning the TDC marks on the harmonic balancer. Once at TDC we dropped in the oil pump drive gear. The top of this gear has a notch that drives the distributor, while it’s final placement is important, it can go in at any direction at first. Once dropped down we took a long screwdriver and rotated it clockwise. Because the gears are cut at an angle, turning it walks the gear up and out the drive gear on the camshaft. We did this slowly, hitting each spline and letting it fall back down until the notch in the oil pump drive gear was pointing to cylinder 1. This only needs to be close because the fine tuning of the timing will be done when we align the distributor.
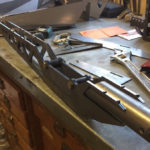
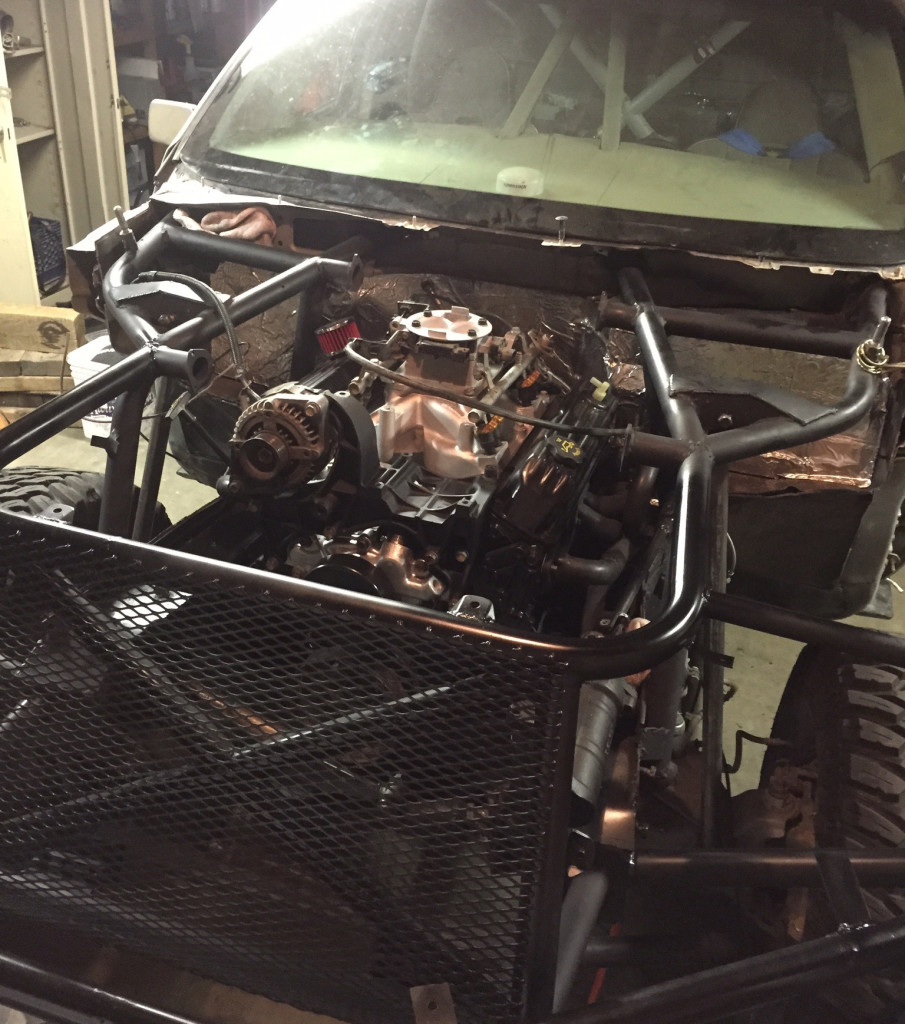
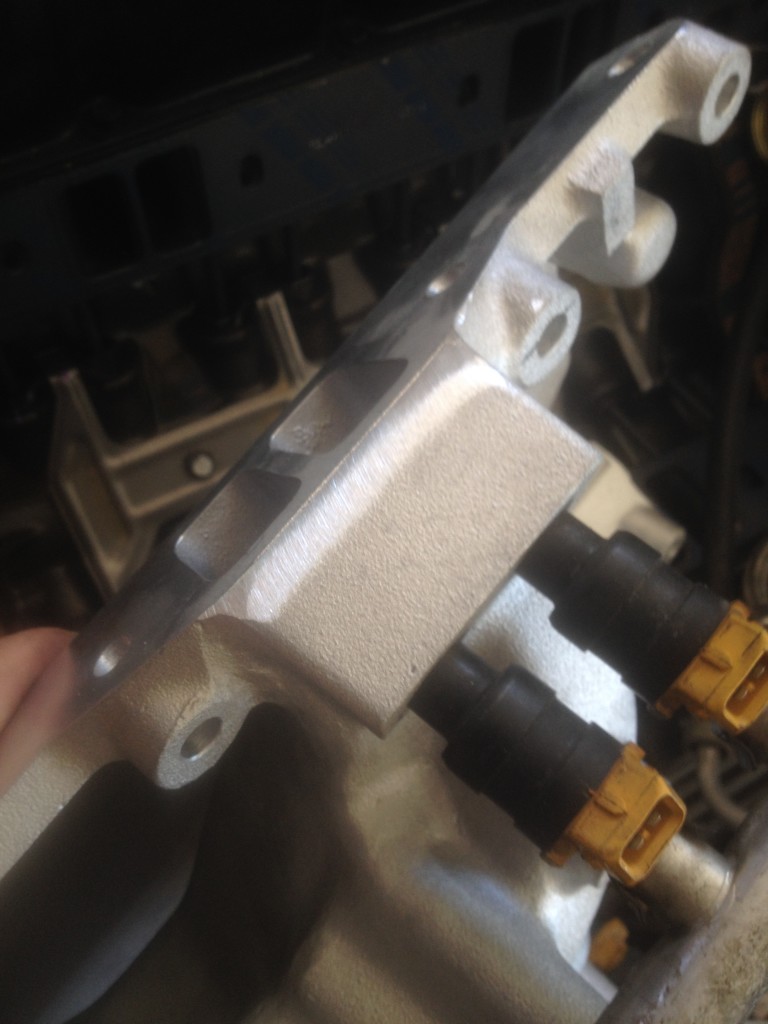
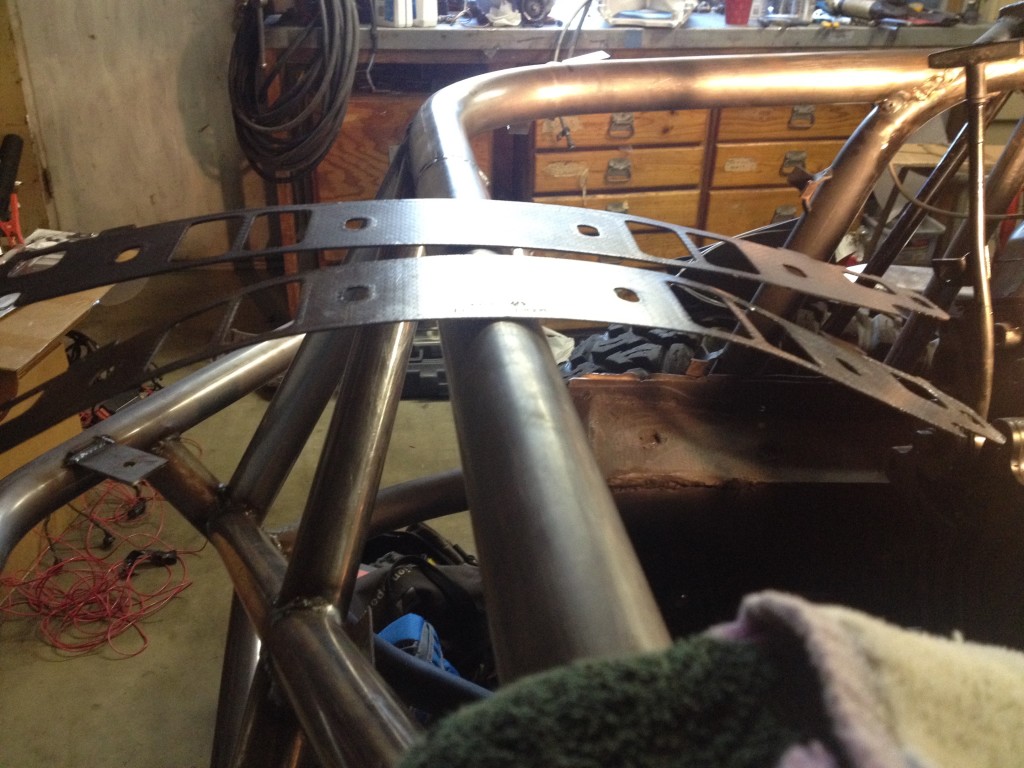
Next was our Hughes AirGap. We bought a set of Fel-Pro intake gaskets because our research told us they were much better than what Hughes provides. The two gaskets sets did look very similar, but the Fel-Pro gaskets were noticeably heavier and stiffer. We laid them across the cage and you can see how much more the Hughes set drooped. This wasn’t the only issue with the intake. After setting it in place we found that it didn’t fit between the valve covers. While it was a quick fix to grind some of the edge off, we always hate having to modify brand new products.
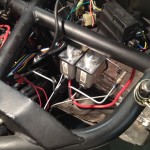
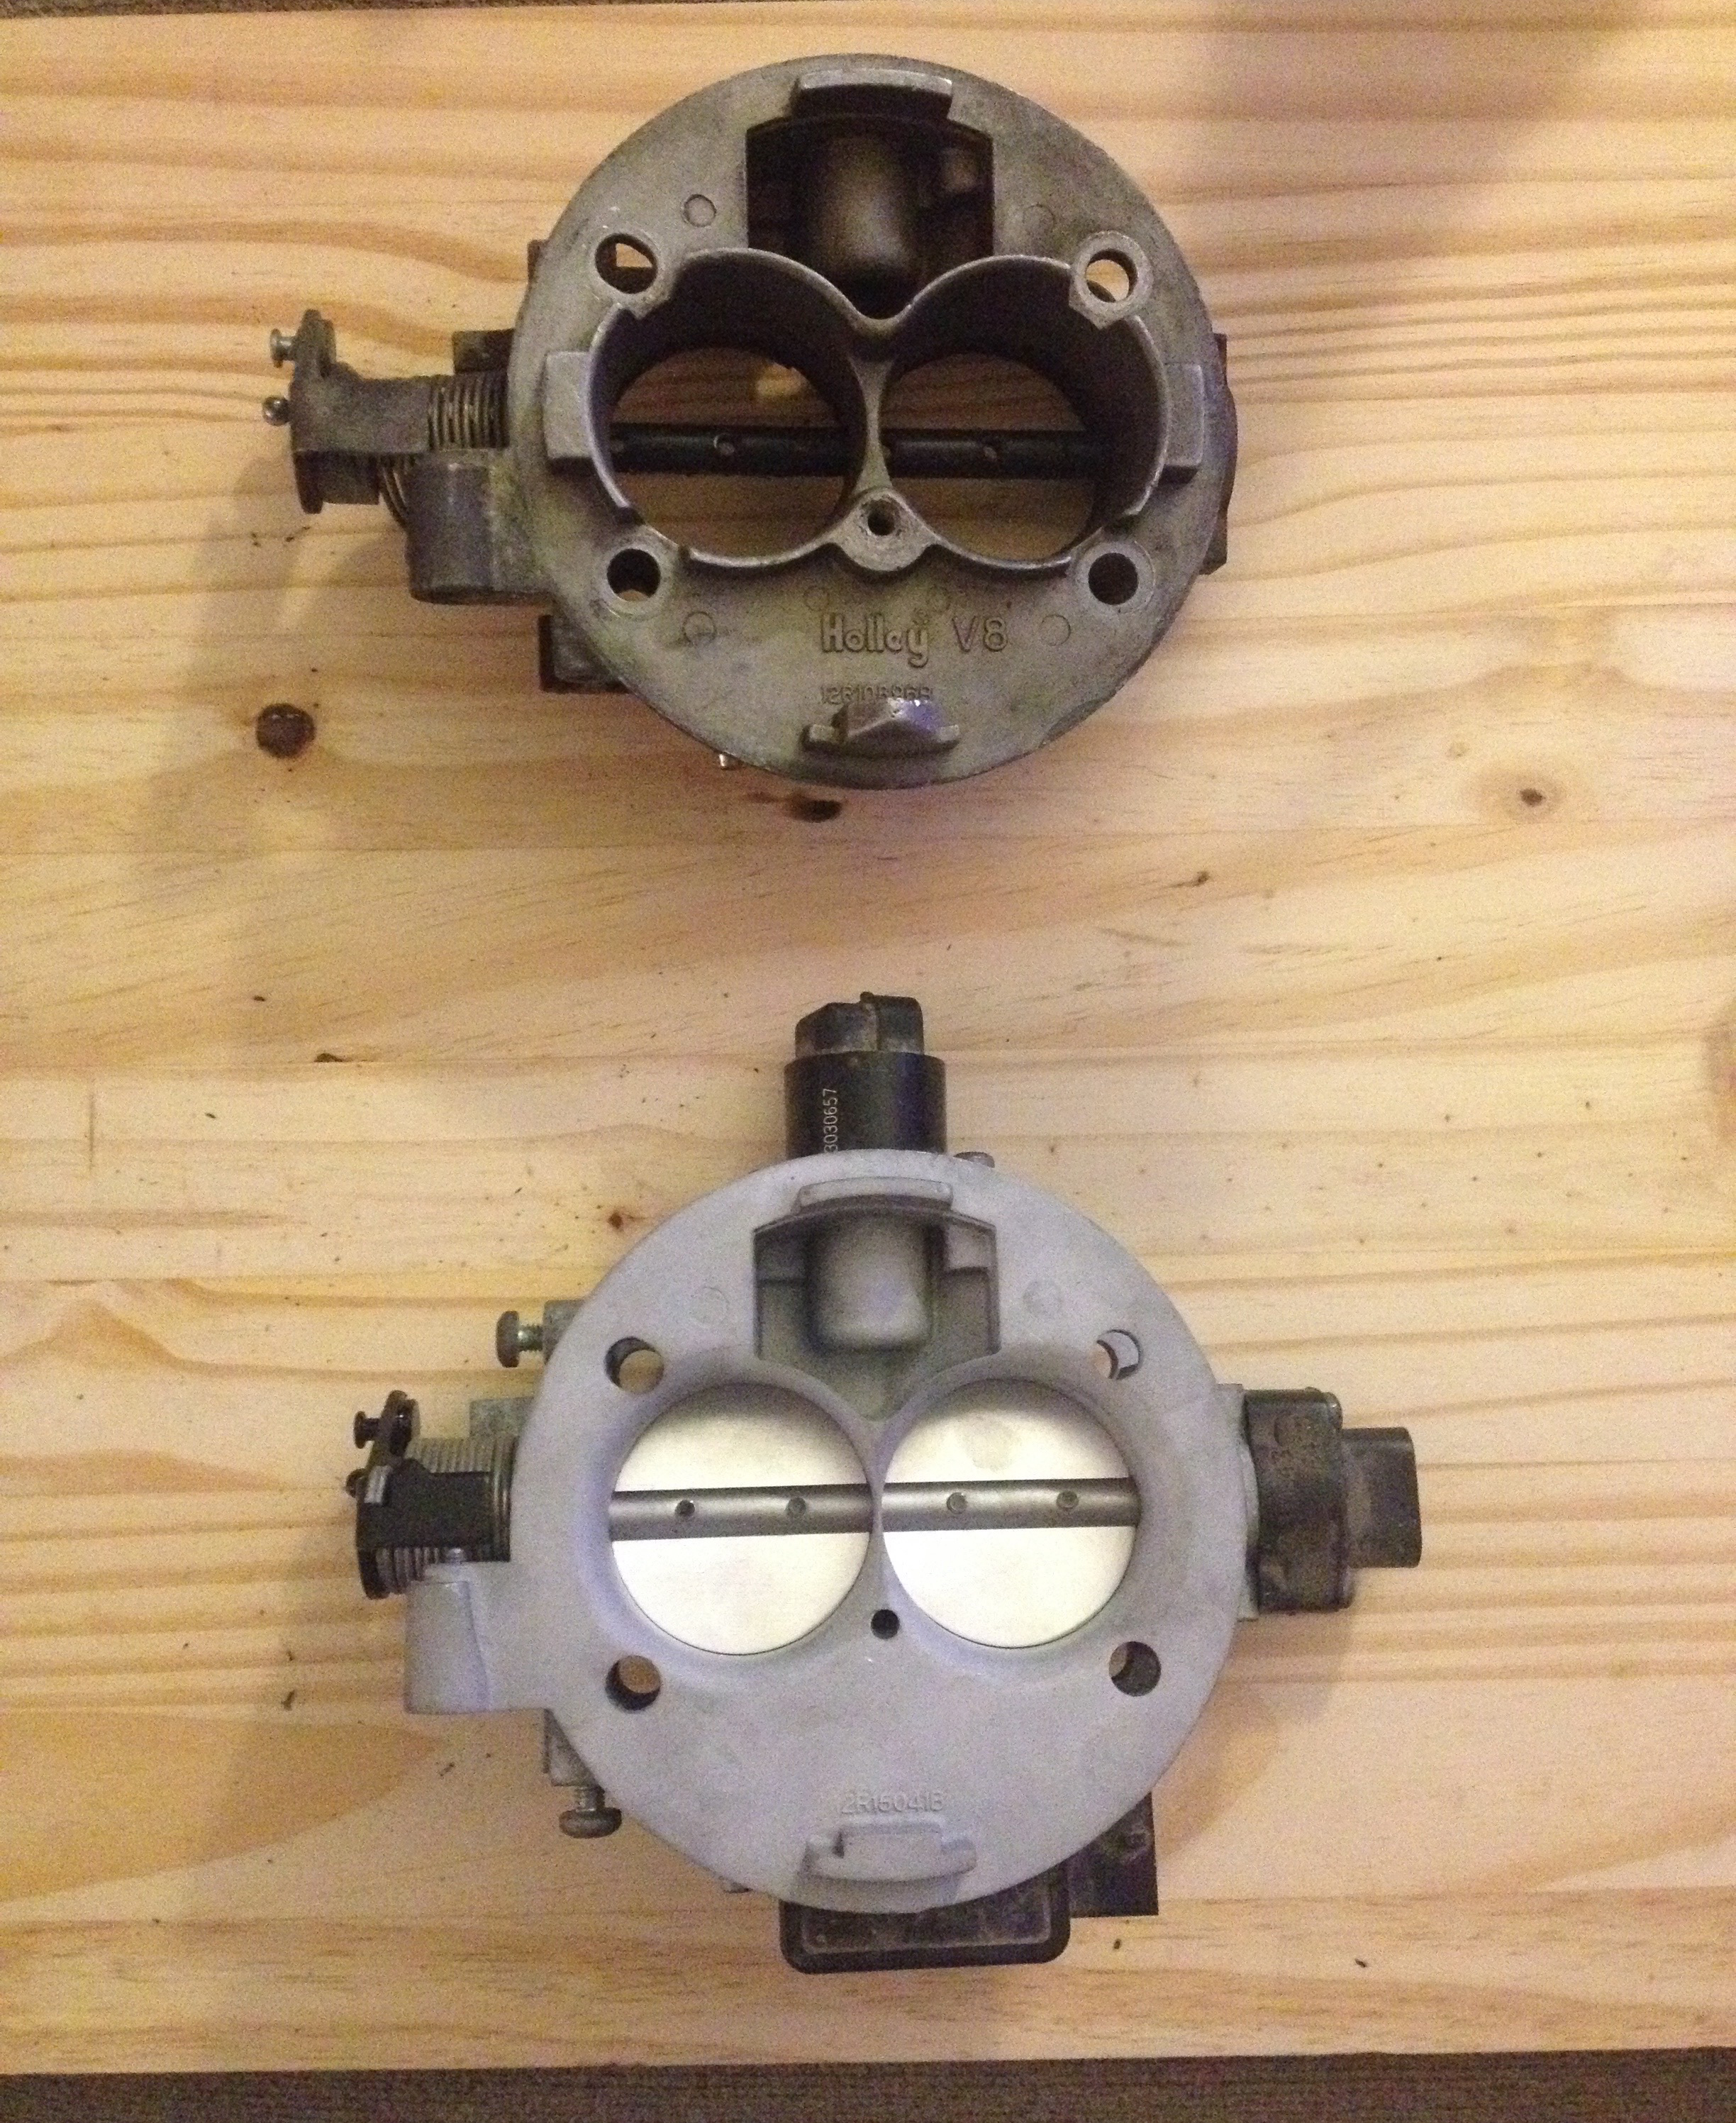
We went with a 52mm throttle body we found through a contact we met on Facebook. He also sells through eBay for the same price, you can check out his profile here to see if he has any listed. Each opening is 4mm larger than stock and the all of the corners and surfaces have been ground down and smooth out. All we had to do was swap over the stock sensors and it was a perfect fit.
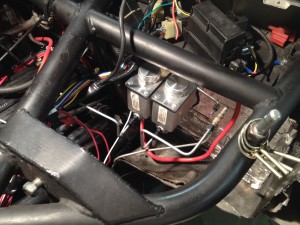
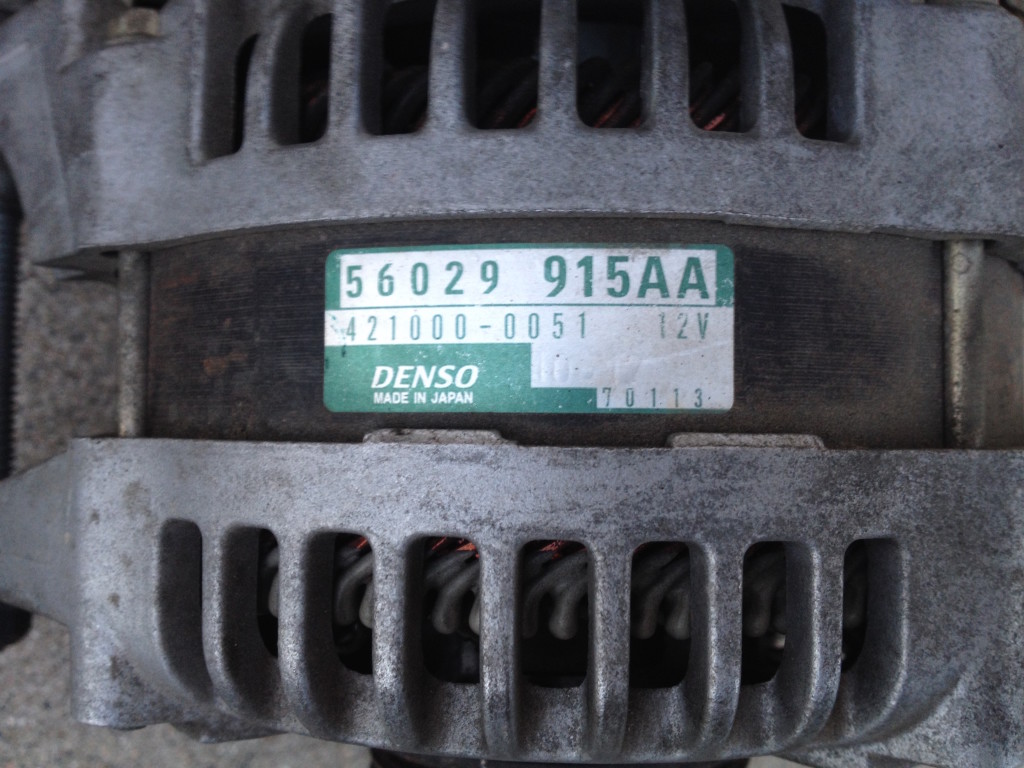
After the throttle body was the accessory bracket and our 160 amp Durango alternator. The alternator is a Denso 915AA from a 2001 5.9 Durango. It bolted up without issue, we will cover wiring in the next article.
Drivetrain and Cooling
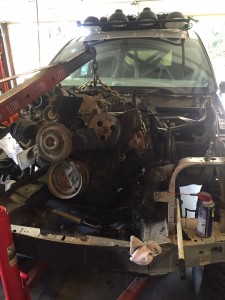
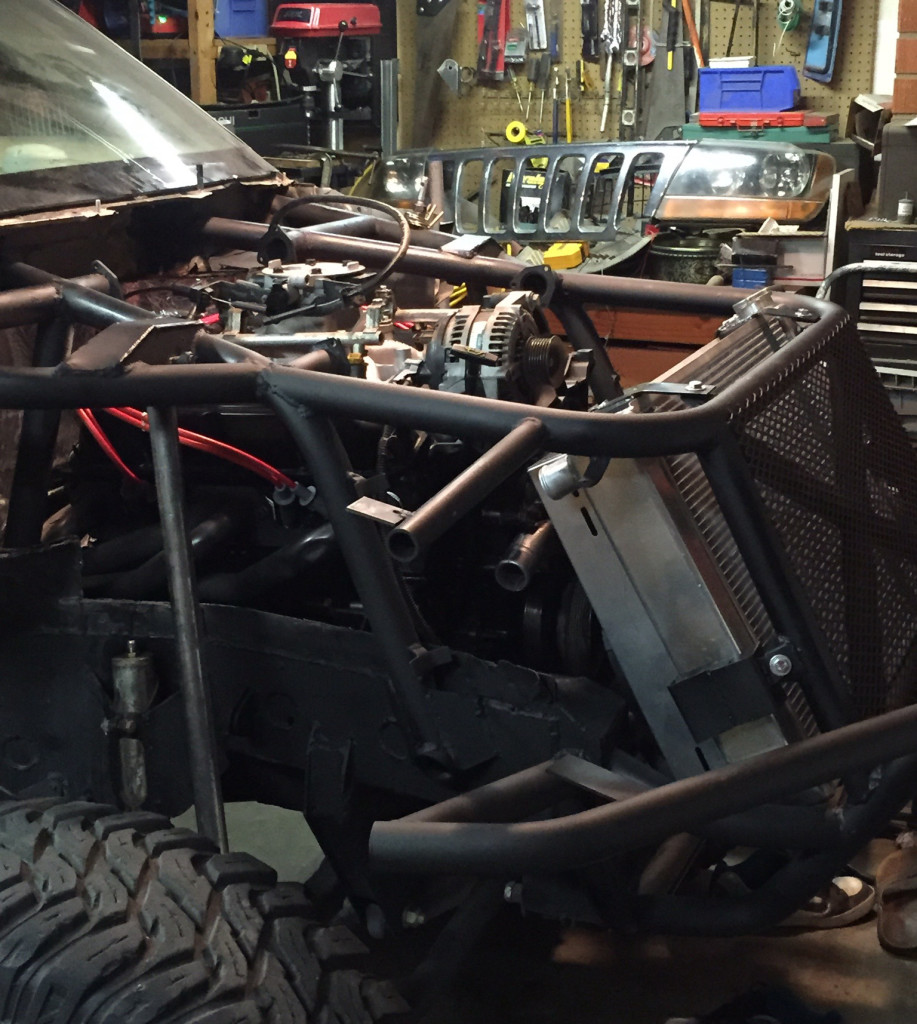
With the front of the motor coming together we turned our attention to the drivetrain. We bolted up the 46RH and 242 transfer case. These were both pretty straightforward so we aren’t going to bore you with the details.
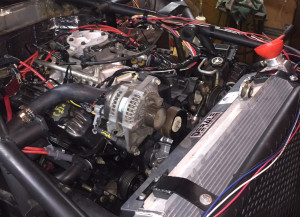
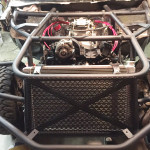
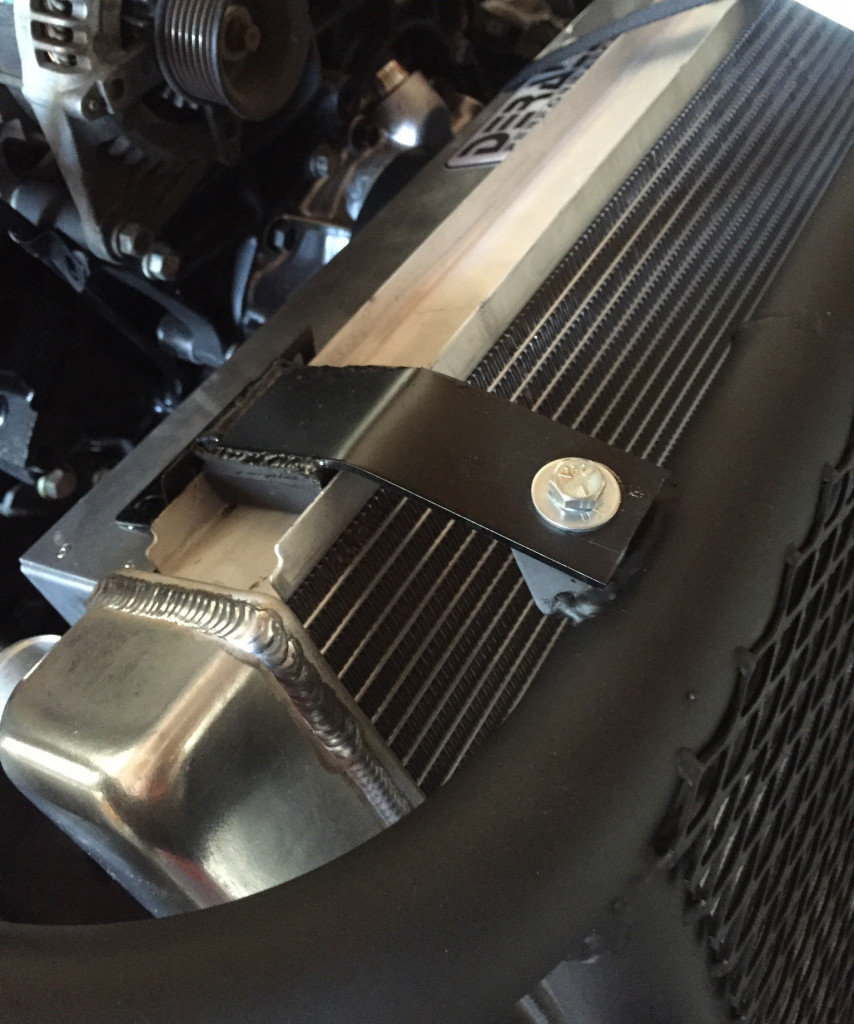
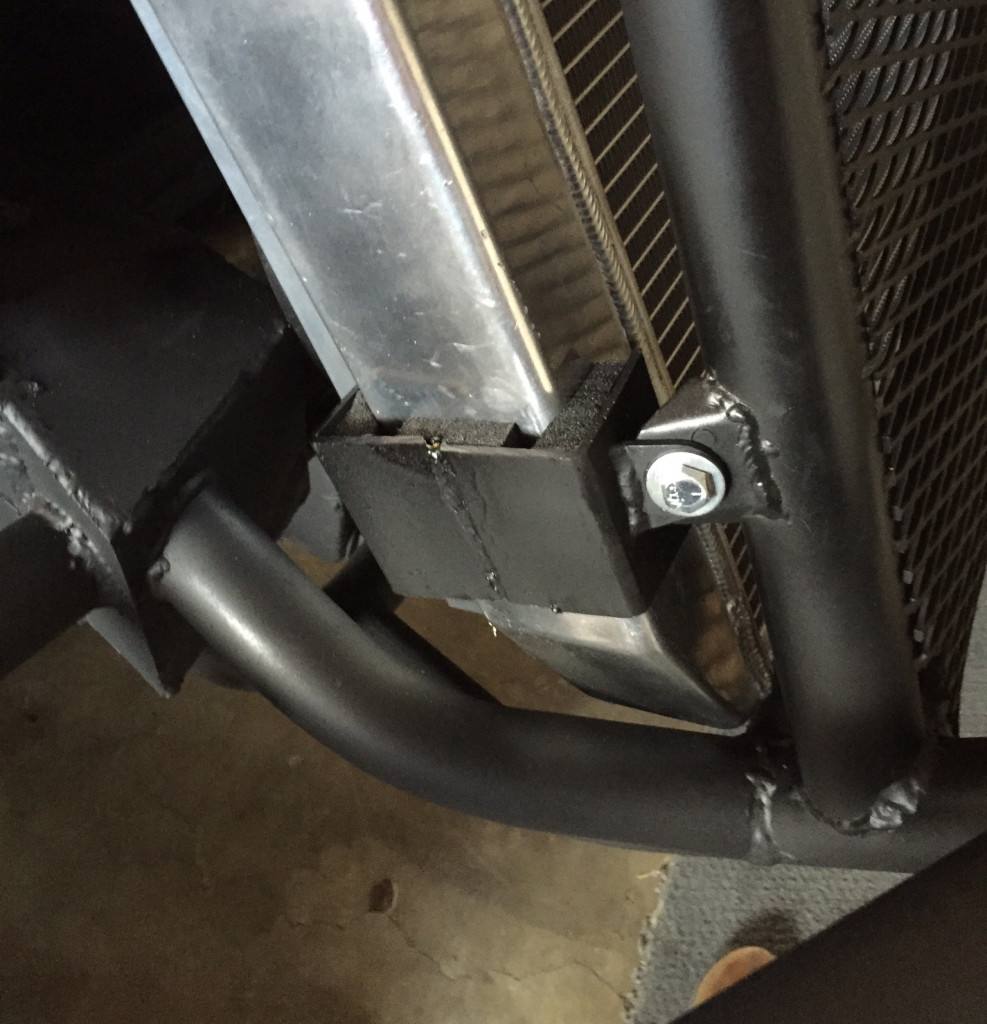
Finally, this week we bolted in our radiator and dual electric fans for the last time. Out of everything these cause us the biggest headache. At 31” wide, 19” tall, and close to 7” thick the pair was very big for the WJ and required a lot of custom work. After a lot of cutting and test fitting we were finally happy with the location and made some custom mounts to hold it all in place.
What’s Next
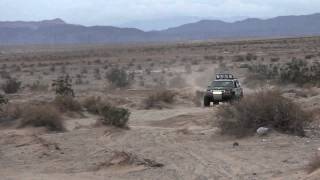
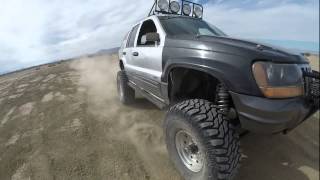
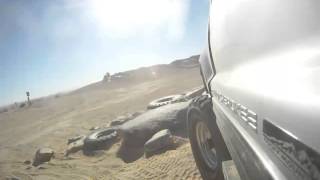
This week we will be plumbing, wiring and doing a final check. If everything goes as planned we will start her up for the first time Saturday then take a day trip to desert for some full speed testing Sunday.
Don’t forget to check back next Tuesday for updates.
Read The Rest
Part 1: It’s Finally Happening
Part 2: Out With the Old
Part 3: The Last of the Stock Components
Part 4: All About Brakes
Part 5: Pulling the 5.2 (time lapse)
Part 6: The Test Fit
Part 7: Cutting and (not) Fitting
Part 8: Broken and Upgraded Parts
Part 9: Leaky Plenum Gasket
Part 10: Side Projects and Summer Fun
Part 11: Setting the Motor
Part 12: Custom Exhaust & Driveline
Part 13: Cutting and Rebuilding
Part 14: Giant Radiator in a Little Jeep
Part 15: Custom Tube Bumper
Part 16: Driveshafts
Part 17: A Real Firewall
Part 18: Starting Final Assembly
Part 19: Extending The Engine Cage
Part 20: Still Assembling
Part 21: It Lives!
Part 22: Brakes and Wiring
Follow us at www.facebook.com/ThreeThirdsFabrication for updates and more stories.