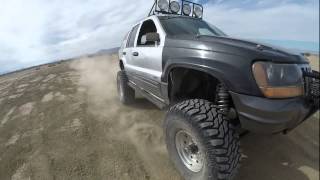
This is Part 2 of our 5.2 magnum swap, our goal is September 26th but we are hoping to be done done one week earlier for some pre testing.
Read The Rest
Part 1: It’s Finally Happening
Part 2: Out With the Old
Part 3: The Last of the Stock Components
Part 4: All About Brakes
Part 5: Pulling the 5.2 (time lapse)
Part 6: The Test Fit
Part 7: Cutting and (not) Fitting
Part 8: Broken and Upgraded Parts
Part 9: Leaky Plenum Gasket
Part 10: Side Projects and Summer Fun
Part 11: Setting the Motor
Part 12: Custom Exhaust & Driveline
Part 13: Cutting and Rebuilding
Part 14: Giant Radiator in a Little Jeep
Part 15: Custom Tube Bumper
Part 16: Driveshafts
Part 17: A Real Firewall
Part 18: Starting Final Assembly
Part 19: Extending The Engine Cage
Part 20: Still Assembling
Part 21: It Lives!
Part 22: Brakes and Wiring
Out With the Old
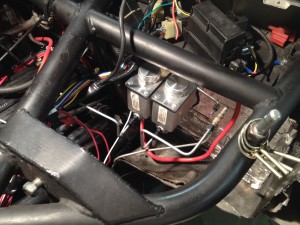
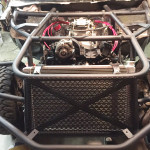
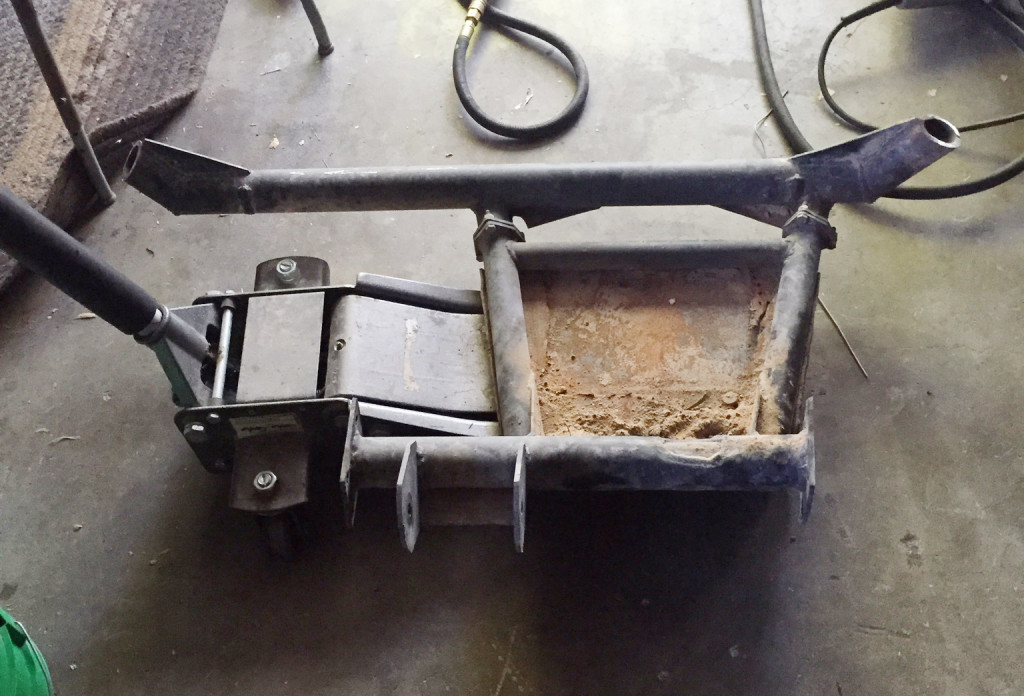
This week we started out with a simple goal, remove the old 4.0, transmission and transfer case. On a typical WJ this is easy enough and the motor and transmission can be lifted out together after removing the headlights, grill, radiator and anything else in the way. The TTB WJ is a little more difficult due to our large non-stock i beam crossmember built just in front of the oil pan and an engine cage built just above the motor. Having structural components welded on both sides of the motor meant we only had a few inches of room to play with as we lifted and removed the 700lb block. To make things easier we started at the back.
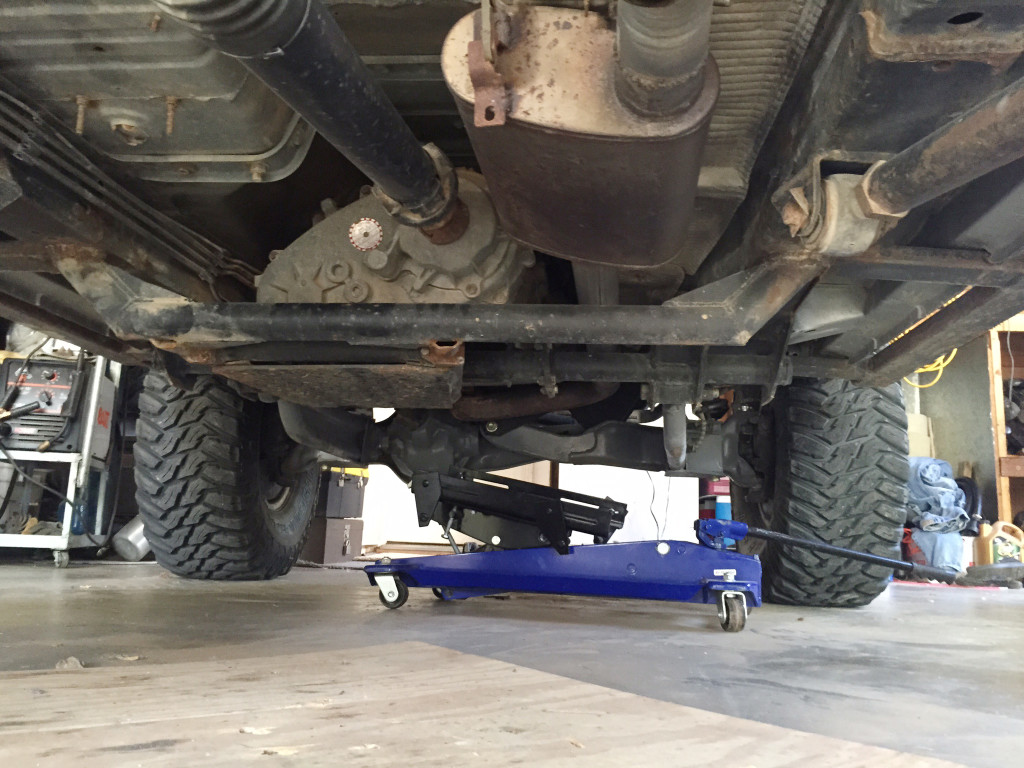
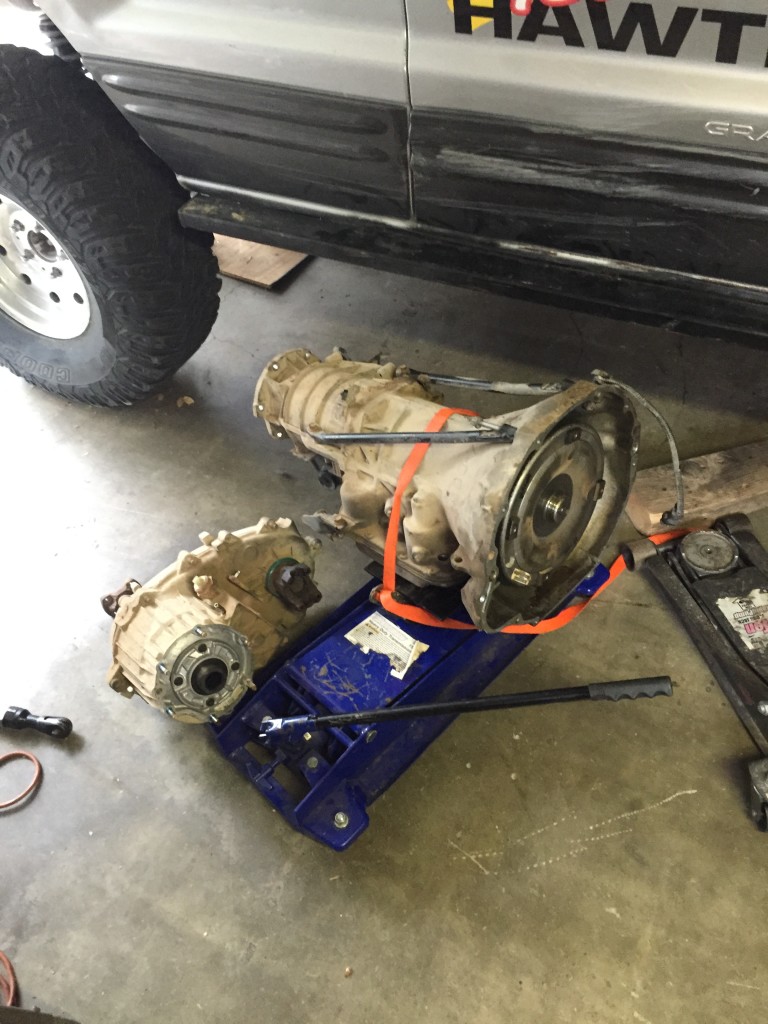
Removing the engine started with pulling the transfer case and then the transmission. The engine was going to be hard enough to squeeze out of the front without the added weight and bulk of the 42RE behind it.
We supported the transmission and cut out all of the old crossmembers. We knew all this was getting changed so it saved time to just remove all of it now. With the transfer case out of the way we supported the transmission with a floor jack under the old mount and began removing all the bolts. Don’t forget to remove the transmission and torque converter together. Leaving the torque converter attached to the flex plate can damage the pump and other internal components. We removed the starter and inspection plate to assess the bolts that hold the torque converter to the flex plate. With the transmission in neutral we used a wrench to spin the front of the crank to reach all of the bolts.
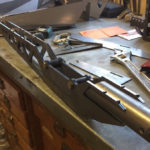
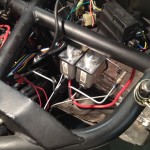
Before removing the last few bellhousing bolts we strapped a trans jack to the pan. The last bellhousing bolts are know to be very difficult. There are a lot of tricks to reach them including cutting a hole in the floor, removing the motor mounts and tipping the motor and transmission backwards, or using every last extension you have. We decided to go a different route and make our own tool just for this job.
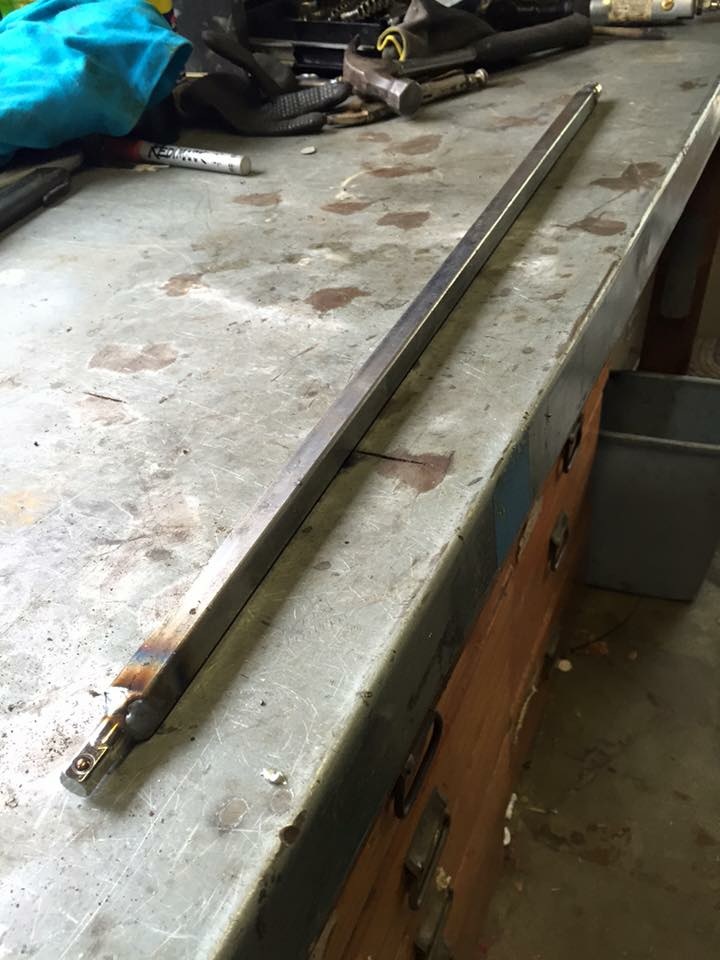
With our new 30” extension we had no issue reaching the removing the last of the bolts and then dropped the transmission from the motor.
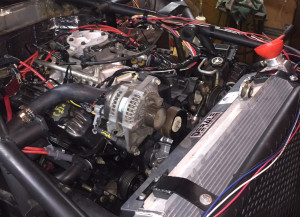
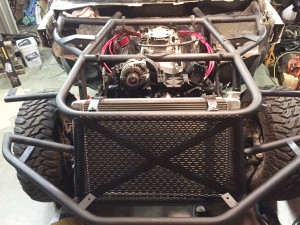
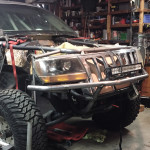
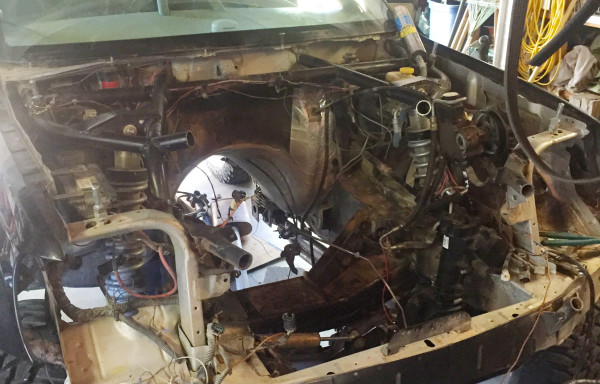
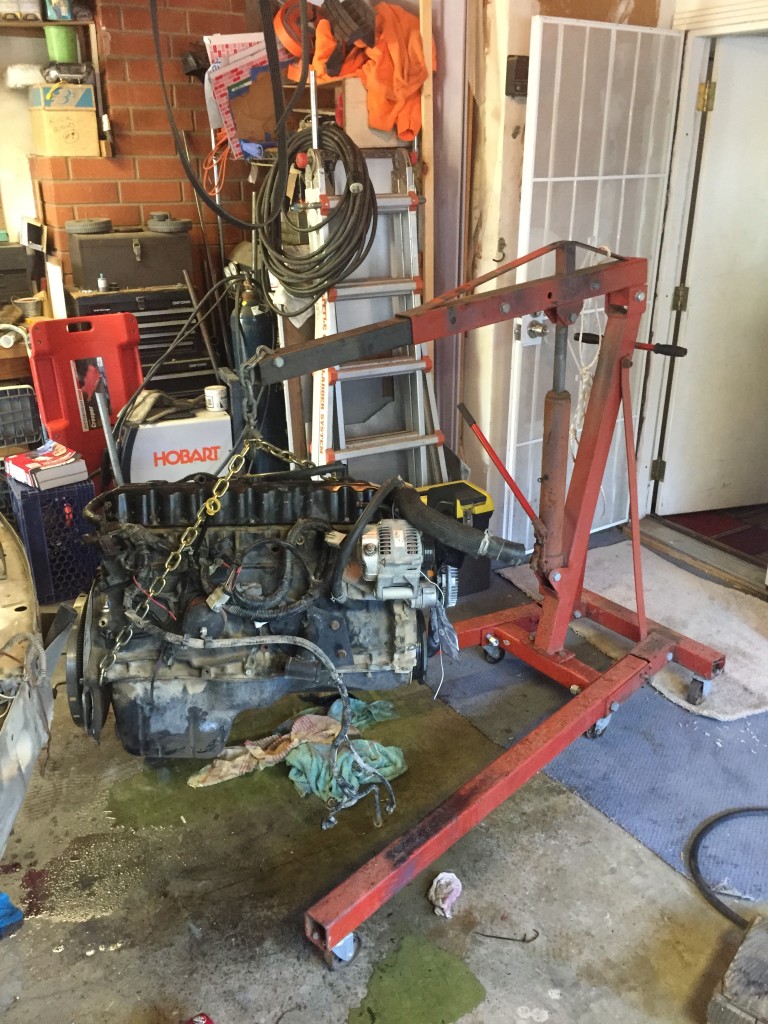
As for the motor, it required removing everything from the front of the car. Bumper, grill, headlights, radiator and trans coolers. With all of that out of the way we inched the engine up and out. It’s a tight squeeze to get the motor out over the TTB crossmember and keep the valve cover from getting hung up on the rear engine cage cross bar.
What’s Next
Next up we will be cleaning up the engine bay, removing stock wires and prepping for dual manual master cylinders and a disk brake conversion.
Don’t forget to check back next Tuesday for updates.
Read The Rest
Part 1: It’s Finally Happening
Part 2: Out With the Old
Part 3: The Last of the Stock Components
Part 4: All About Brakes
Part 5: Pulling the 5.2 (time lapse)
Part 6: The Test Fit
Part 7: Cutting and (not) Fitting
Part 8: Broken and Upgraded Parts
Part 9: Leaky Plenum Gasket
Part 10: Side Projects and Summer Fun
Part 11: Setting the Motor
Part 12: Custom Exhaust & Driveline
Part 13: Cutting and Rebuilding
Part 14: Giant Radiator in a Little Jeep
Part 15: Custom Tube Bumper
Part 16: Driveshafts
Part 17: A Real Firewall
Part 18: Starting Final Assembly
Part 19: Extending The Engine Cage
Part 20: Still Assembling
Part 21: It Lives!
Part 22: Brakes and Wiring
Follow us at www.facebook.com/ThreeThirdsFabrication for updates and more stories.