Welcome to part 19 of our 5.2 magnum swap, follow along as we swap a 5.2 magnum from a 1993 ZJ into our 2004 4.0 TTB WJ. With a few key parts still in the mail we spent this week finishing the engine cage and assembling the motor.
Read The Rest
Part 1: It’s Finally Happening
Part 2: Out With the Old
Part 3: The Last of the Stock Components
Part 4: All About Brakes
Part 5: Pulling the 5.2 (time lapse)
Part 6: The Test Fit
Part 7: Cutting and (not) Fitting
Part 8: Broken and Upgraded Parts
Part 9: Leaky Plenum Gasket
Part 10: Side Projects and Summer Fun
Part 11: Setting the Motor
Part 12: Custom Exhaust & Driveline
Part 13: Cutting and Rebuilding
Part 14: Giant Radiator in a Little Jeep
Part 15: Custom Tube Bumper
Part 16: Driveshafts
Part 17: A Real Firewall
Part 18: Starting Final Assembly
Part 19: Extending The Engine Cage
Part 20: Still Assembling
Part 21: It Lives!
Part 22: Brakes and Wiring
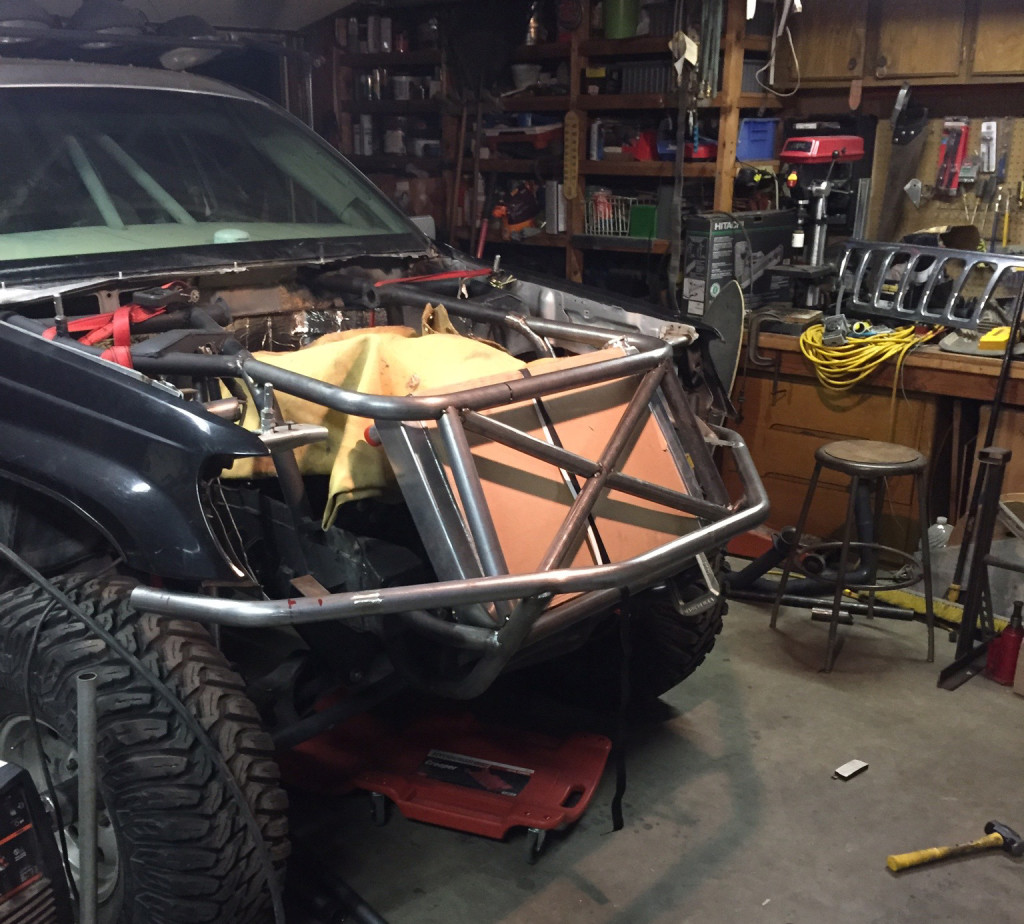
Extending The Engine Cage
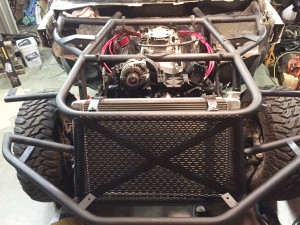
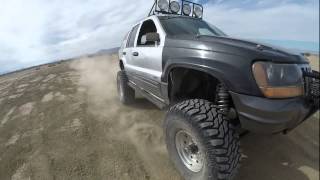
We really liked the way our simple tube bumper looked and didn’t want to add anything else to it. This would not only keep a very clean looking front but would also maintain some of the sleeper look we have been trying to keep for as long as possible. The only downside with this design is the radiator is now the highest point and would not be protected in the event of a roll or crash.
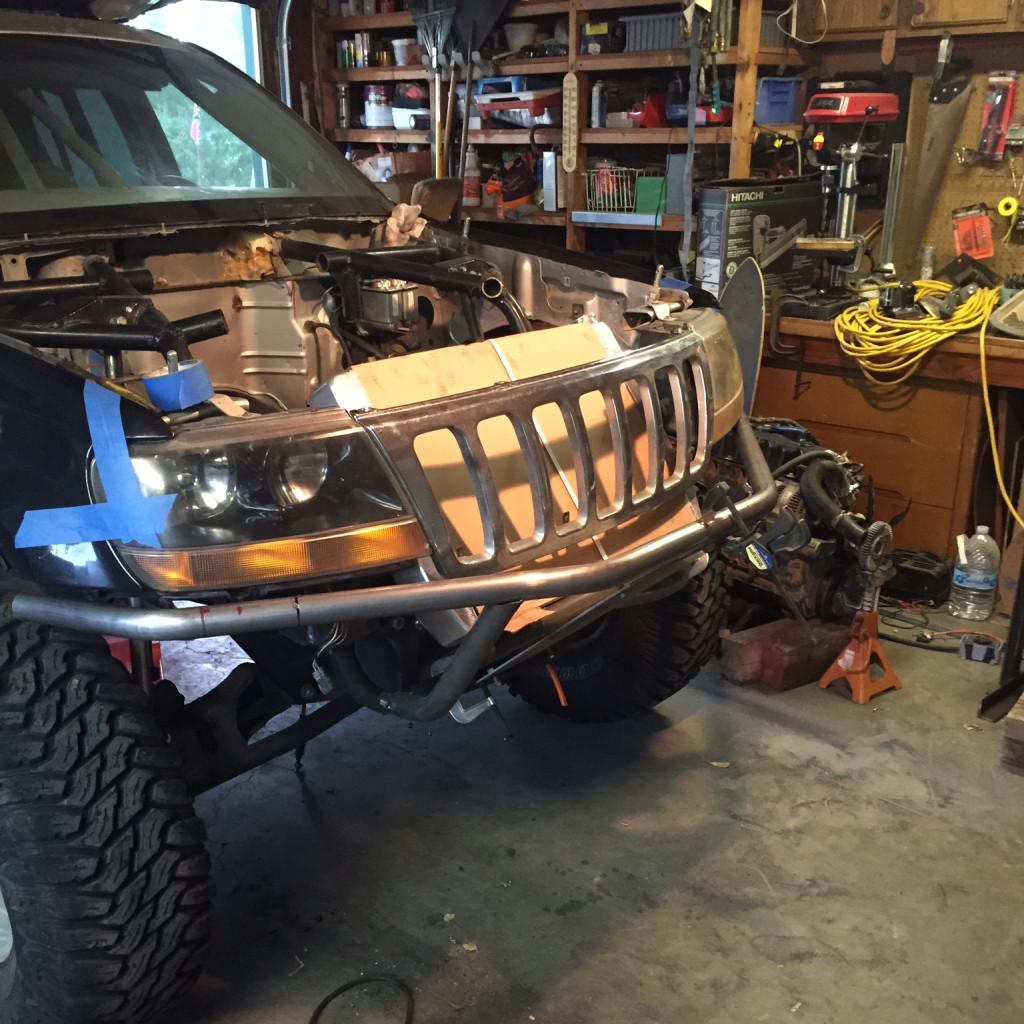
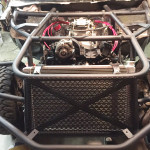
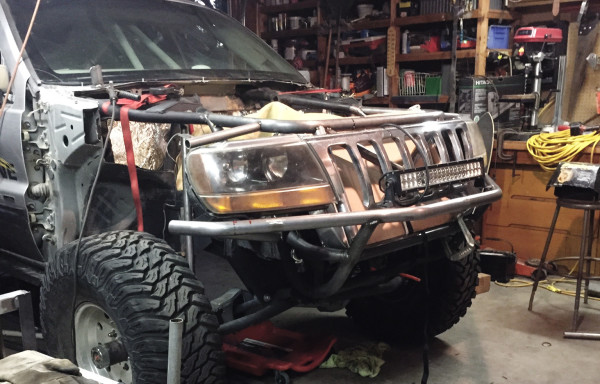
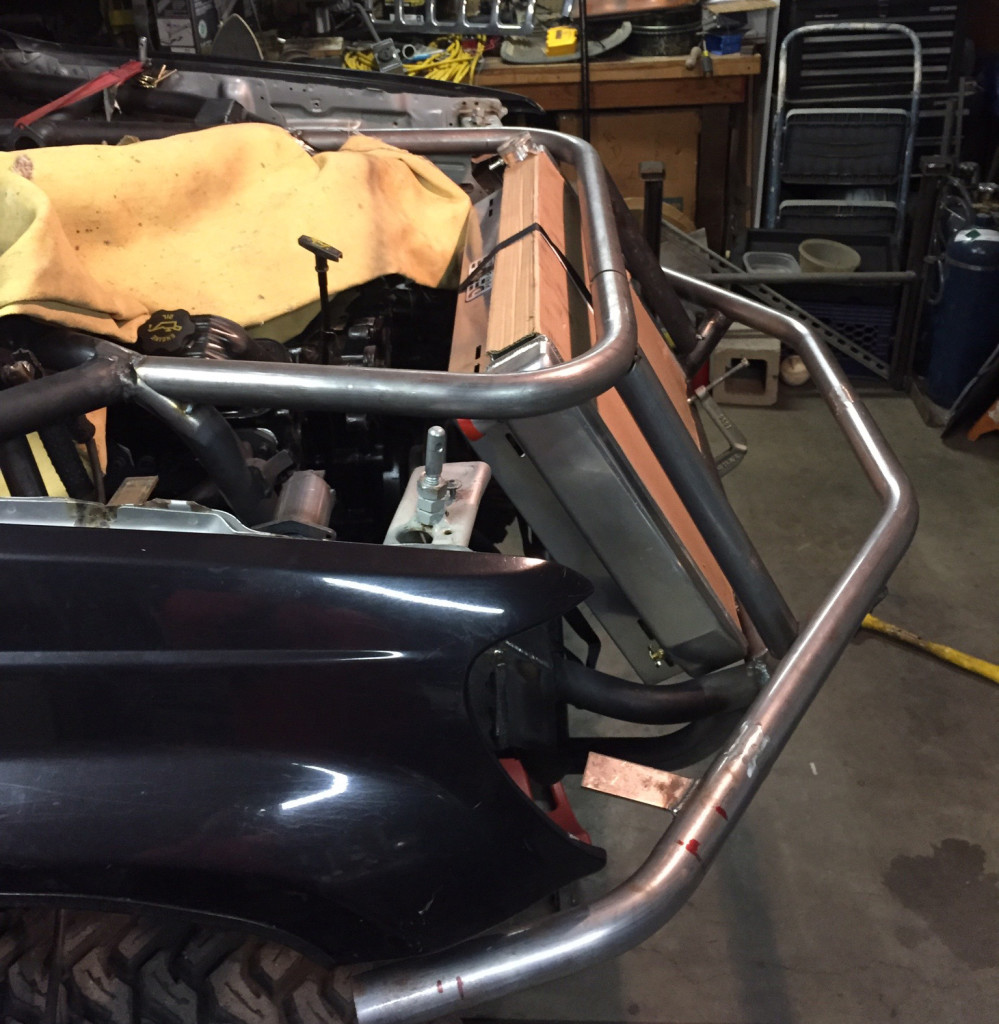
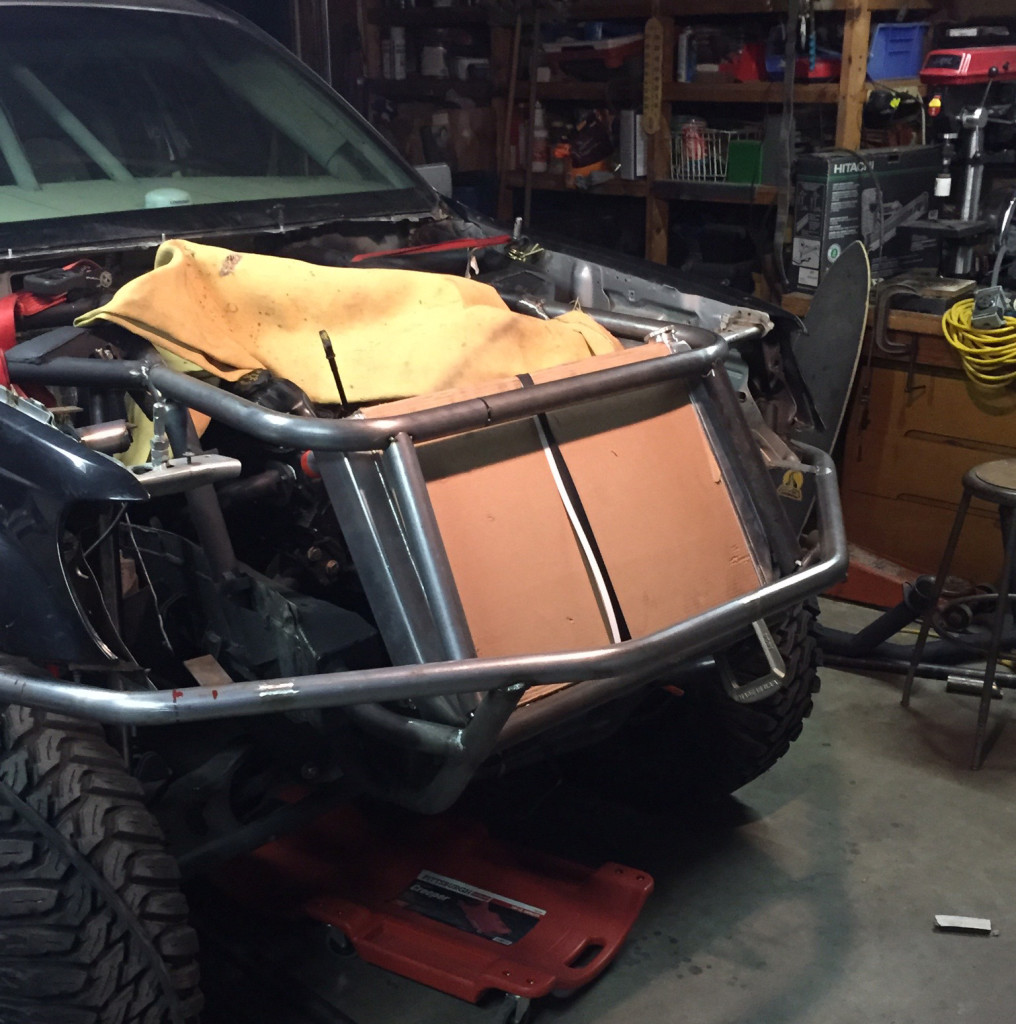
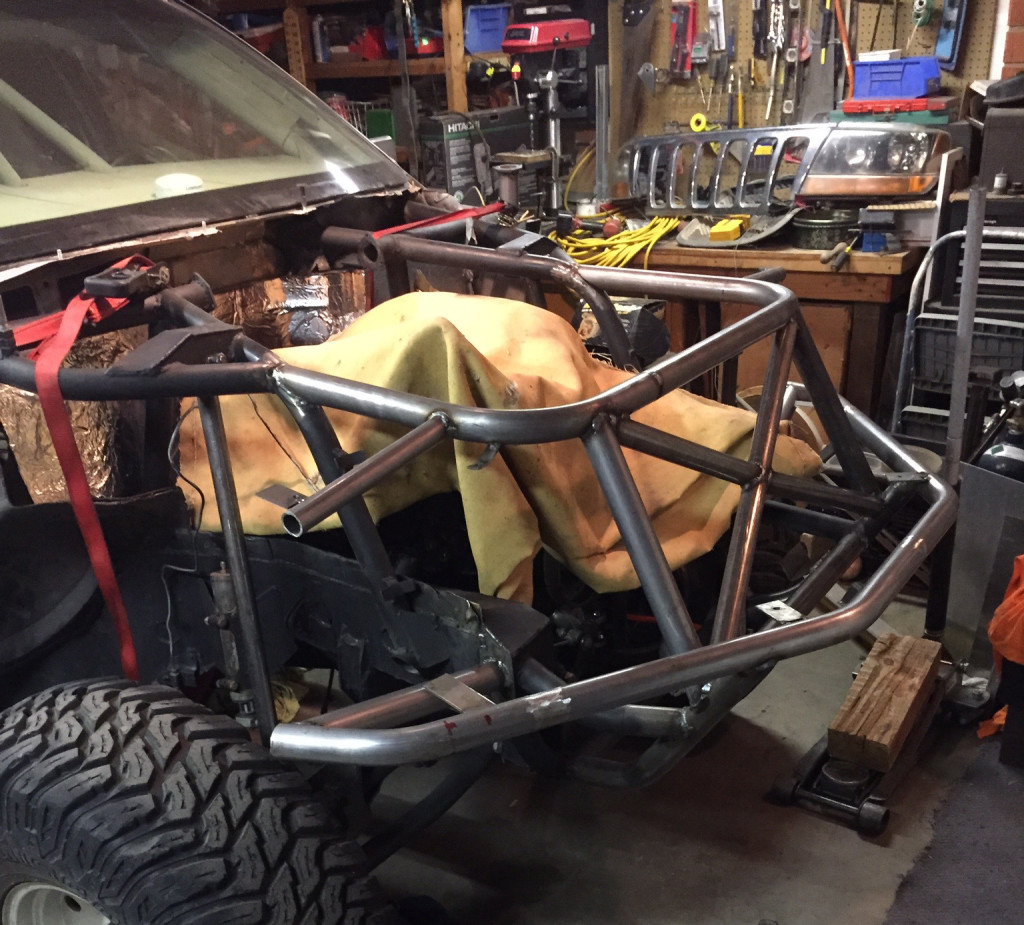
After playing with a few designs we found a way to extend our engine cage to protect the radiator and still keep everything hidden behind the grill.
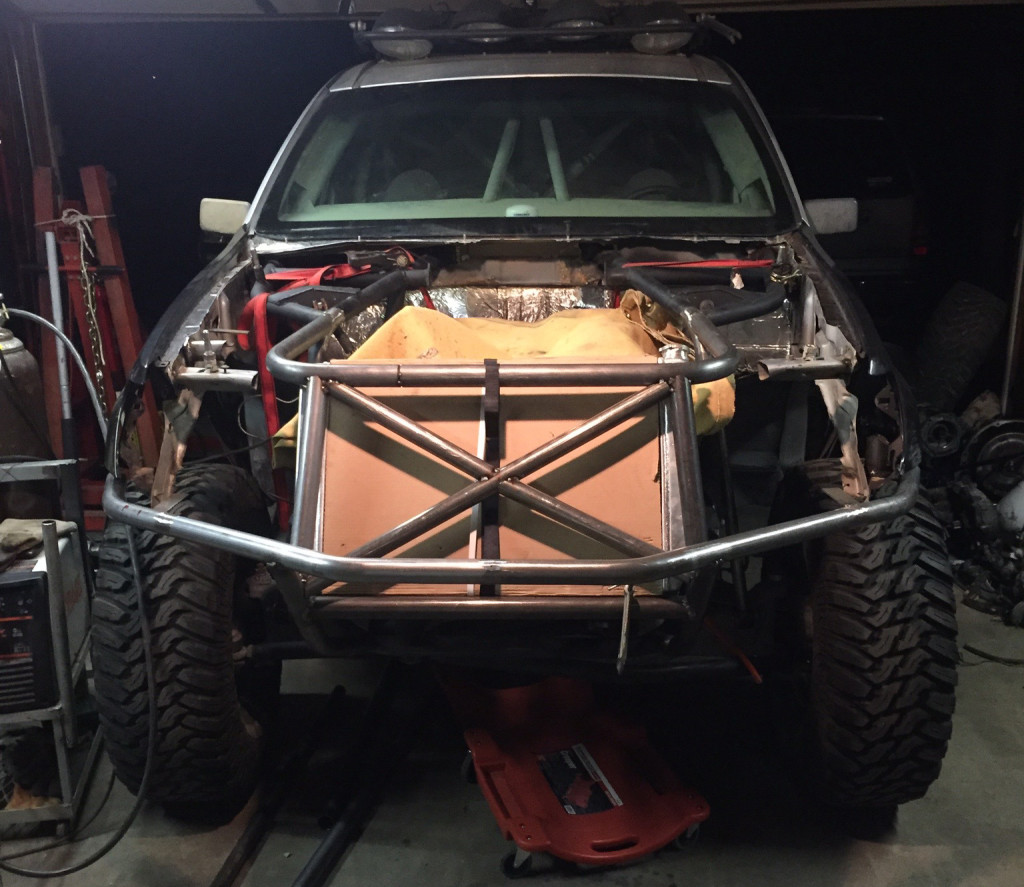
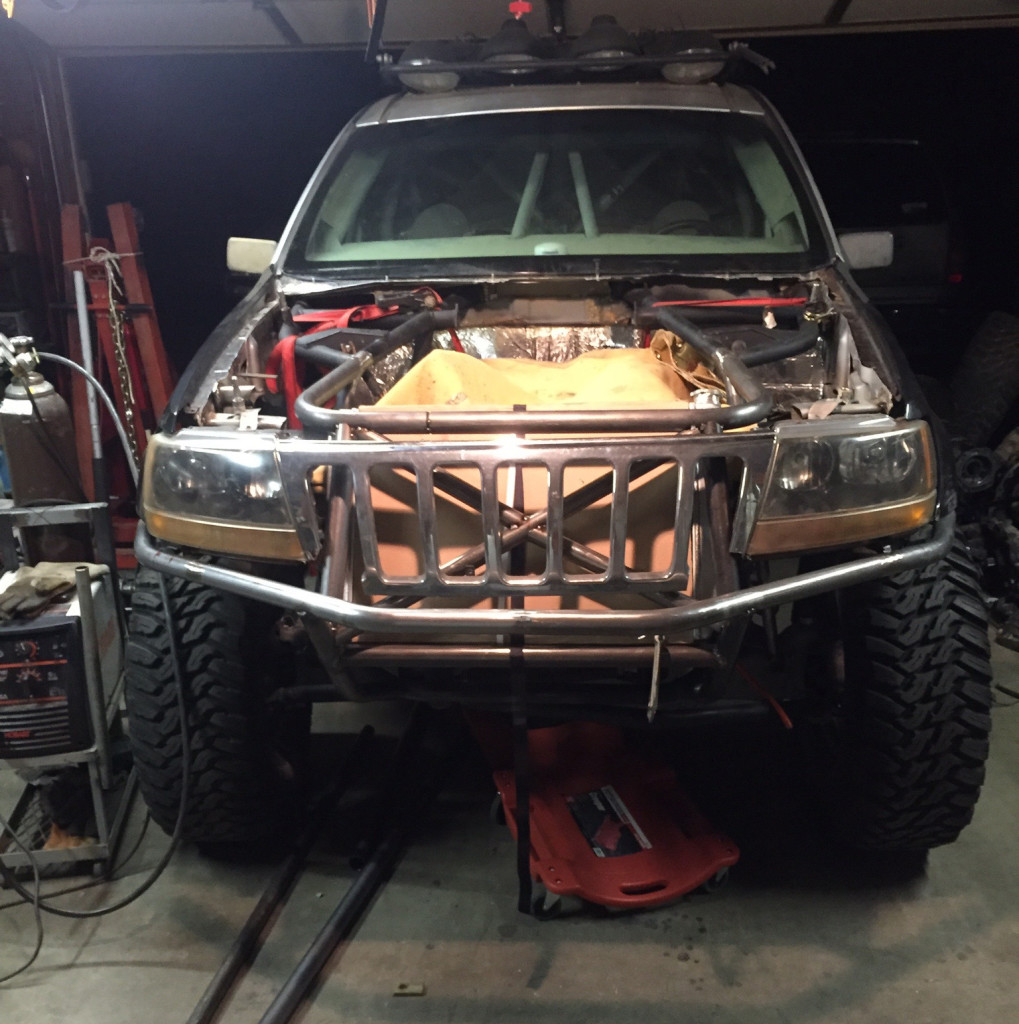
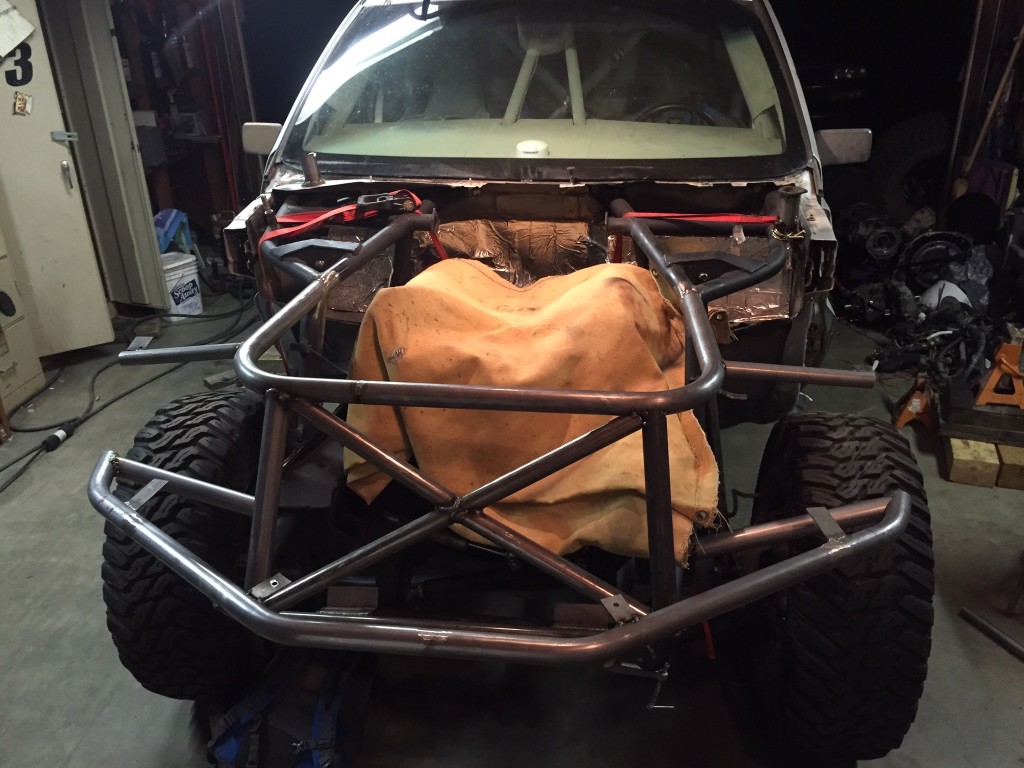
We started out with a top horizontal hoop connecting both sides of the engine cage and extending out in front of the radiator. This was tied into the bumper and an X was added for extra strength.
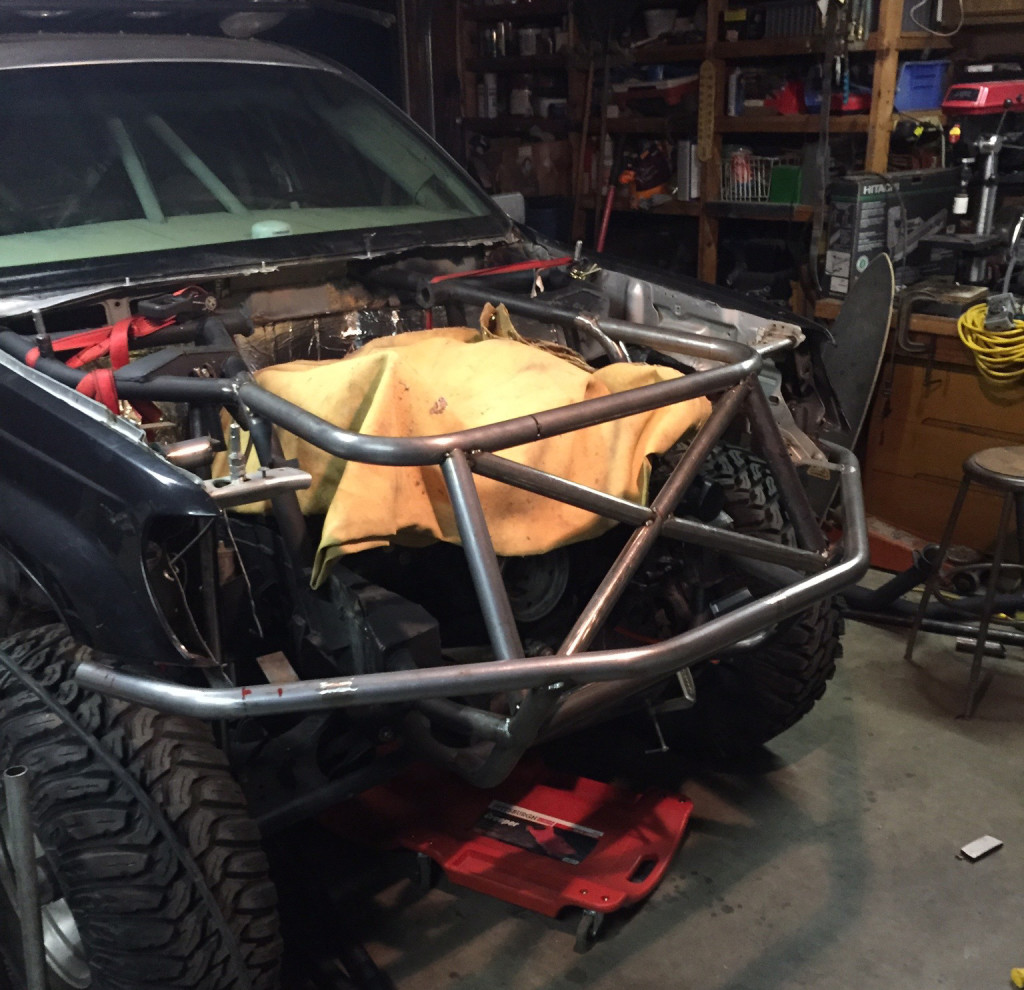
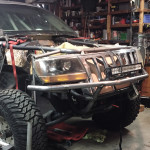
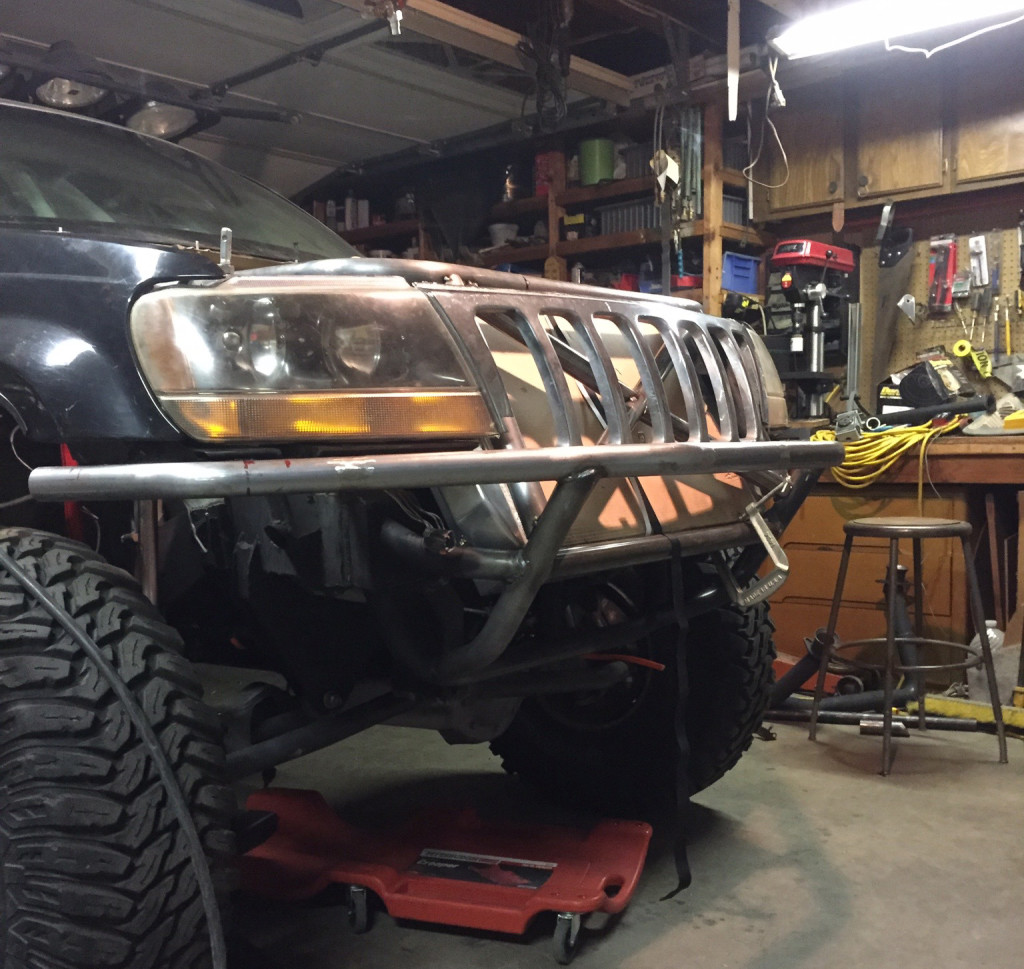
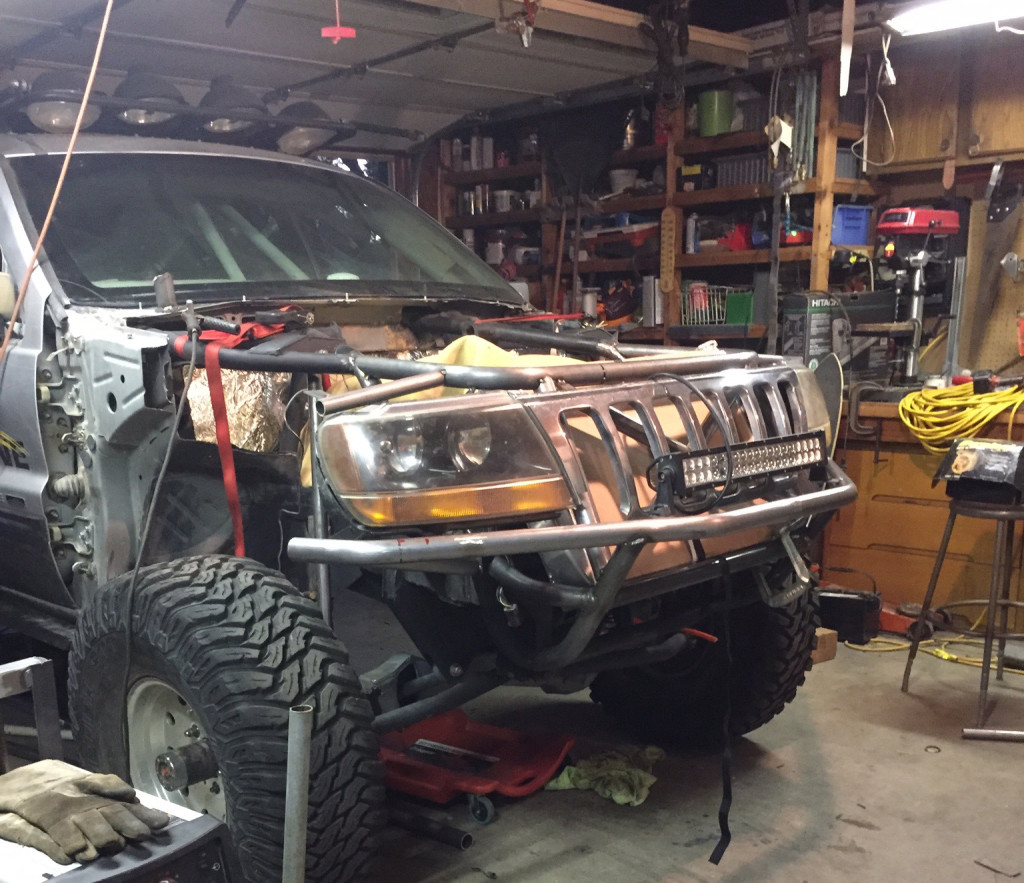
Next up, we made some new brackets to hold the headlight and grill assembly. With the lights now being supported by the cage we were able to remove the unibody below the stock fenders. The main reason for this is to increase the access to the engine bay to make it easier to work on. It also increased our tire clearance and cuts a little weight.
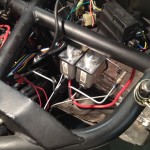
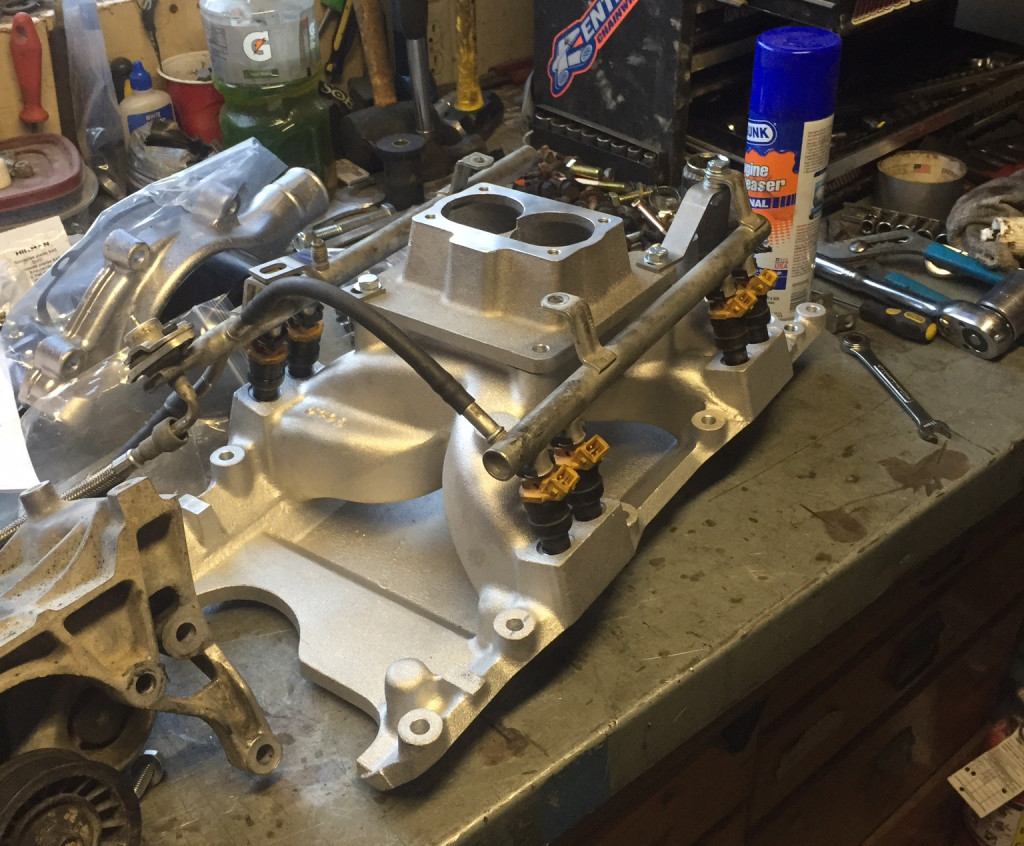
Making the Airgap Fit
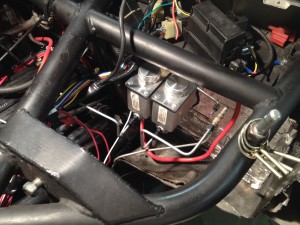
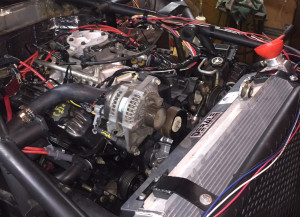
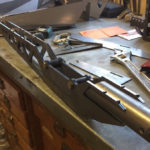
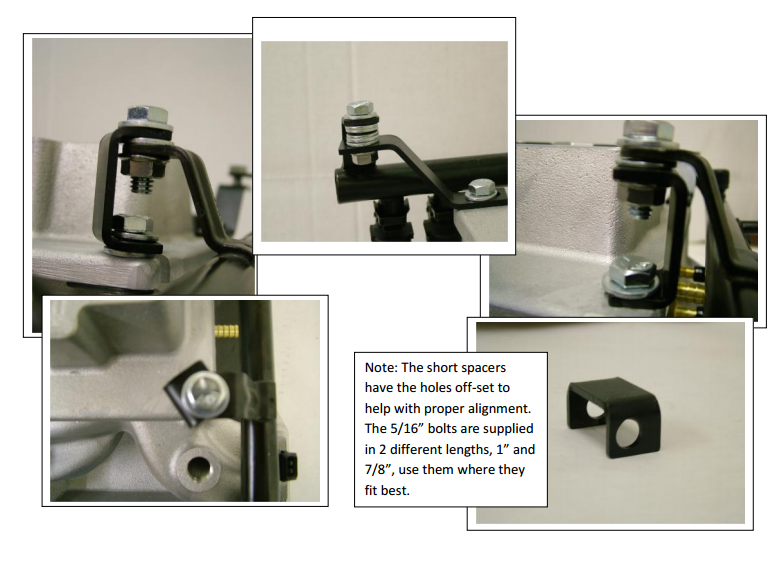
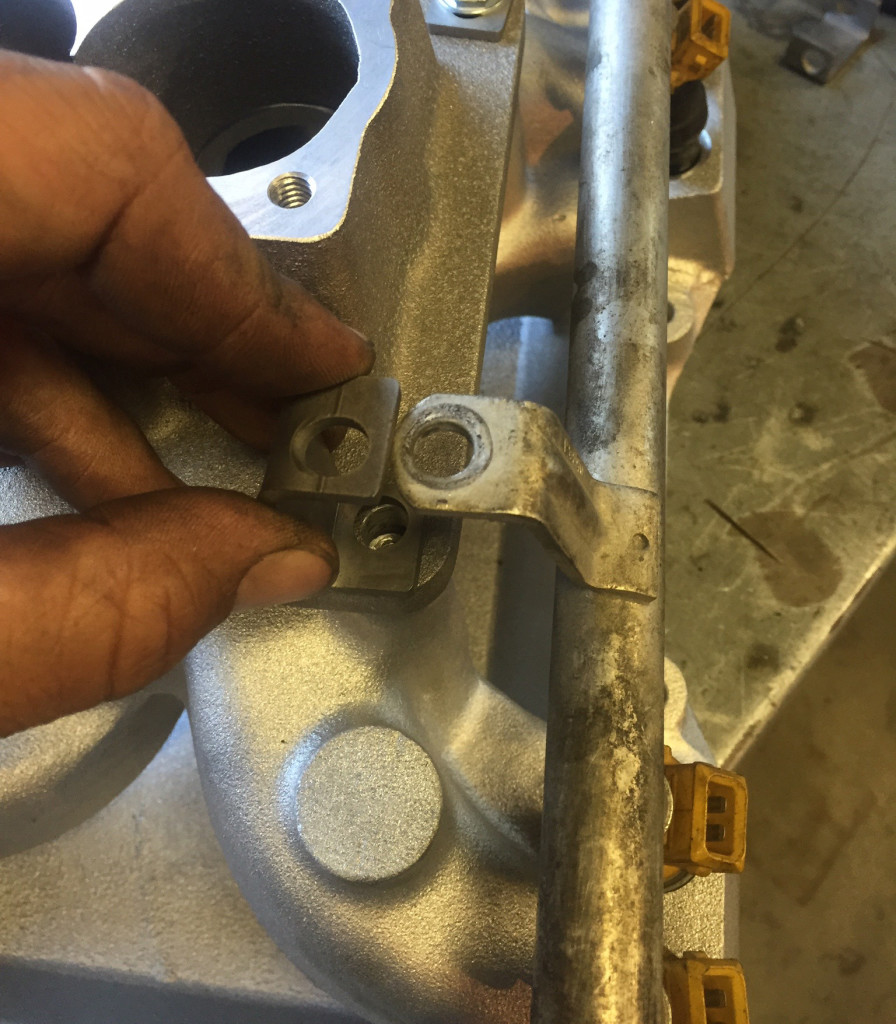
After the cage was laid out we turned our attention to the engine. The first thing that needed to be assembled was the intake. This took longer than expected because of the terrible fuel rail mounts provided by Hughes. Not only where the provided brackets a little too mismatched for our liking, but they didn’t even fit our 1993 style fuel rails. We ended up having to fab our own which worked out because now we have a clean looking fuel / air delivery system.
What’s Next
Over the next week we will be slowly picking away at our list, making sure we don’t forget anything. Our main goals are to finish assembling the engine, rewire the engine harness, and remount the dash.
Don’t forget to check back next Tuesday for updates.
Read The Rest
Part 1: It’s Finally Happening
Part 2: Out With the Old
Part 3: The Last of the Stock Components
Part 4: All About Brakes
Part 5: Pulling the 5.2 (time lapse)
Part 6: The Test Fit
Part 7: Cutting and (not) Fitting
Part 8: Broken and Upgraded Parts
Part 9: Leaky Plenum Gasket
Part 10: Side Projects and Summer Fun
Part 11: Setting the Motor
Part 12: Custom Exhaust & Driveline
Part 13: Cutting and Rebuilding
Part 14: Giant Radiator in a Little Jeep
Part 15: Custom Tube Bumper
Part 16: Driveshafts
Part 17: A Real Firewall
Part 18: Starting Final Assembly
Part 19: Extending The Engine Cage
Part 20: Still Assembling
Part 21: It Lives!
Part 22: Brakes and Wiring
Follow us at www.facebook.com/ThreeThirdsFabrication for updates and more stories.