Welcome to part 12 of our 5.2 magnum swap, follow along as we swap a 5.2 magnum from a 1993 ZJ in our 2004 4.0 TTB WJ. This week we built a new transmission crossmember and mount, bolted up the transfer case and worked on our exhaust design.
Read The Rest
Part 1: It’s Finally Happening
Part 2: Out With the Old
Part 3: The Last of the Stock Components
Part 4: All About Brakes
Part 5: Pulling the 5.2 (time lapse)
Part 6: The Test Fit
Part 7: Cutting and (not) Fitting
Part 8: Broken and Upgraded Parts
Part 9: Leaky Plenum Gasket
Part 10: Side Projects and Summer Fun
Part 11: Setting the Motor
Part 12: Custom Exhaust & Driveline
Part 13: Cutting and Rebuilding
Part 14: Giant Radiator in a Little Jeep
Part 15: Custom Tube Bumper
Part 16: Driveshafts
Part 17: A Real Firewall
Part 18: Starting Final Assembly
Part 19: Extending The Engine Cage
Part 20: Still Assembling
Part 21: It Lives!
Part 22: Brakes and Wiring
Custom Exhaust & Driveline
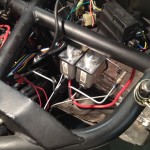
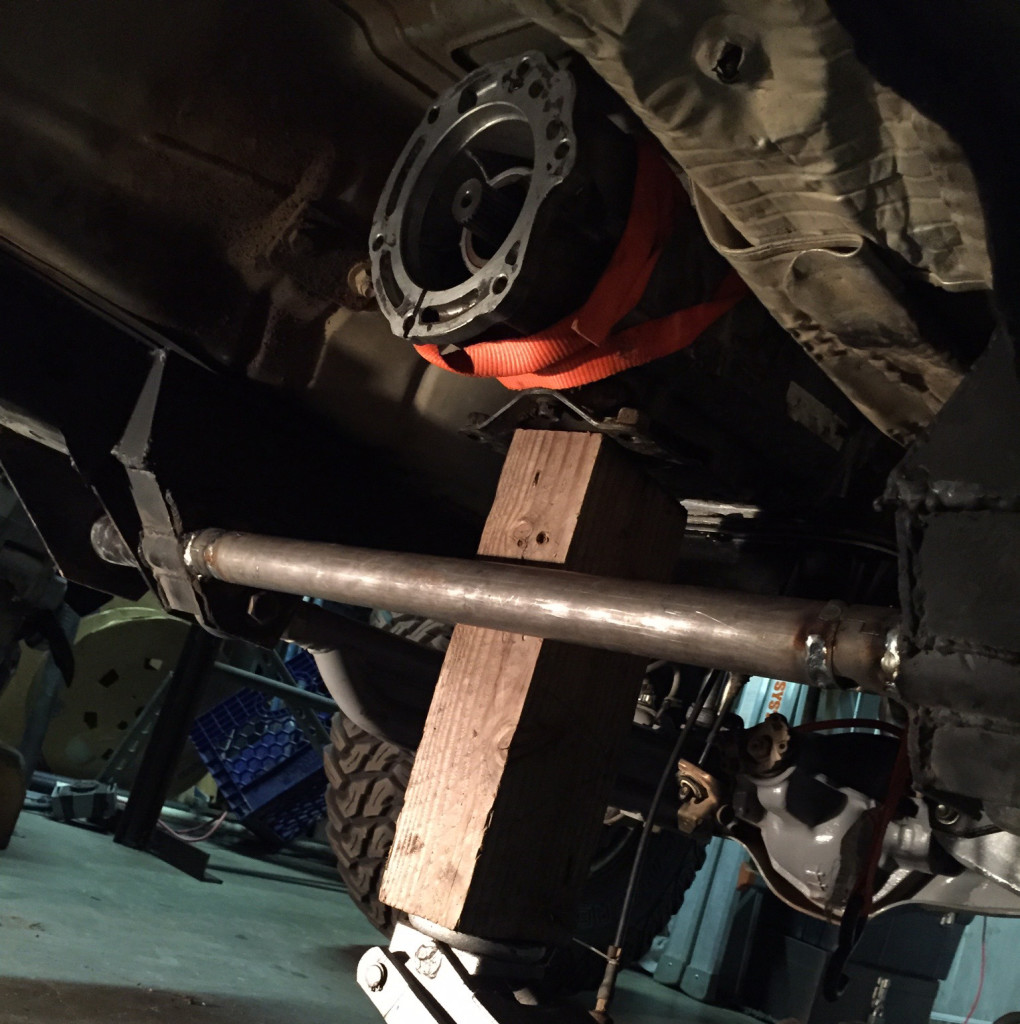
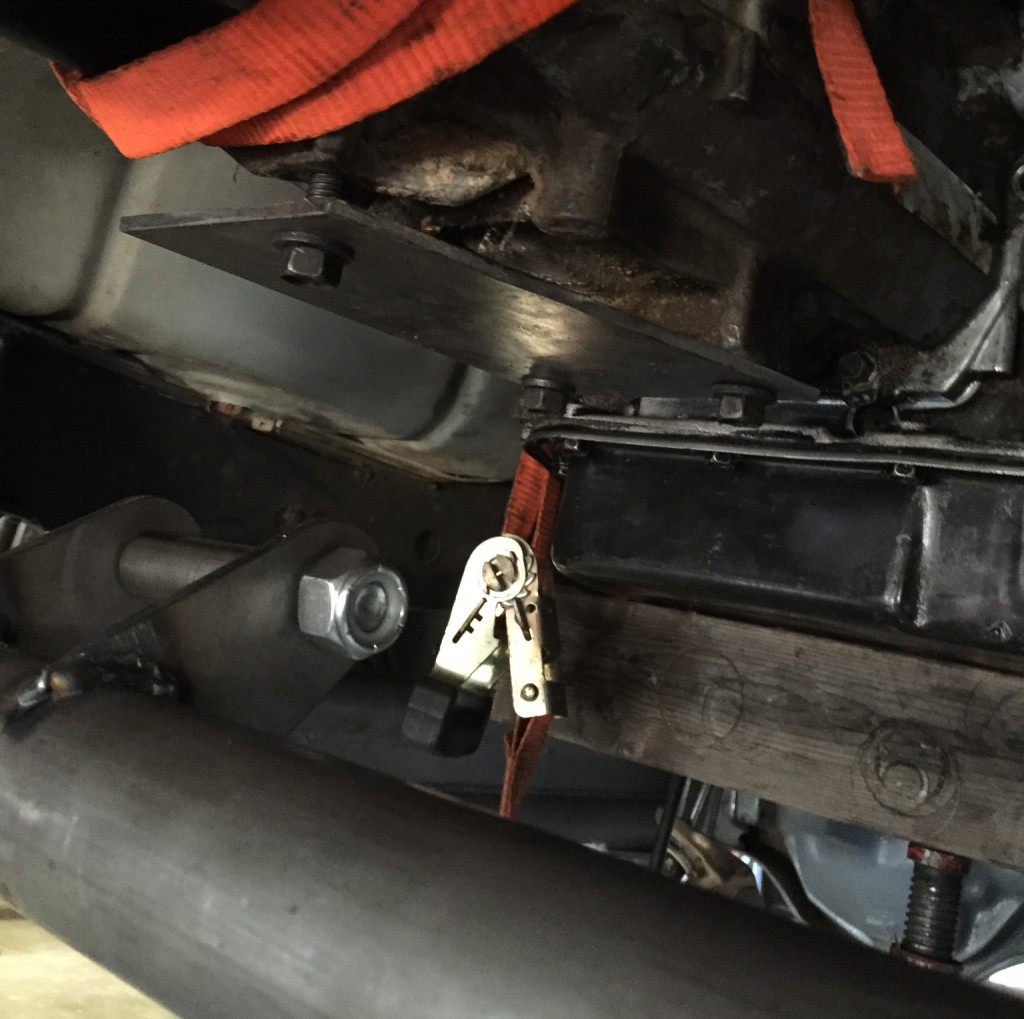
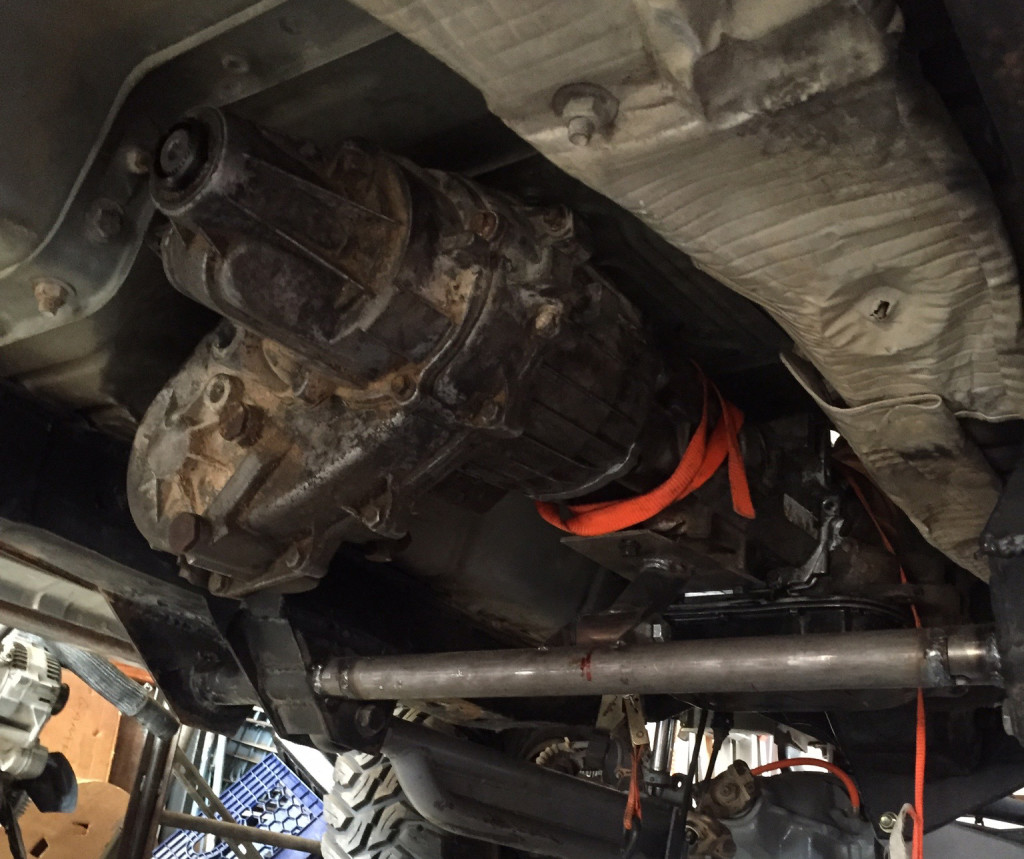
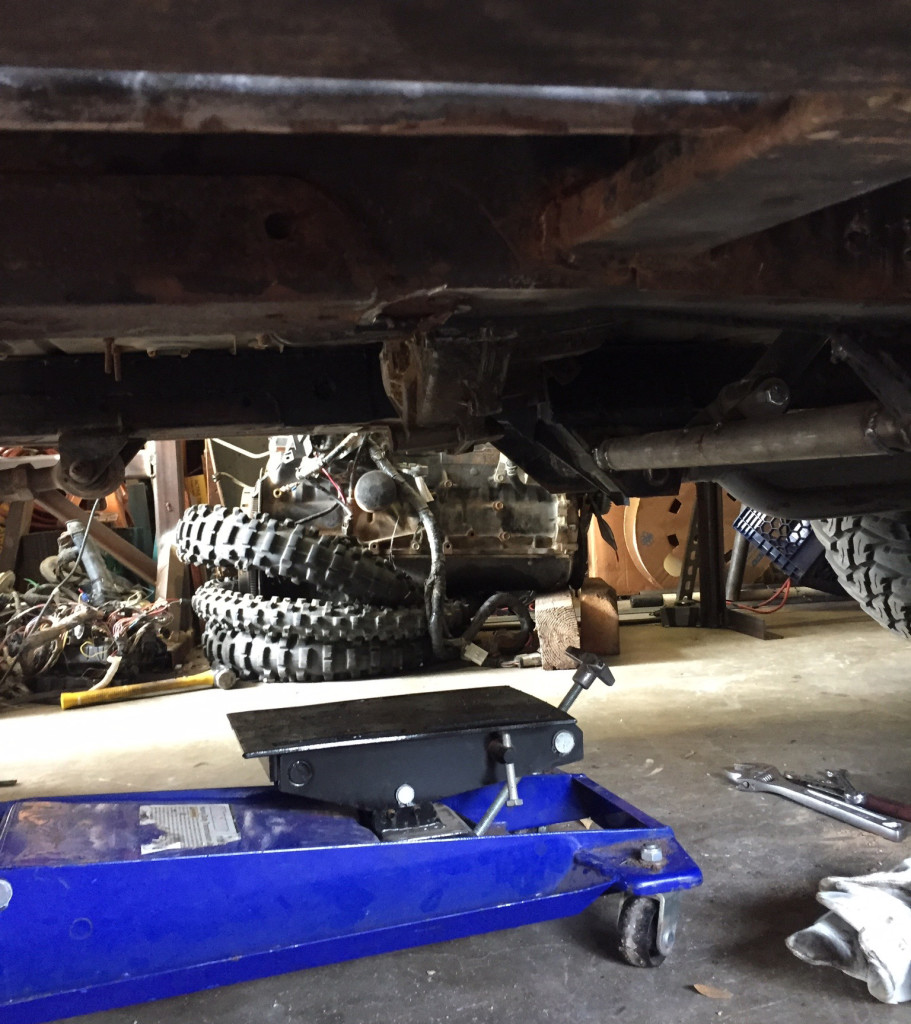
We ended last week with the motor mounted but the transmission was still being held up by blocks, so a proper transmission mount was our first goal this week. Before we could build the mount we needed a new crossmember. The old crossmember was built in a hurry as part of the TTB swap in 2012, and we never really liked how it looked. Knowing we were going to rebuild it, we cut everything out when we pulled the 4.0.
With a clean slate we could run a simple tube across the bottom and build up from there. This tube will also serve as a starting point for our transfer case skid plate which we will be adding in a few weeks.
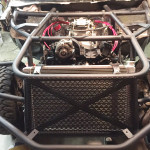
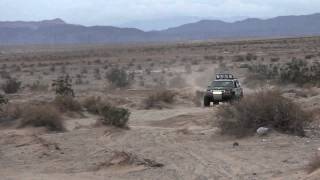
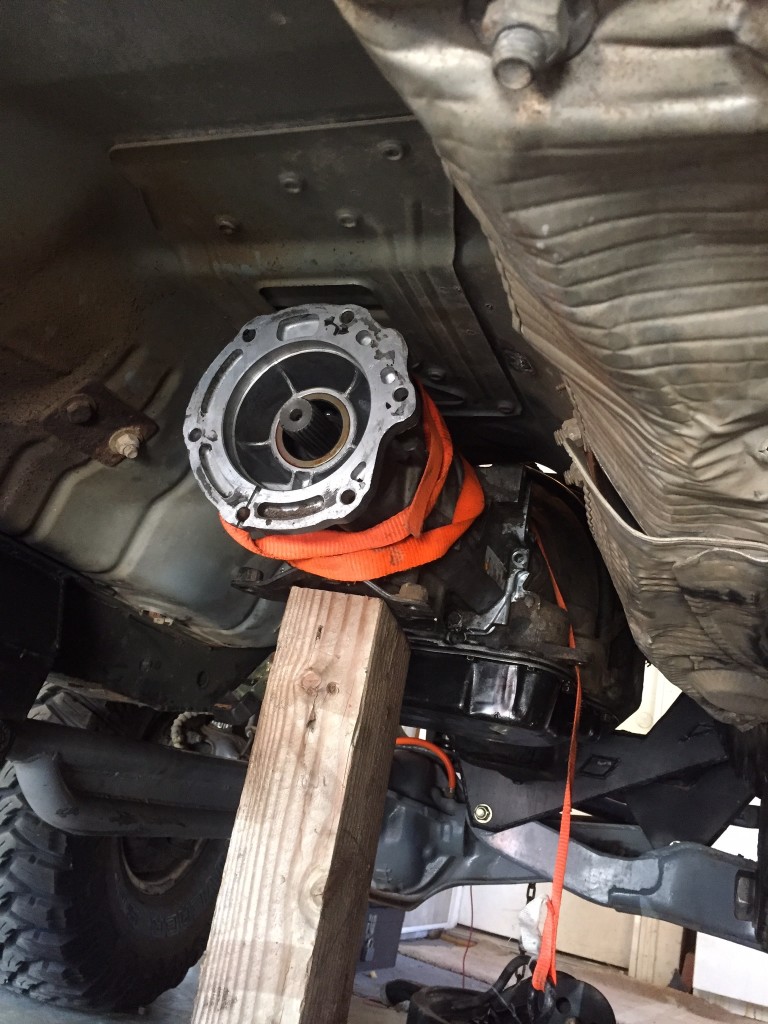
After the transmission was in, it was time for the transfer case. From our measurements we knew it would be a tight fit but had no way of knowing for sure until we had the whole driveline in place. After mocking it up, it was very close to fitting. We had originally thought we would need to cut the floor to make the transfer case fit. Now that we saw how close it was we decided this would be a perfect job for our 15 lb sledge hammer, affectionately called the BFH around the shop.
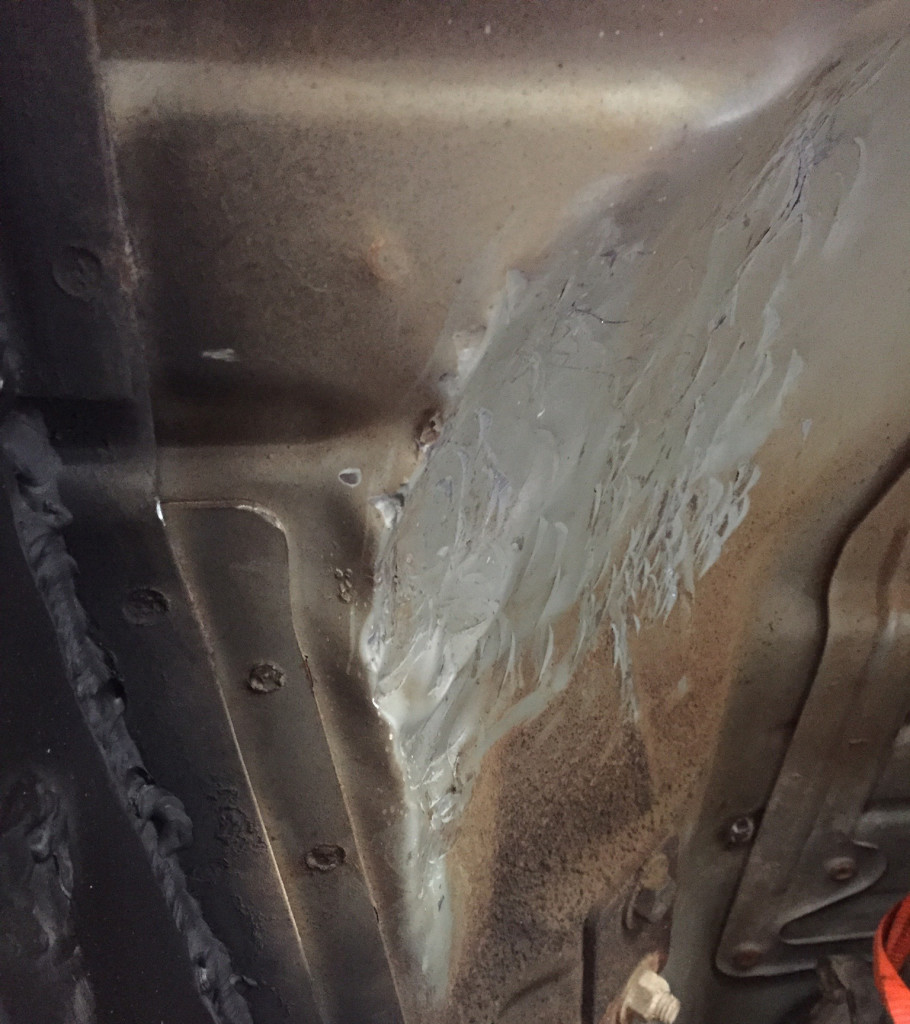
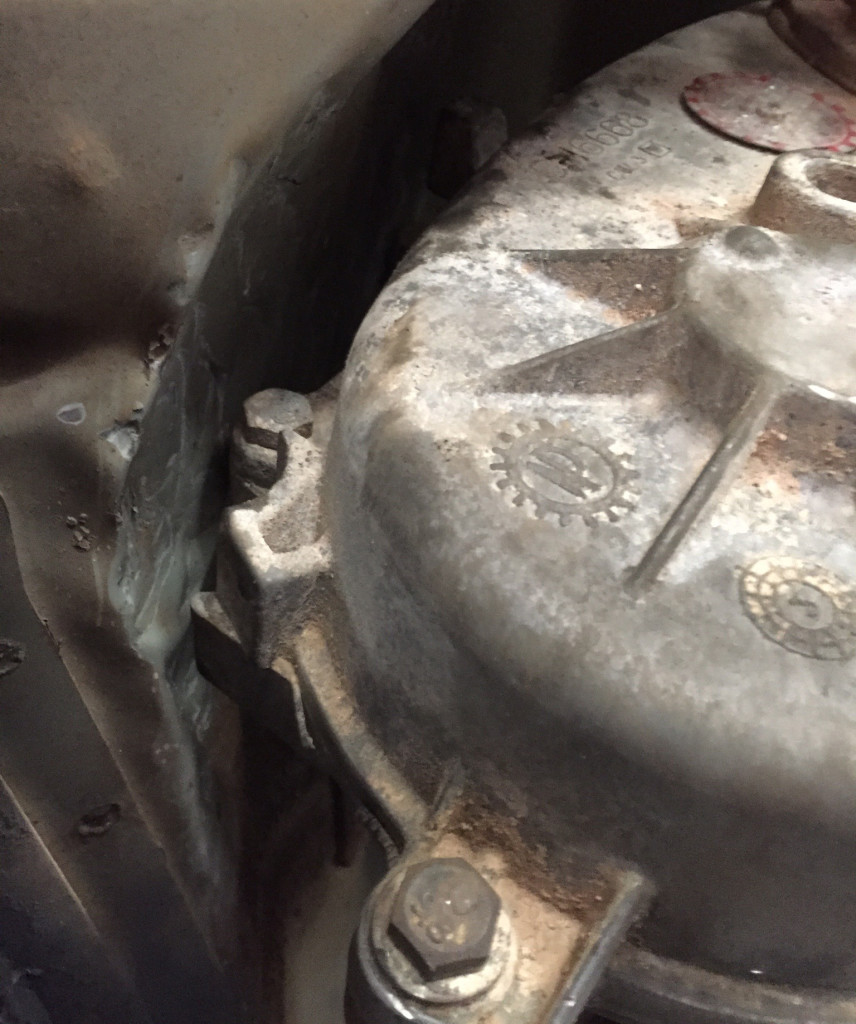
After laying under the Jeep and hammering for a while there was just enough room for the transfer case and we bolted it up. The way we designed the motor mounts we were able to keep the 5.2 at the same height above the ground as the 4.0 and have the new transmission sitting higher than the 42re we removed from the Jeep. Looking from the side it is clear the 242 transfer case is sitting very high and out of the way of any large rocks we might pass over. We had originally planned to buy a clock ring to adjust the drop of the transfer case, but given the current height of the transfer case it is no longer necessary and we can save that money.
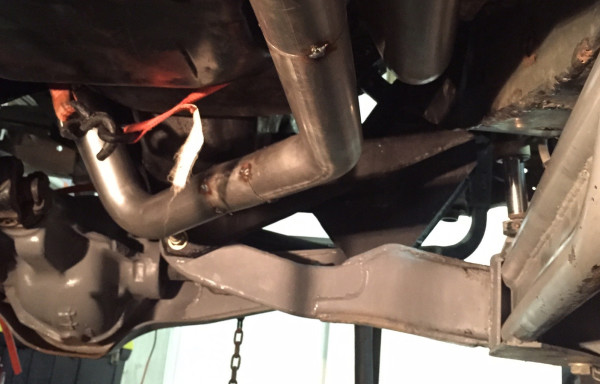
Exhaust
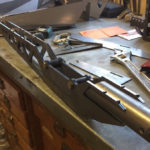
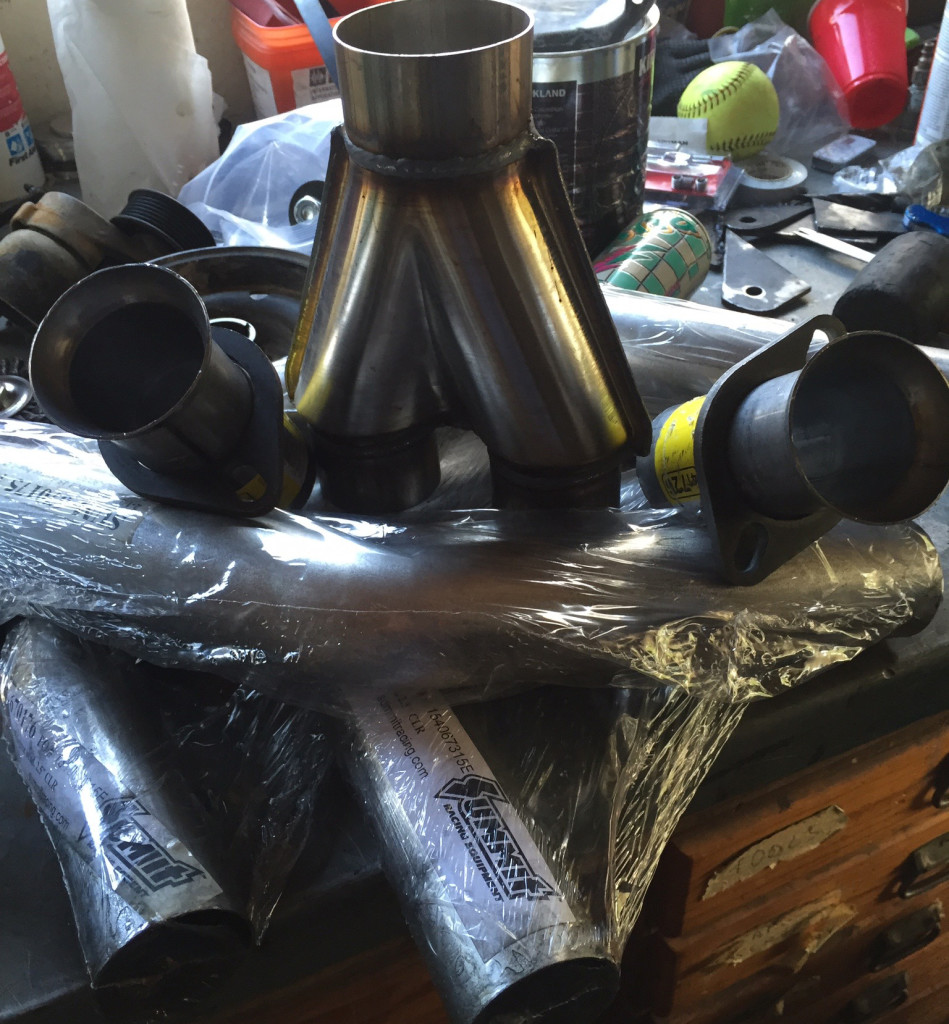
We knew we would need a custom exhaust and after looking around for some pre bent kits, we couldn’t find one we liked. All of the kits came with a lot more pipes and bends than we needed. We only needed bends from the headers to the Y collector, then it would be a straight shot to the muffler and it will dump out before the rear axle. Using Summit Racing we could order the few bends we needed. After looking at some magnum exhaust designs online we ordered two flange kits, two 90 degree bends, two 45s, and a magnaflow Y collector. From the headers to the Y collector is 2.5” and from the Y back is 3”.
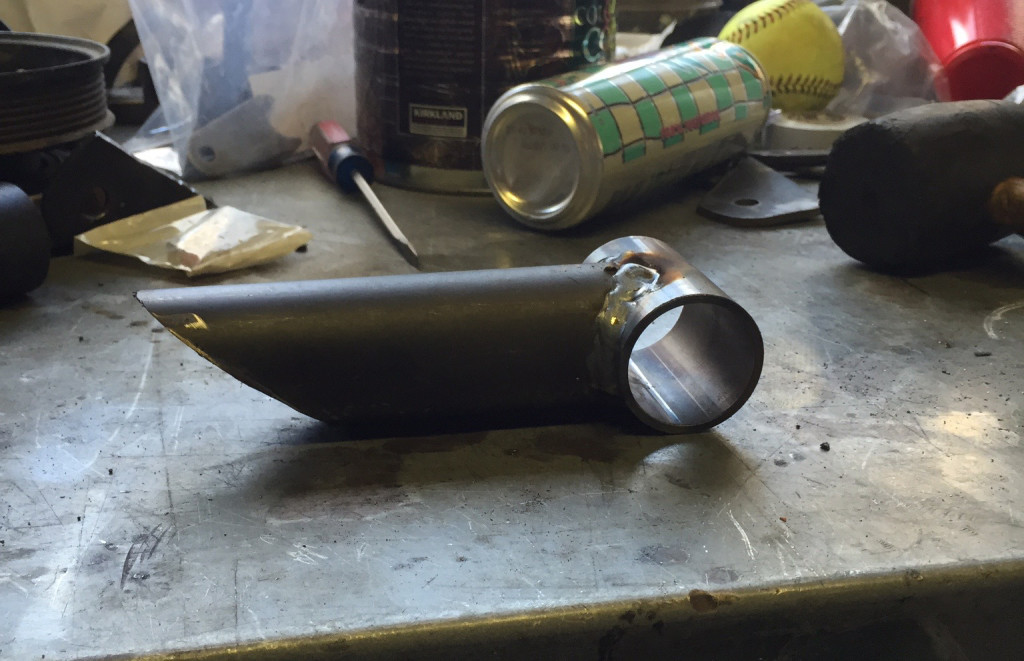
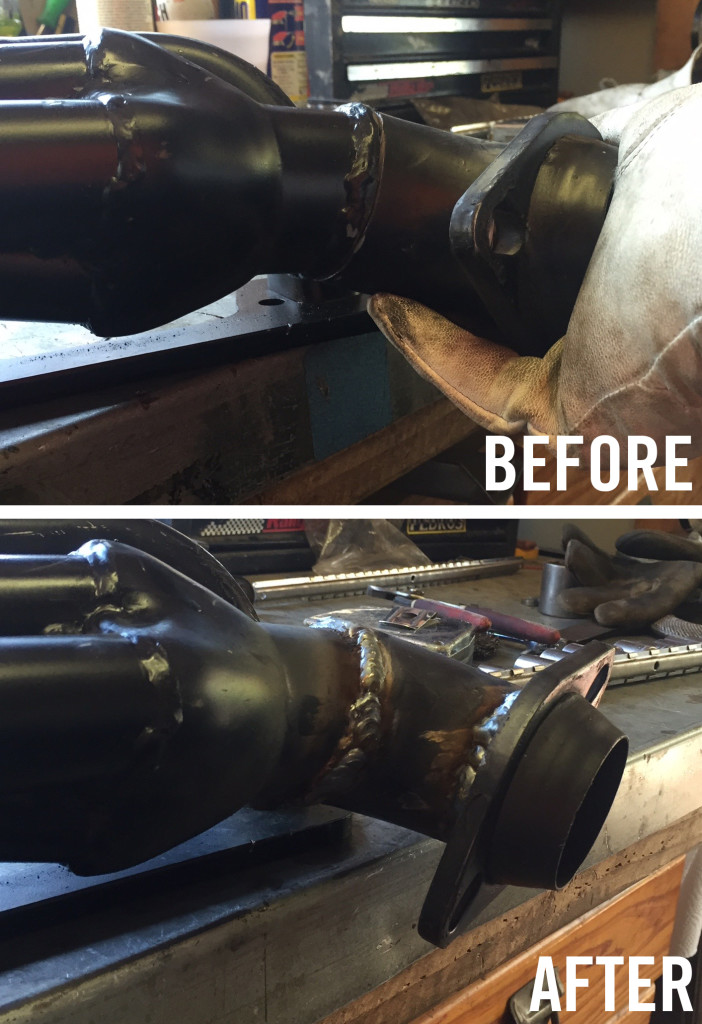
After our exhaust parts came in we started mocking up the pipes. While it was all very close to fitting, we quickly found the angle of the driver header wasn’t quite right. We would either need to buy more bends, adapt the flange, or adapt the header. After thinking through all the options we decided to modify the output angle of the header. Like with most issues that arise in the shop, with the skills necessary to design and build a suspension system that was never meant to be on a Jeep, we find it hard to spend money to fix a problem that can be solved with a little cutting and welding. In less than an hour the the header was adjusted and back in the Jeep to allow the rest of the exhaust to be finished.
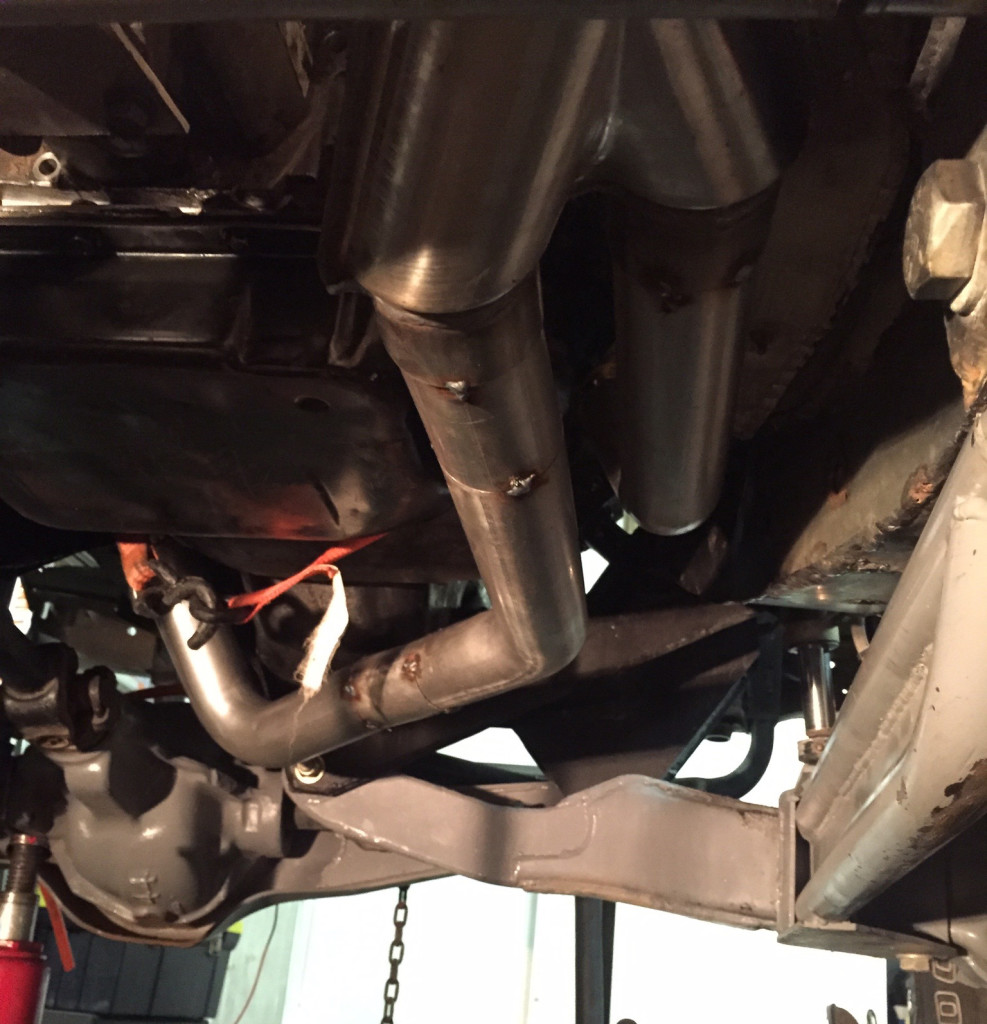
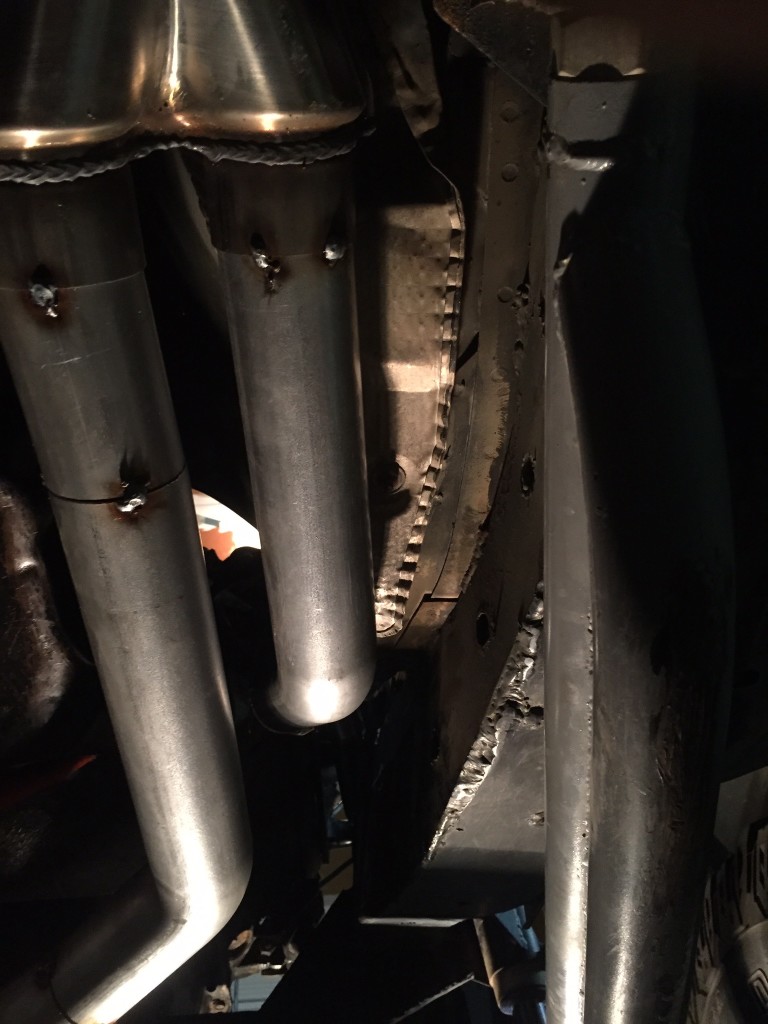
With the correct angle we were able to run the rest of the pipe. After a day of measuring, cutting, measuring again, and tacking we have the start of our exhaust mocked up and tacked in place.
What’s Next
Next week we are focusing on the engine cage. Rebuilding the parts we had to cut out for the motor to fit and adapting the front to hold our over sized radiator and electric fans.
Don’t forget to check back next Tuesday for updates.
Read The Rest
Part 1: It’s Finally Happening
Part 2: Out With the Old
Part 3: The Last of the Stock Components
Part 4: All About Brakes
Part 5: Pulling the 5.2 (time lapse)
Part 6: The Test Fit
Part 7: Cutting and (not) Fitting
Part 8: Broken and Upgraded Parts
Part 9: Leaky Plenum Gasket
Part 10: Side Projects and Summer Fun
Part 11: Setting the Motor
Part 12: Custom Exhaust & Driveline
Part 13: Cutting and Rebuilding
Part 14: Giant Radiator in a Little Jeep
Part 15: Custom Tube Bumper
Part 16: Driveshafts
Part 17: A Real Firewall
Part 18: Starting Final Assembly
Part 19: Extending The Engine Cage
Part 20: Still Assembling
Part 21: It Lives!
Part 22: Brakes and Wiring
Follow us at www.facebook.com/ThreeThirdsFabrication for updates and more stories.