Welcome to part 14 of our 5.2 magnum swap, follow along as we swap a 5.2 magnum from a 1993 ZJ into our 2004 4.0 WJ. This week we mount the radiator, mock up the intake, and get up close and personal with our transfer cases.
Read The Rest
Part 1: It’s Finally Happening
Part 2: Out With the Old
Part 3: The Last of the Stock Components
Part 4: All About Brakes
Part 5: Pulling the 5.2 (time lapse)
Part 6: The Test Fit
Part 7: Cutting and (not) Fitting
Part 8: Broken and Upgraded Parts
Part 9: Leaky Plenum Gasket
Part 10: Side Projects and Summer Fun
Part 11: Setting the Motor
Part 12: Custom Exhaust & Driveline
Part 13: Cutting and Rebuilding
Part 14: Giant Radiator in a Little Jeep
Part 15: Custom Tube Bumper
Part 16: Driveshafts
Part 17: A Real Firewall
Part 18: Starting Final Assembly
Part 19: Extending The Engine Cage
Part 20: Still Assembling
Part 21: It Lives!
Part 22: Brakes and Wiring
Giant Radiator in a Little Jeep
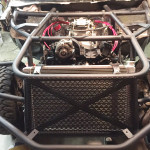
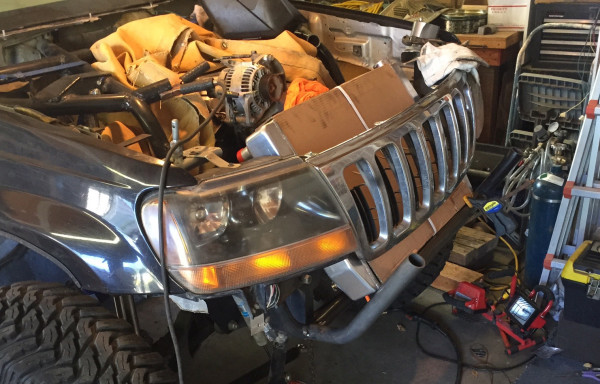
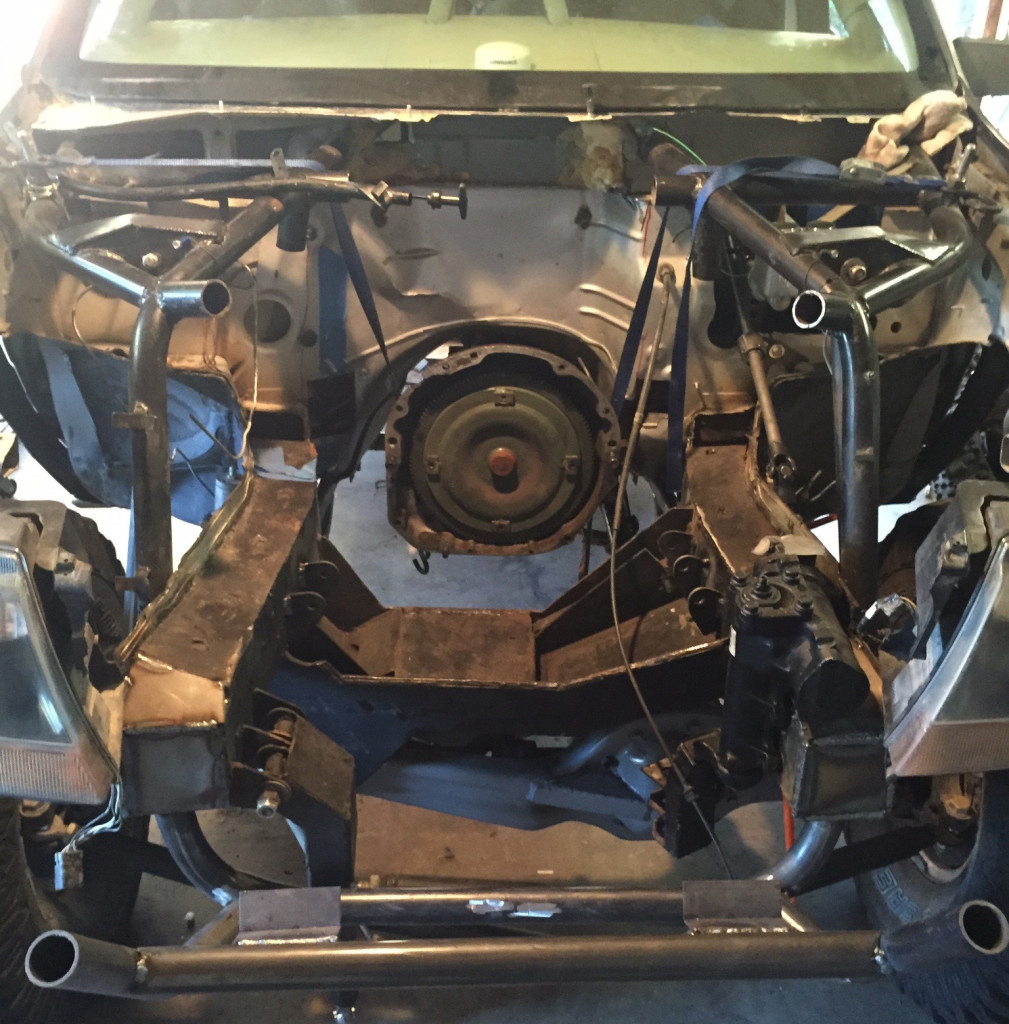
At 15% larger, 80% thicker, and a 3” electric fan shroud attached to the back our cooling system quickly became a massive unit to squeeze into the front of the TTBWJ. Last week we started to make room by cutting off about a foot of unibody and bumper.
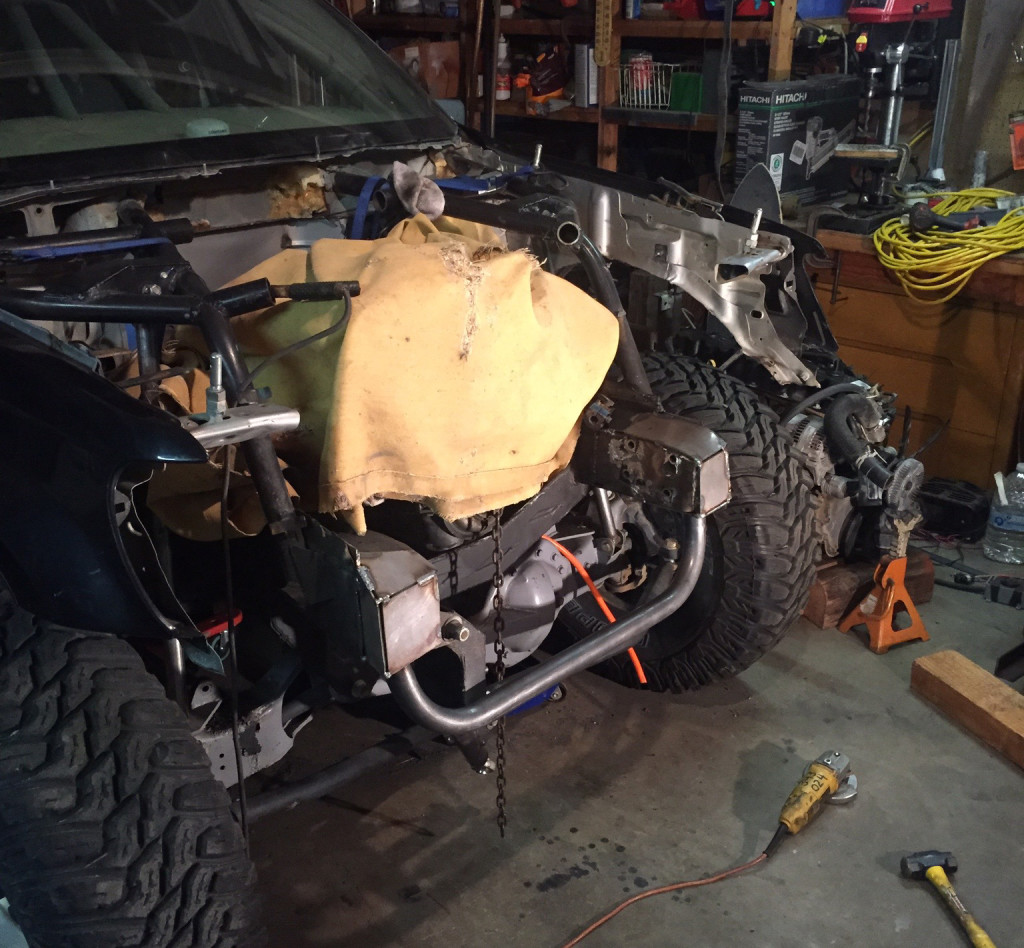
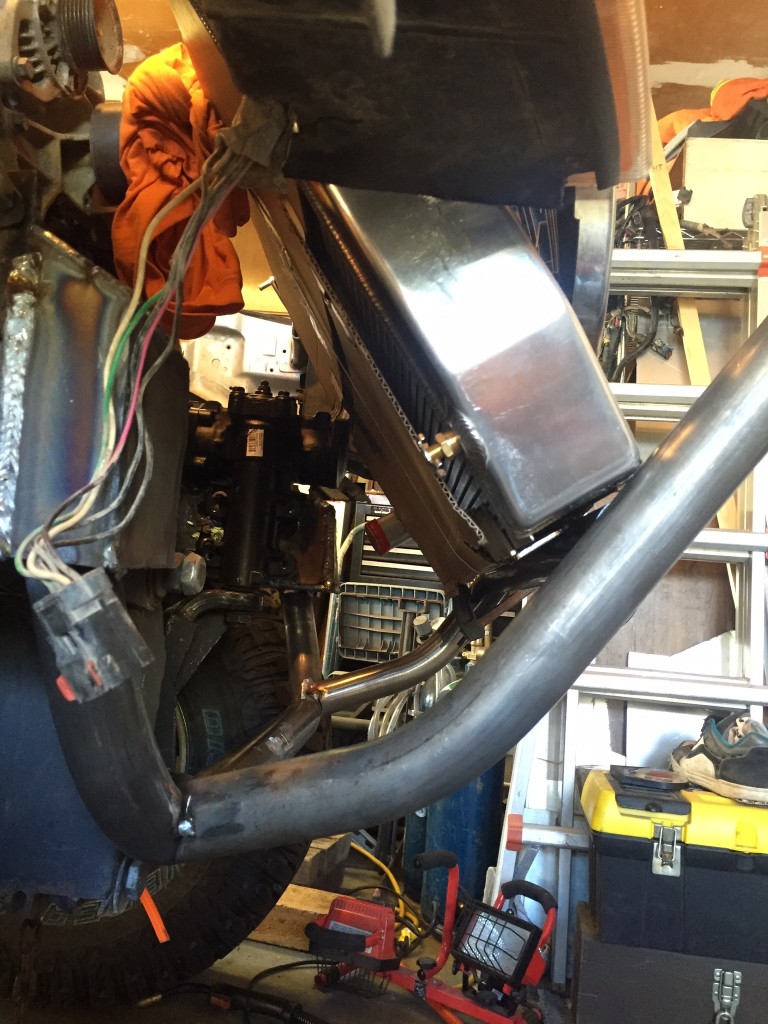
After test fitting the radiator this week we quickly found there was not enough room to have it sit up right in the stock position. This would be a issue on most vehicles because there usually isn’t enough room to tilt it back and there would be an airflow issue due to the clutch fan still being vertical.
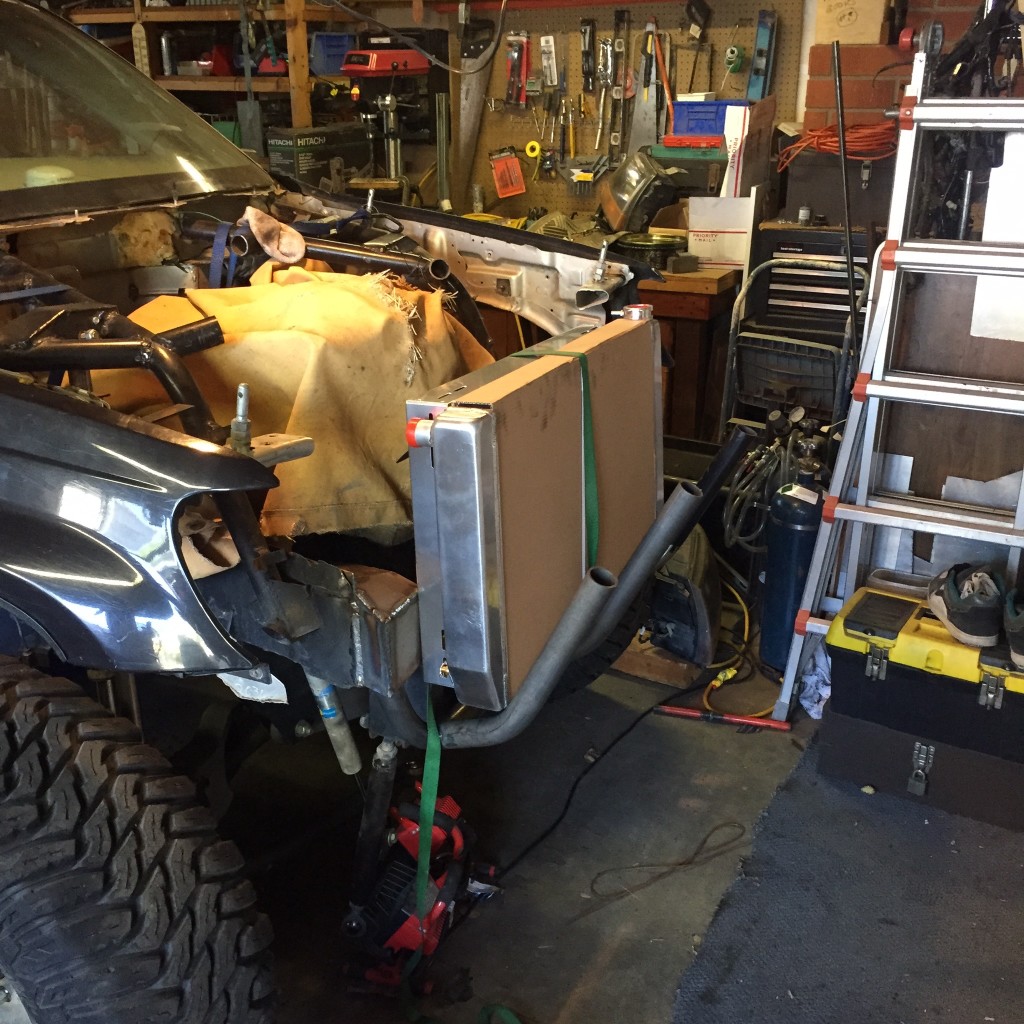
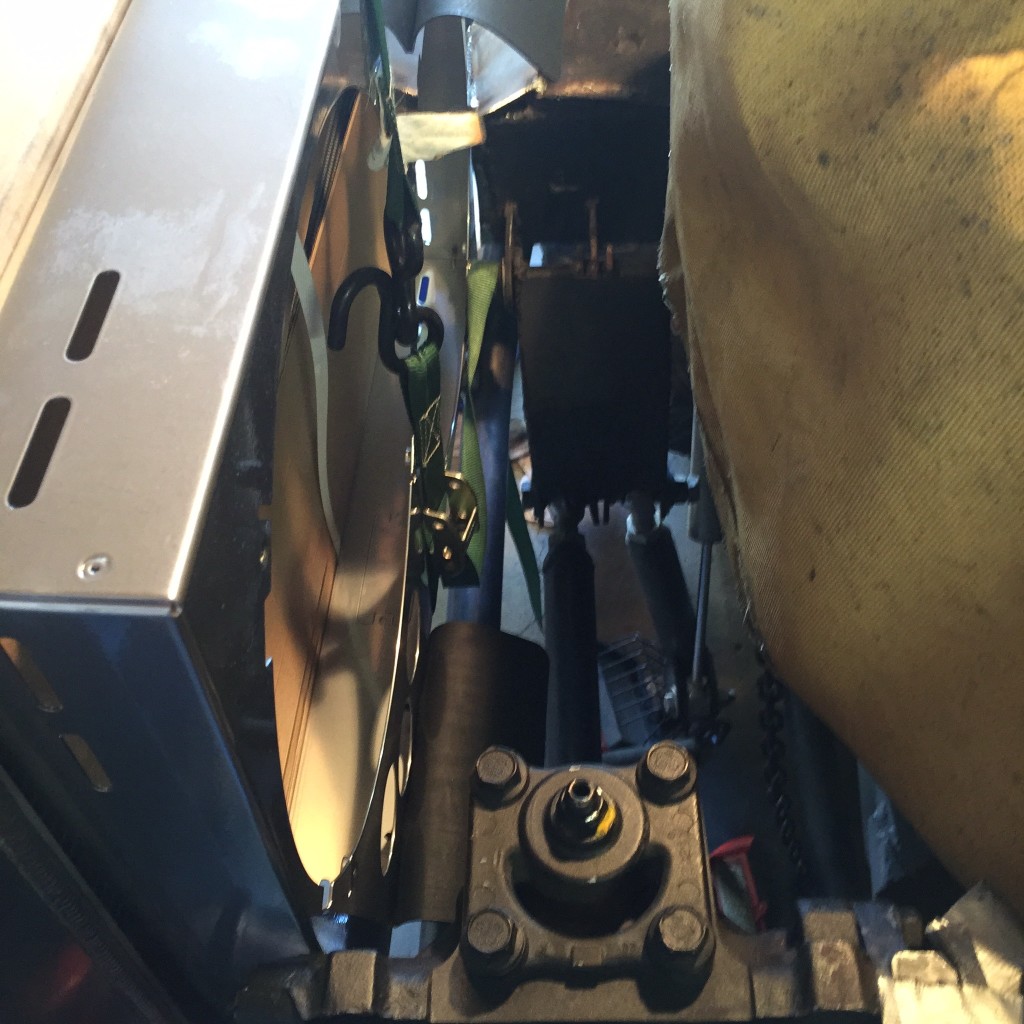
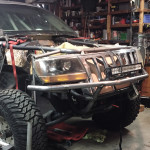
But, with the motor pushed back, and the Derale electric fans we won’t have either of these issues. After rebuilding mounts for the lights and grill we set the radiator on a lower mount and tilted it back until it fit under the hood and there was enough room to access the output.
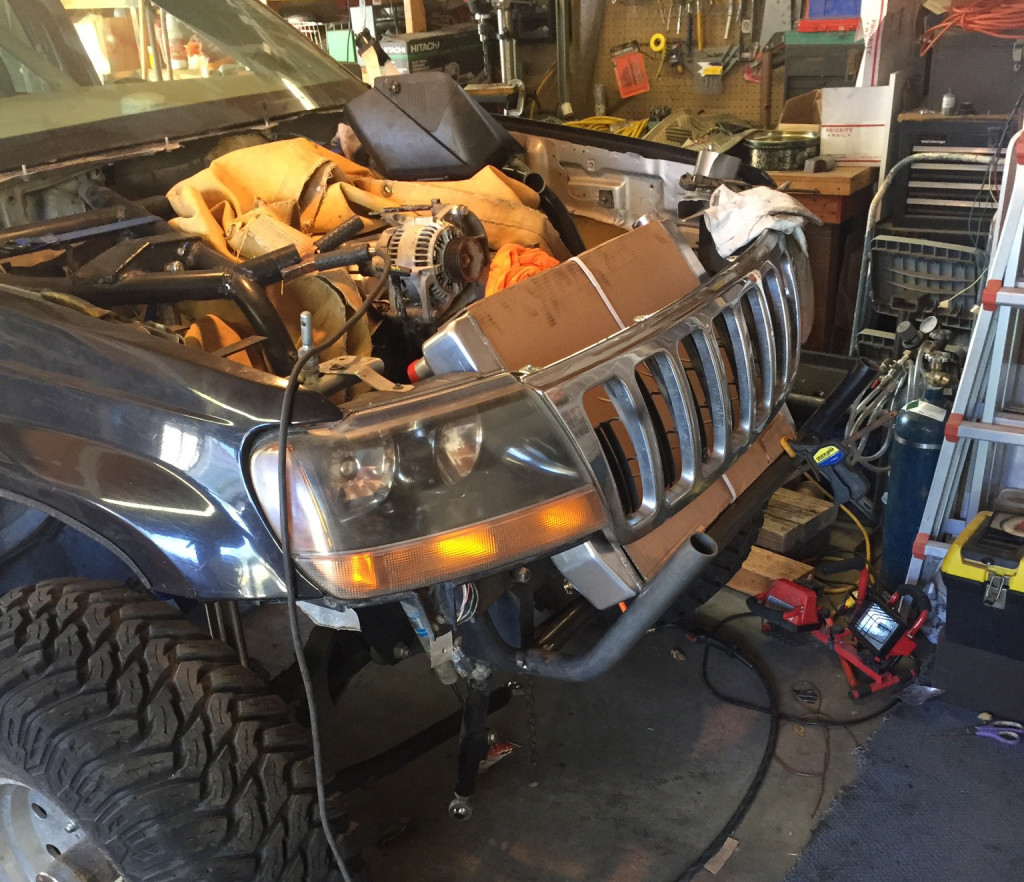
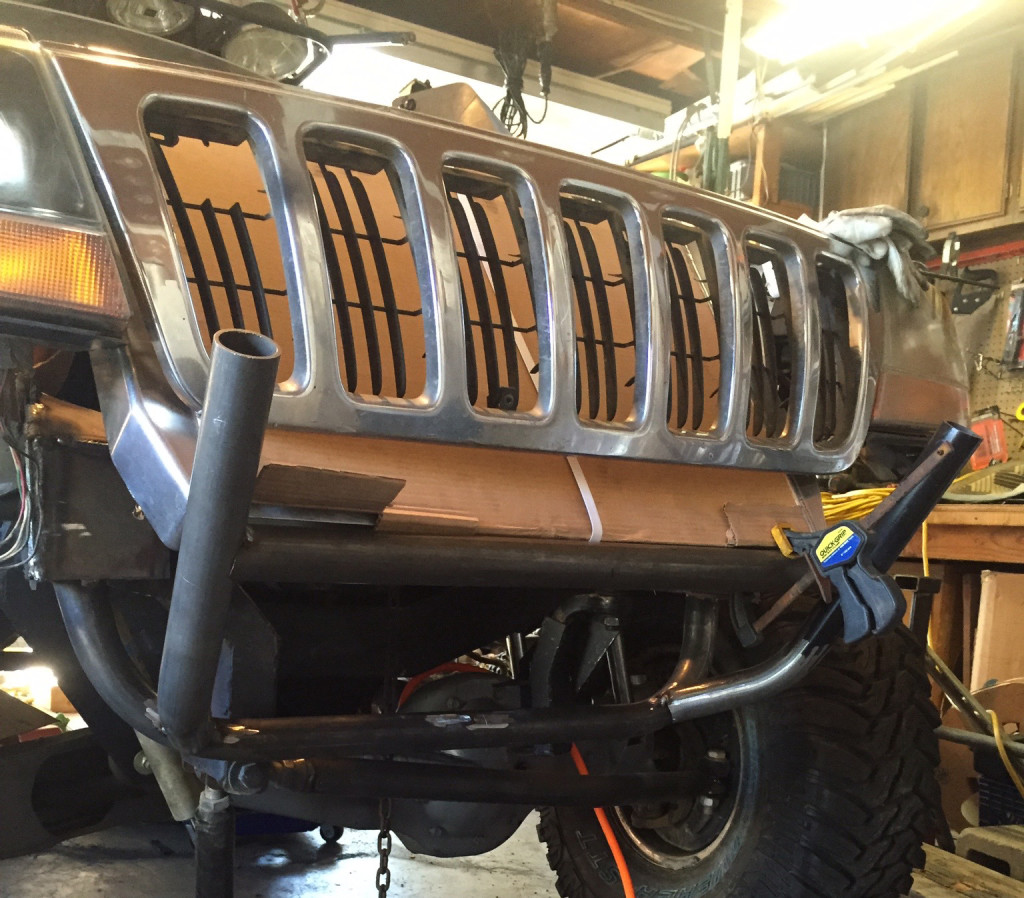
The pictures make it look like it’s sticking out a little farther than it actually is. Once we rebuild the bumper out of plate and tube it will be protected and hidden.
One Last Test Fit
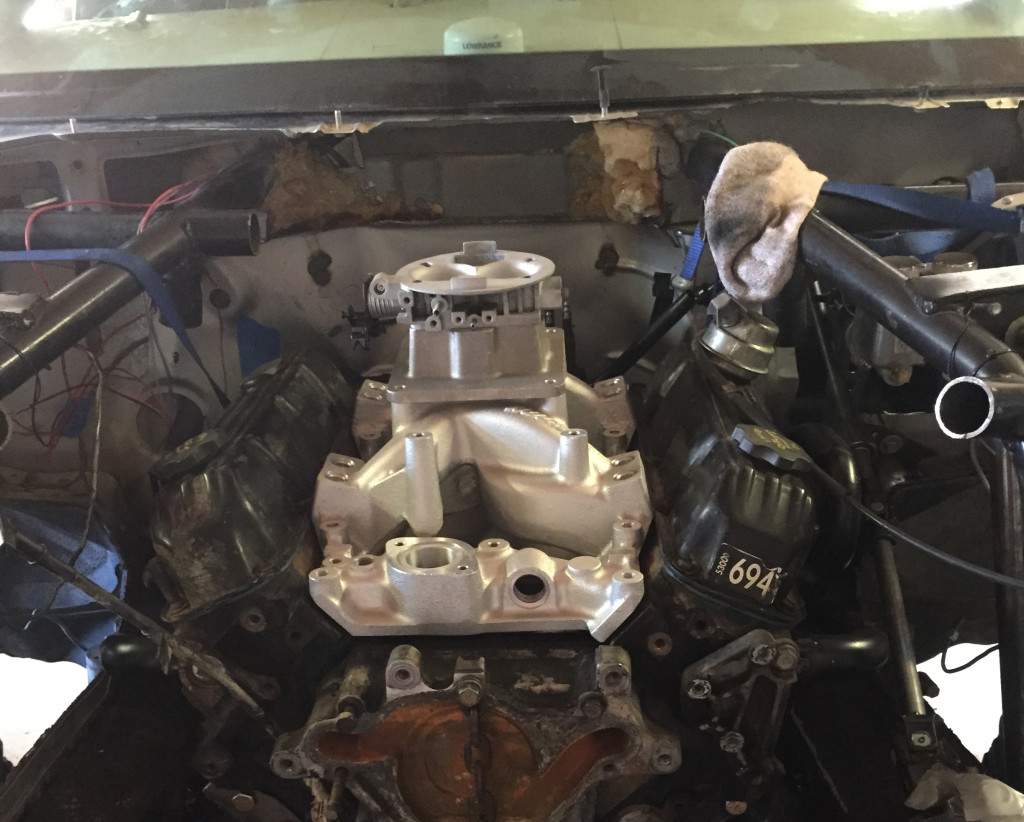
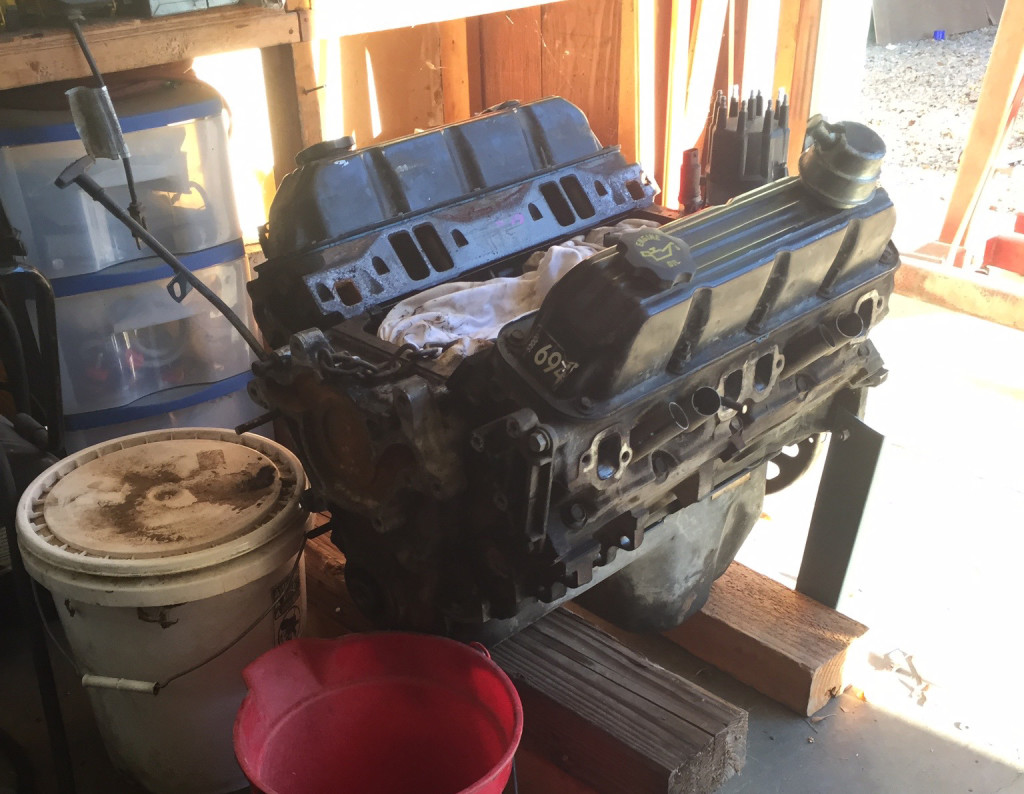
With the radiator and fan in place it was time to pull the motor one final time. We will be sending it to a shop for some much needed cleaning and slight building (details of this to follow). But before we pulled the engine we had one final piece of the puzzle to test fit.
It would be a shame to go through all of this work just to stick the stock, dirty kegger back on top. We talked about intakes in a past article and were debating on wether to buy a used M1 from eBay or a new AirGap form Hughes Engines. With time running out and the budget already stretched we wanted a solid product we knew would work, and work well, so we bought a Hughes FI AirGap to top off the engine. It is a little smaller than the stock kegger and fit nicely within the engine cage and under the hood.
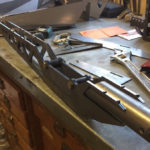
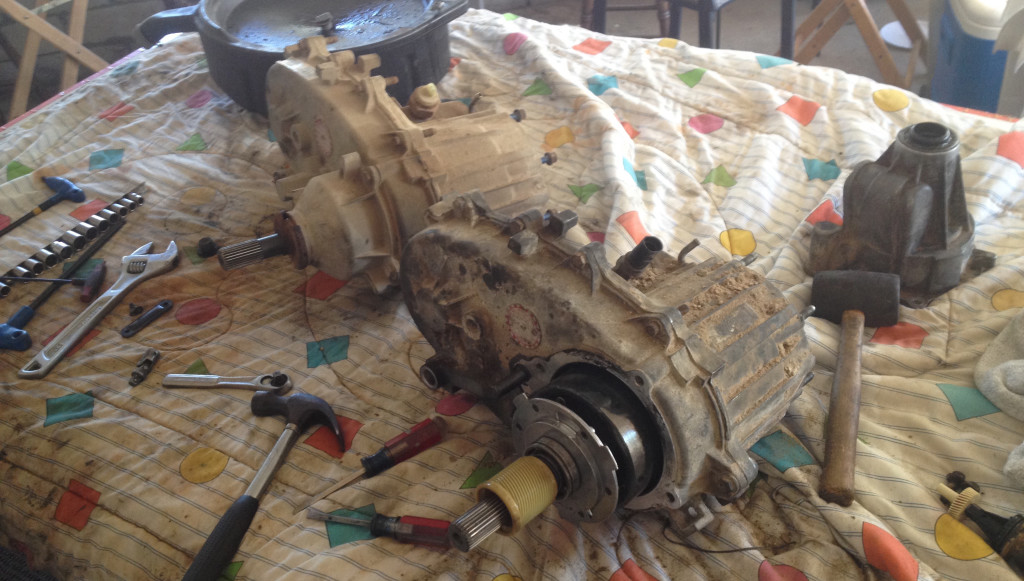
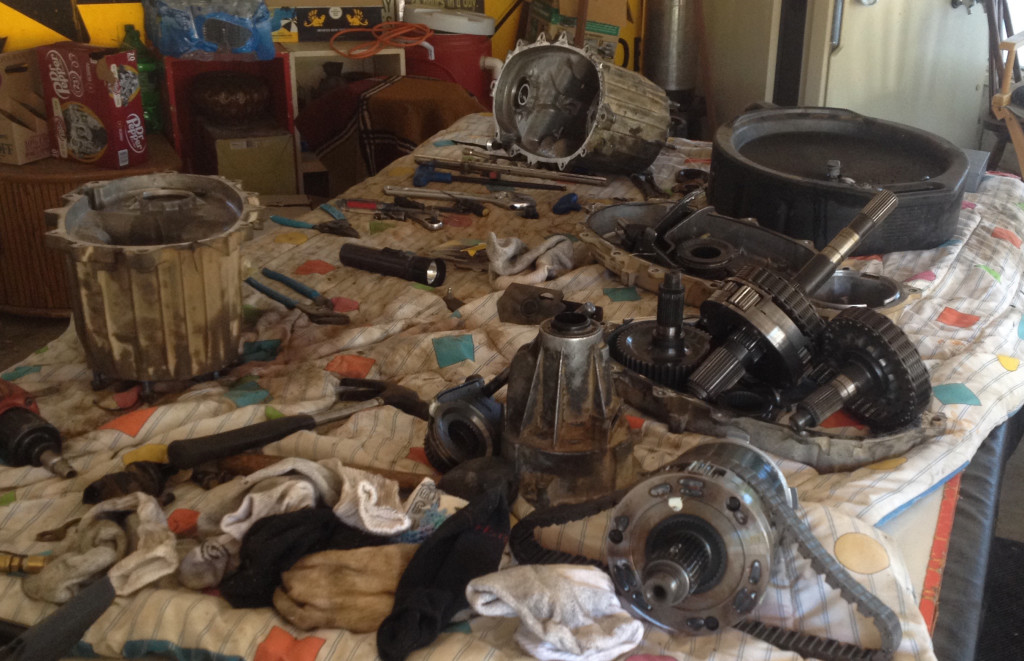
Two Cases Become One
The transfer case has been on our mind for a while and we are excited to finally say we can check it off our list. We knew we wanted to keep the 242 from the WJ over the 249 from the ZJ. The biggest issue when swapping transfer cases between models and years are the input shafts. There are a few different lengths and spline counts between each model. The easiest way to solve this is to simply swap the input shaft from the 249 onto to 242.
This would be an easy swap except our 249 is a pre 1994.5 transfer case so it has a different input shaft gear cut and will not work with the 242 planetary gears. We could also swap the 249 planetary gears to fix this, but the 249 has a different size input bearing. The only way to combine the 249 input shaft with the gear combos of the 242 is to do what is know has a front case swap, or a hybrid swap.
For this style of swap we took the front half of the 249 case with the input shaft, bearing, and planetary gears and combined it with the rear half of the 242 and the internals, shift selector and sensor. There were a few setbacks and minor issues but overall it went smoothly. We will be writing a separate article on the hybrid swap in a few days.
What’s Next
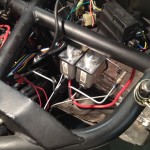
Next week we are sending the motor off to the shop and focusing on wiring, plumbing, and finishing welding the engine bay.
Don’t forget to check back next Tuesday for updates.
Read The Rest
Part 1: It’s Finally Happening
Part 2: Out With the Old
Part 3: The Last of the Stock Components
Part 4: All About Brakes
Part 5: Pulling the 5.2 (time lapse)
Part 6: The Test Fit
Part 7: Cutting and (not) Fitting
Part 8: Broken and Upgraded Parts
Part 9: Leaky Plenum Gasket
Part 10: Side Projects and Summer Fun
Part 11: Setting the Motor
Part 12: Custom Exhaust & Driveline
Part 13: Cutting and Rebuilding
Part 14: Giant Radiator in a Little Jeep
Part 15: Custom Tube Bumper
Part 16: Driveshafts
Part 17: A Real Firewall
Part 18: Starting Final Assembly
Part 19: Extending The Engine Cage
Part 20: Still Assembling
Part 21: It Lives!
Part 22: Brakes and Wiring
Follow us at www.facebook.com/ThreeThirdsFabrication for updates and more stories.