5.2 Magnum Swap Part 21: It Lives!
Welcome to part 21 of our 5.2 magnum swap, follow along as we swap a 5.2 magnum from a 1993 ZJ into our 2004 4.0 TTB WJ. The last 5 months have lead up to this moment. After a few frantic and long days in the shop we were finally able to start it up and see how everything came together. But before we could flip the switch, there was a lot of work to do.
Read The Rest
Part 1: It’s Finally Happening
Part 2: Out With the Old
Part 3: The Last of the Stock Components
Part 4: All About Brakes
Part 5: Pulling the 5.2 (time lapse)
Part 6: The Test Fit
Part 7: Cutting and (not) Fitting
Part 8: Broken and Upgraded Parts
Part 9: Leaky Plenum Gasket
Part 10: Side Projects and Summer Fun
Part 11: Setting the Motor
Part 12: Custom Exhaust & Driveline
Part 13: Cutting and Rebuilding
Part 14: Giant Radiator in a Little Jeep
Part 15: Custom Tube Bumper
Part 16: Driveshafts
Part 17: A Real Firewall
Part 18: Starting Final Assembly
Part 19: Extending The Engine Cage
Part 20: Still Assembling
Part 21: It Lives!
Part 22: Brakes and Wiring
It Lives!
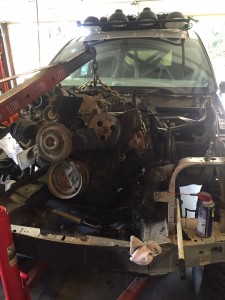
We ended last week with the engine pretty much assembled, but the plug wires were the only wires in the entire front half of the Jeep.
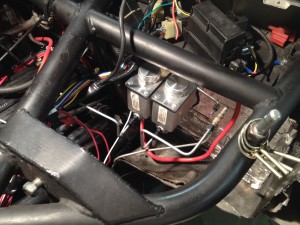
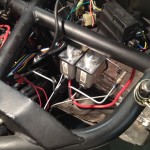
First up this week we finished the engine harness by adding the necessary wires for the transmissions, alternator cut off, and gauges. Our harness came with a feed for the neutral safety switch but not for overdrive or torque converter lock-up. These two functions are usually controlled by the computer, but we are wiring both to switches for more control over our transmission. Using the plug from the stock harness we extended the transmission wires to meet up with the rest of the harness. Wherever we could we used solder and heatshrink, where we couldn’t, we use butt connectors and electrical tape.
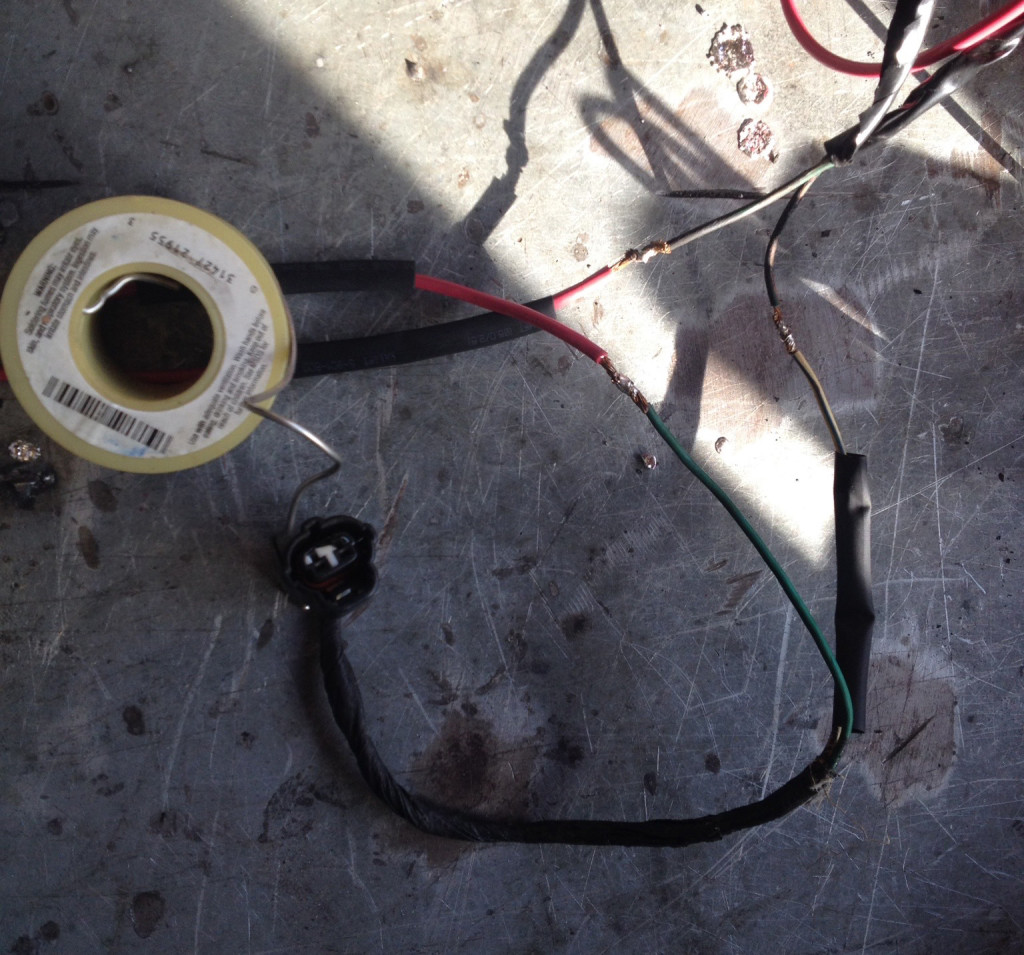
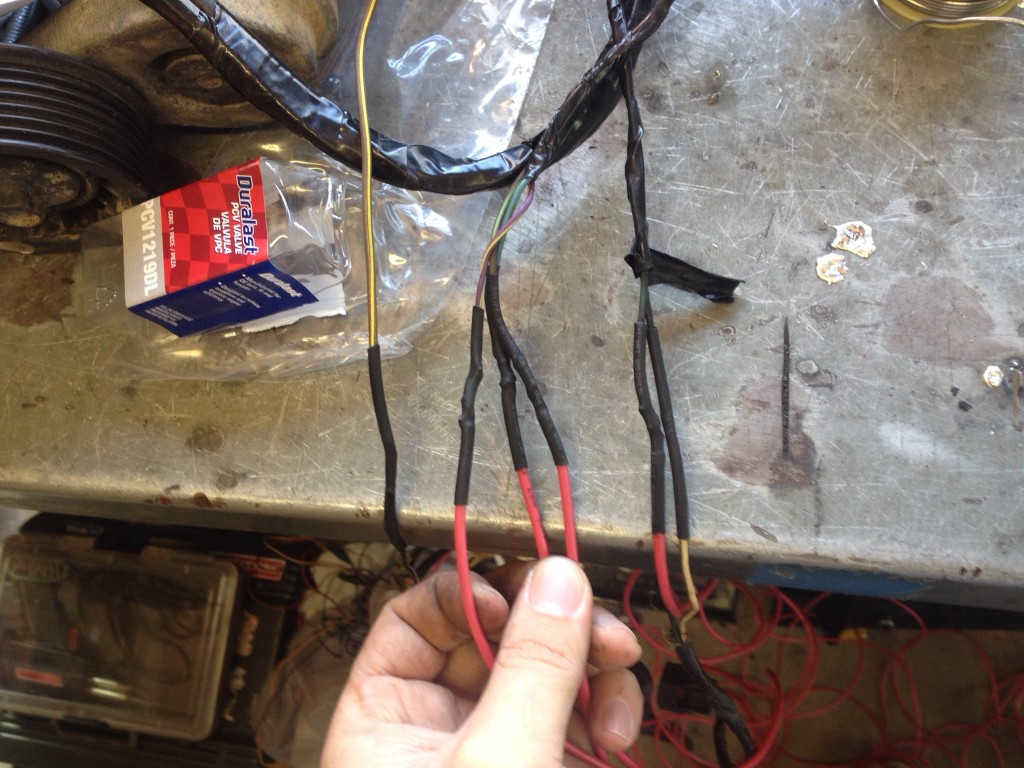
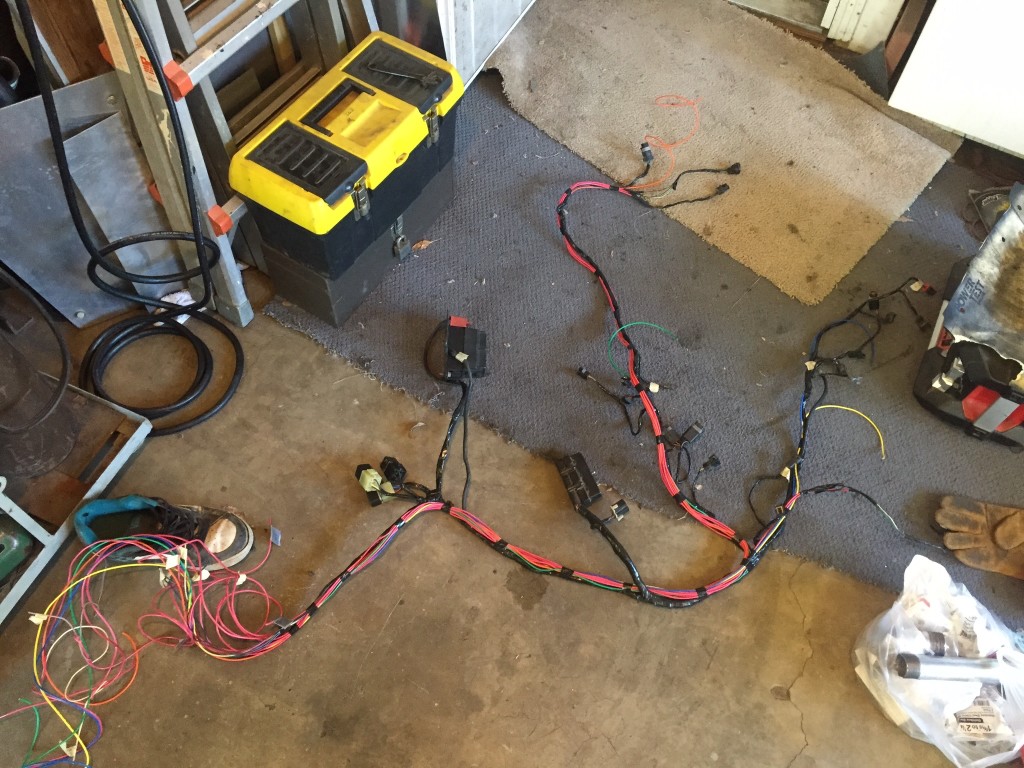
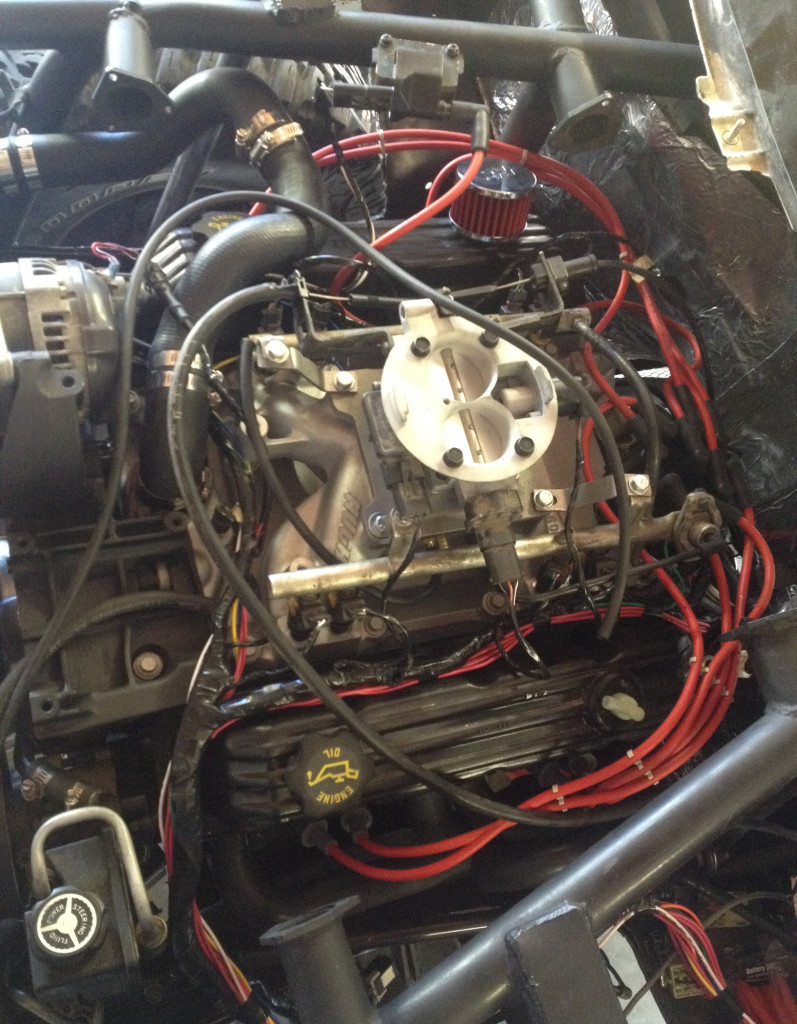
After the transmission, we spliced into the coil ground for a tach signal, and extended the alternator feed wire to run through our master kill switch in our dash. This circuit is broken just before the main battery cable when the switch is thrown, killing the alternator moments before cutting the power and protecting the Jeep’s electrics from a power surge. We then added wires for oil pressure, oil temp, coolant temp, and transmission temp into the engine harness. With the new harness built out we taped it all together and laid it over the engine. Everything fit and plugged in just as expected expect the crank position sensor. The wires were about 6” too short so we took the ZJ plug and about 10” of stock wiring to extend it.

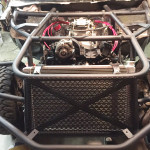
Next up was the harness for the lights and electric fans. We bought new spools of wires for the swap and set up a temporary wire rack to speed up the process. The light harness came together quickly and we temporarily taped it in place across the engine cage knowing we were going to be adding to it as the week went on.
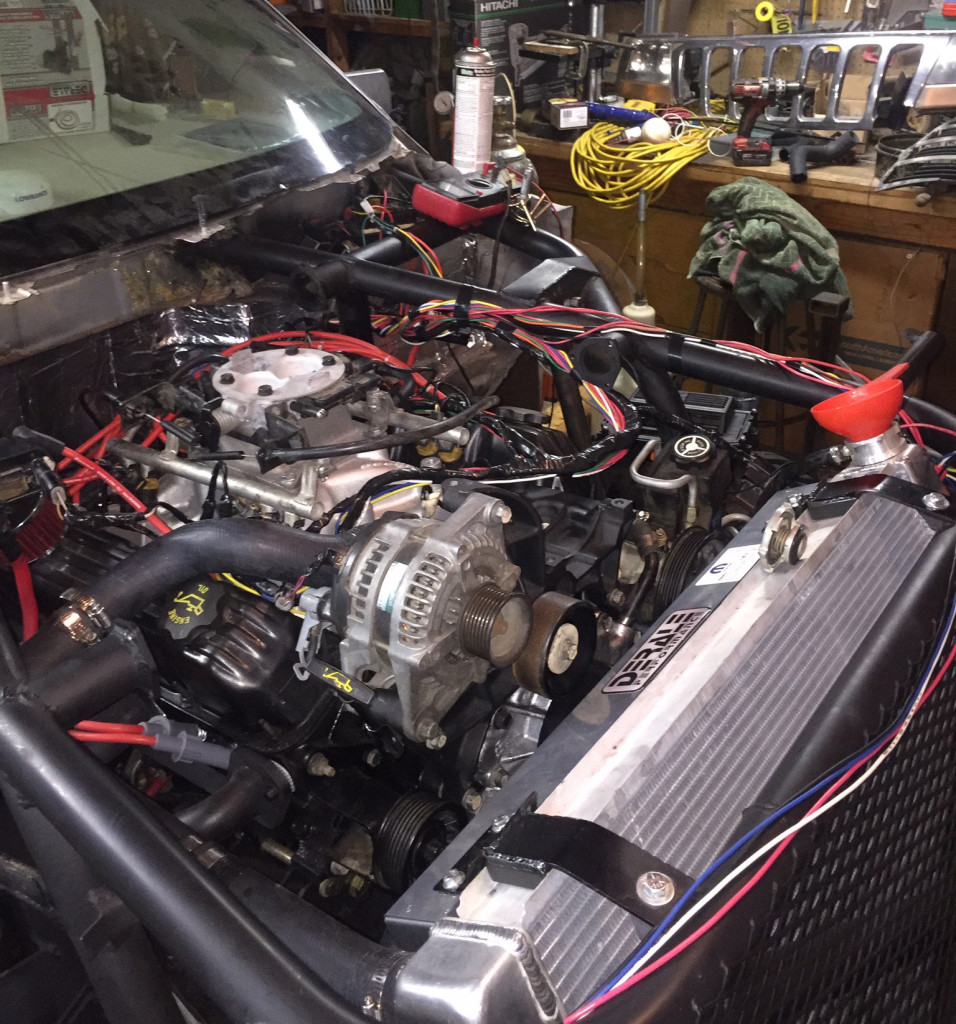
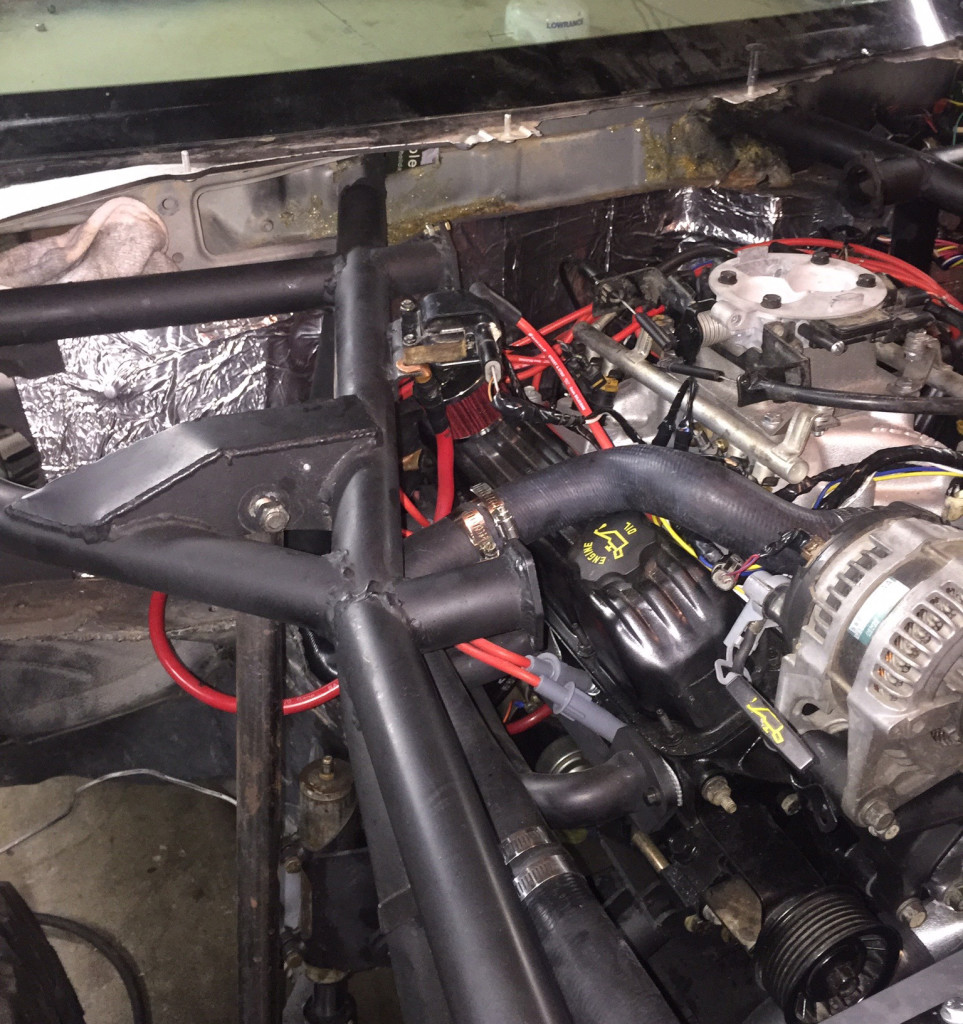
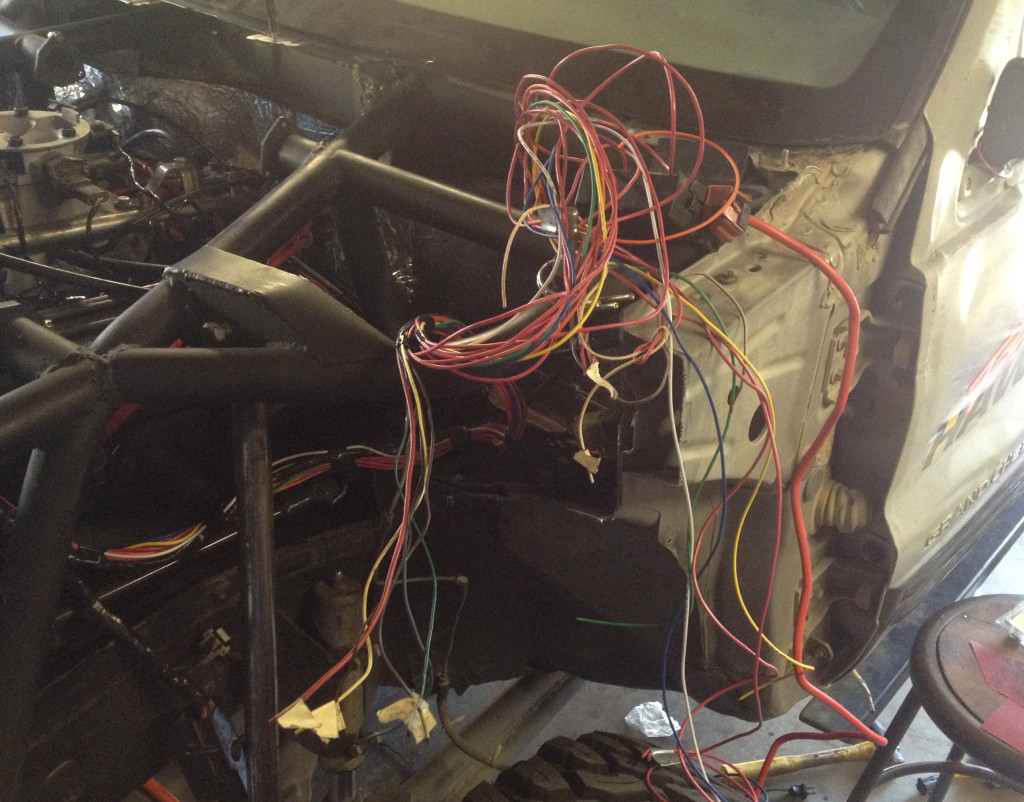
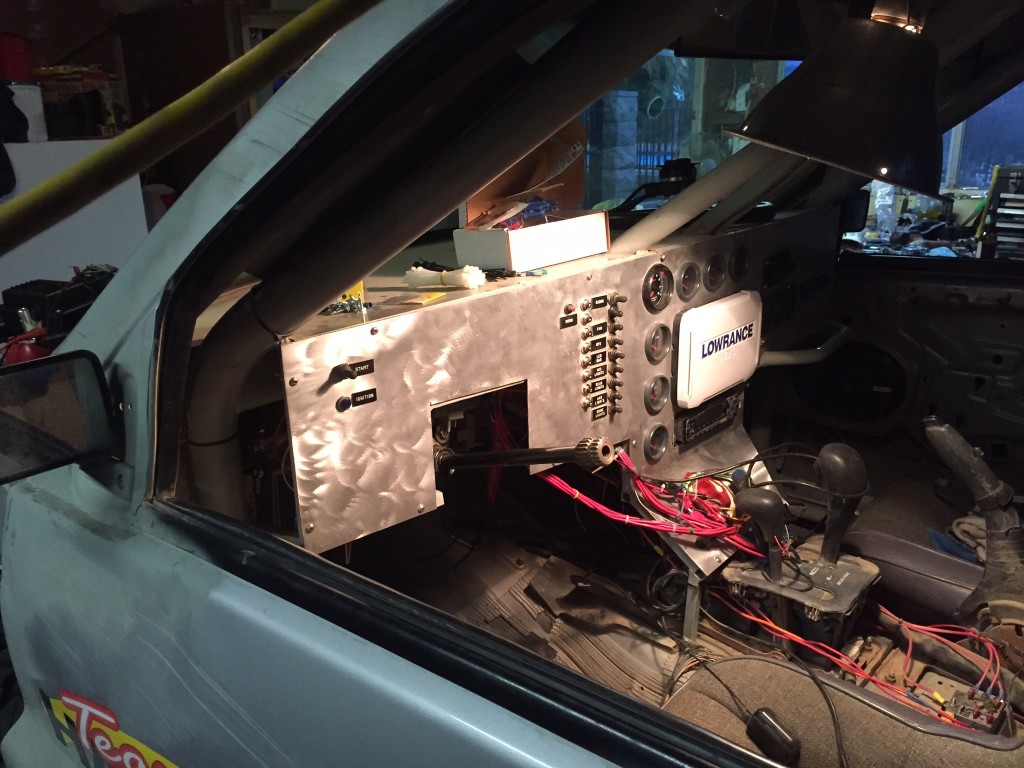
With all of the wiring complete in the engine bay we fed the rest of the wires through the firewall and started wiring up the inside. Our dash was mostly wired from before the swap so we only had to add a few new circuits and switches inside. The biggest challenge was keeping the 20+ wire feeds straight and hooking them up in the correct location. Dan is becoming an expert at wiring the Jeep and had the basic wires ran and connected in a few hours.
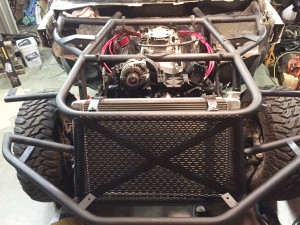
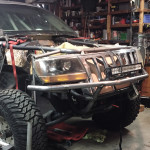
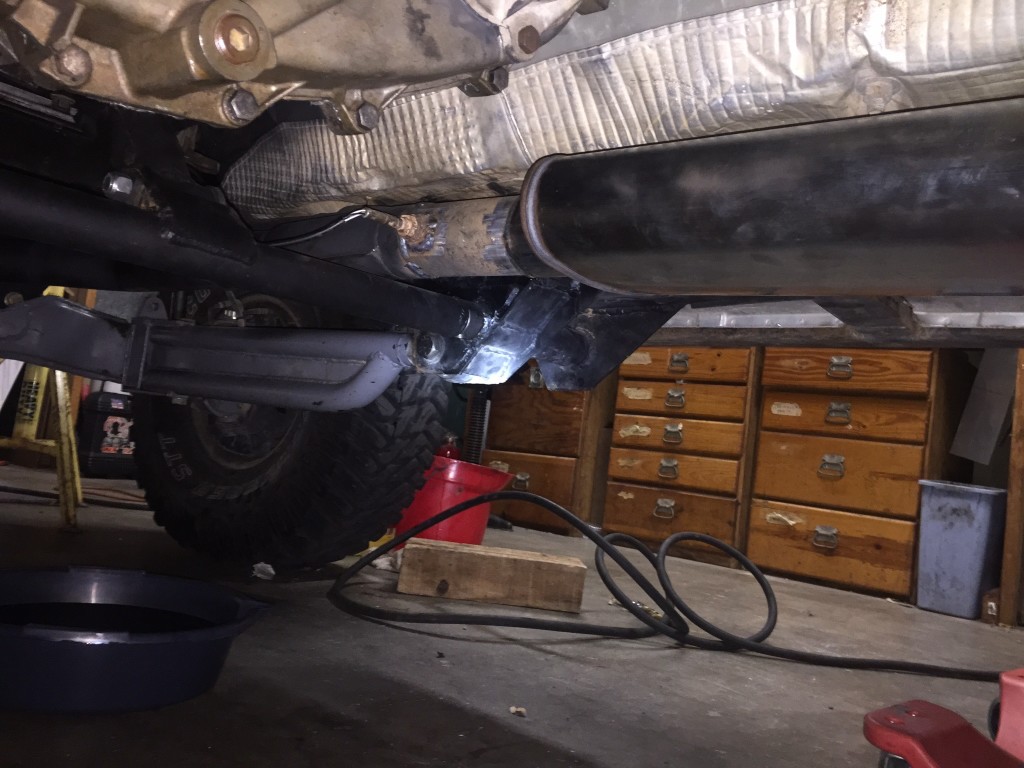
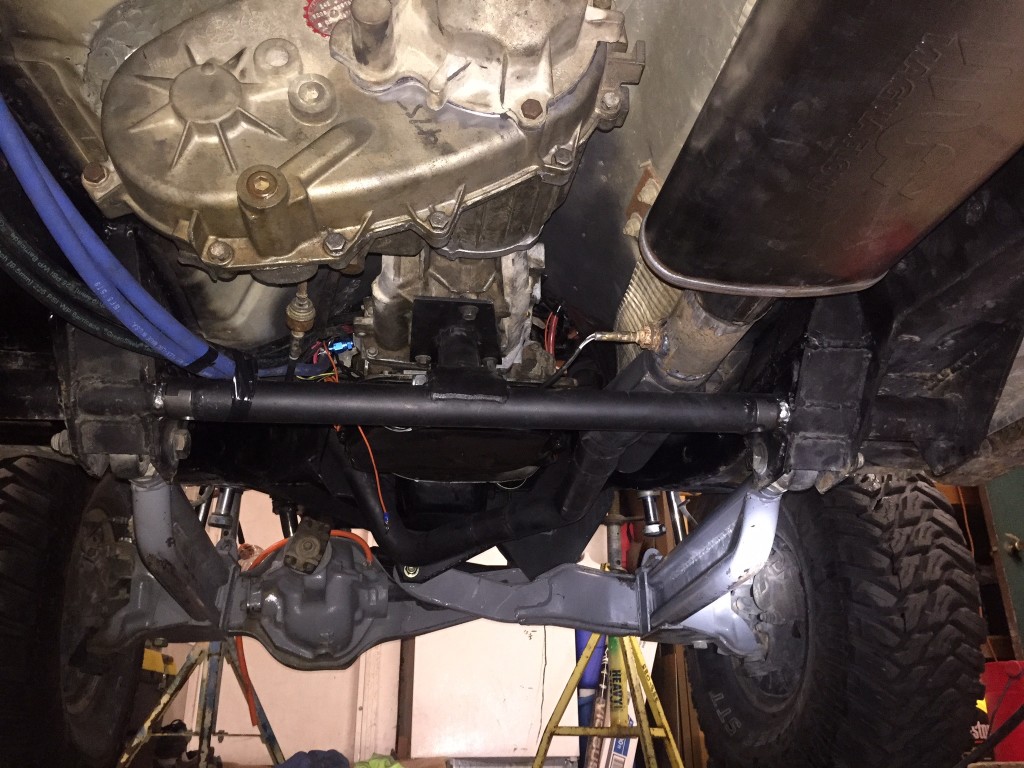
With the basic wires ran, and the rest connected by alligator clips for testing purposes we focused on prepping the engine to start. We bolted up our custom y-pipe, ran our transmission lines to the new remote cooler mounted out back then we checked the transmission fluid, coolant, double checked timing and tightened the last of the bolts. After we were confident it was ready to start we cranked it over.
It sounded like it was almost there so we loosed the distributor and slowly rotated it until it sounded like it wanted to start. With some help from a 75 amp battery charger and a can of carb cleaner it finally started. We revved it a few times to blow out any extra gas and saw that it idled smoothly before shutting it down. It is a new block that needs to be properly broken in and we did not have the time right then.
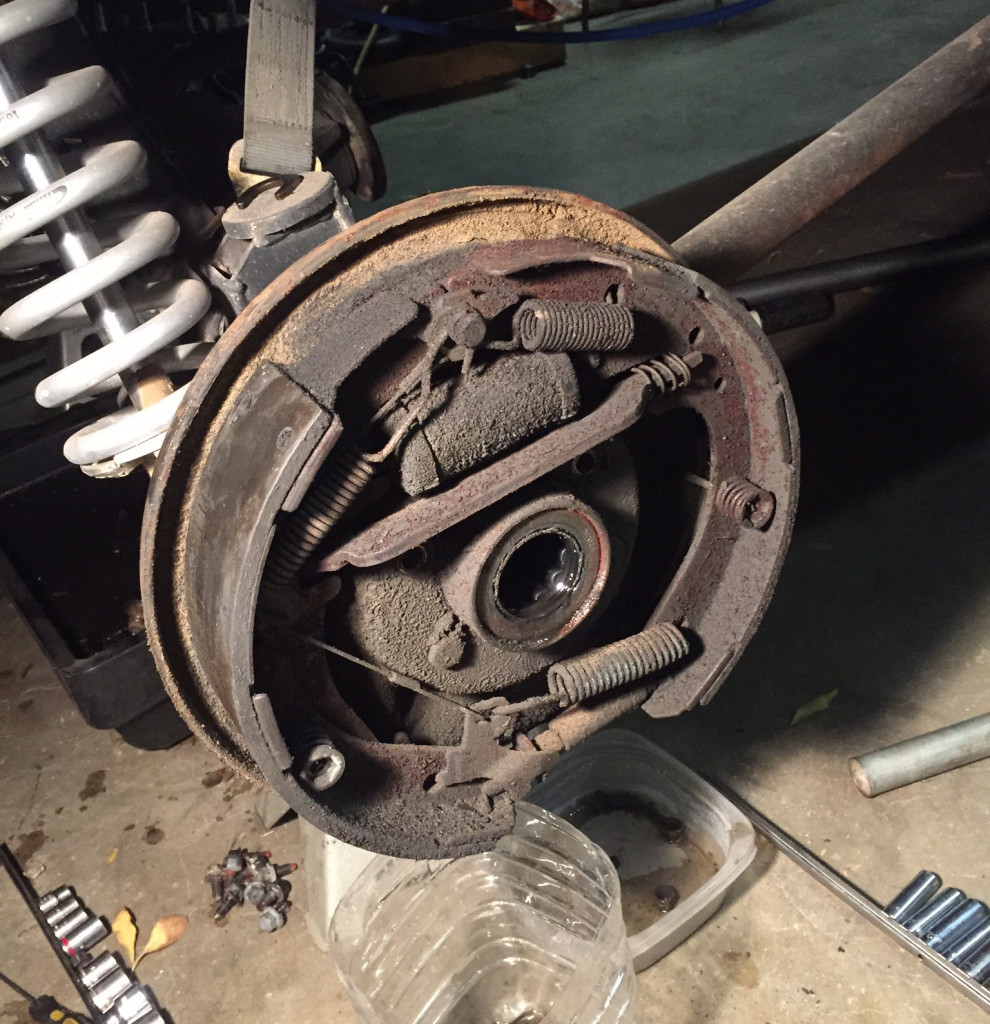
Disk Brake Conversion
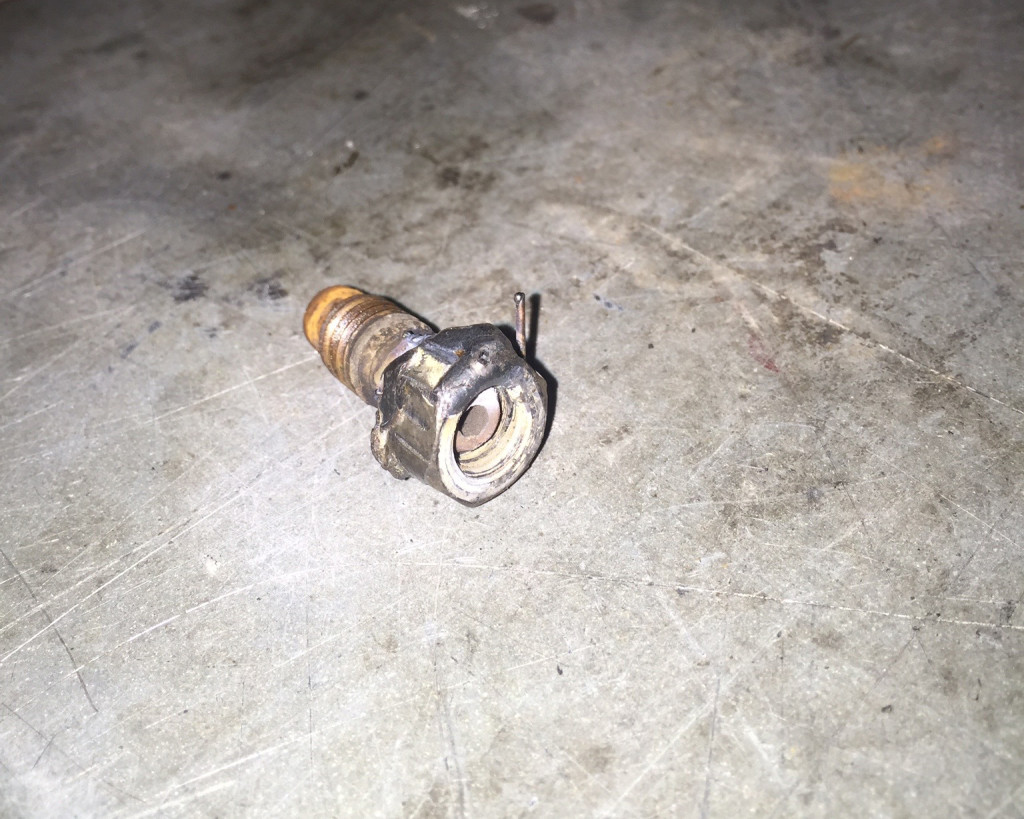
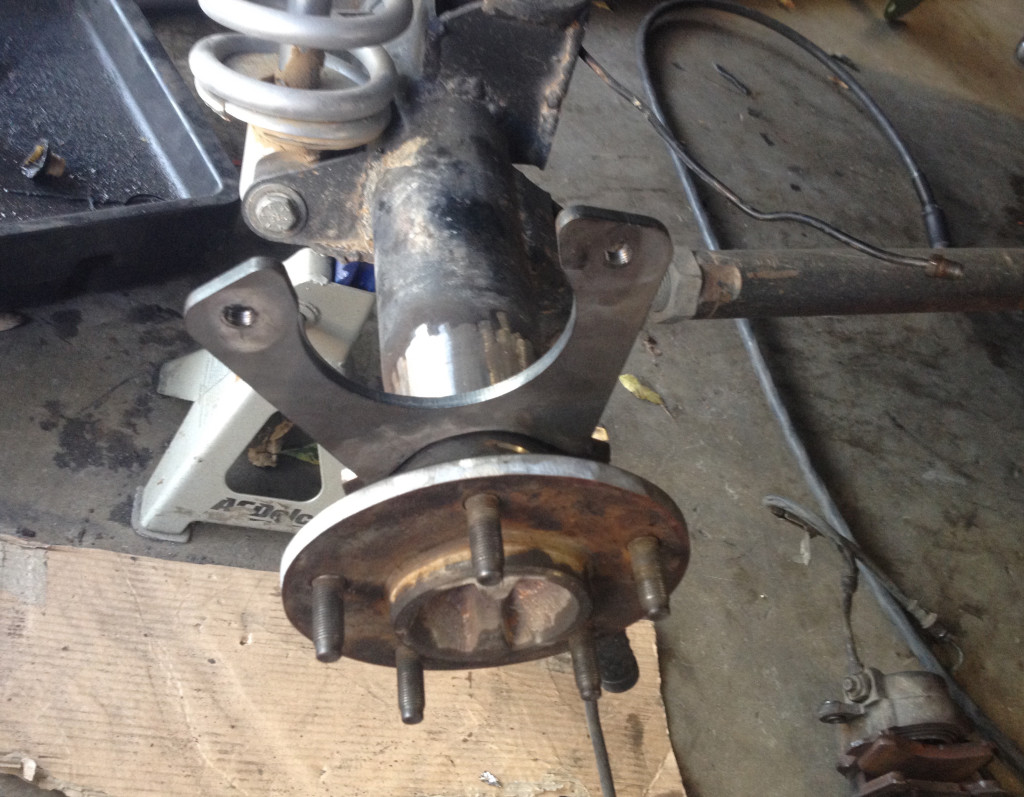
As part of the swap we removed the stock brakes in favor of CNC dual master cylinders. Because the master cylinder bore is related to the brake piston size we also wanted to upgrade the rear brakes. We found some weld-on brackets that used the very common GM 5.5” brake calipers. We found some front calipers from a 1997 Jimmy in the junk yard that looked great except for a stripped bleeder valve. We welded on a loose nut and it came right off. The hardest part was finding the correct rotors to fit our 5 x 5.5 bolt pattern.
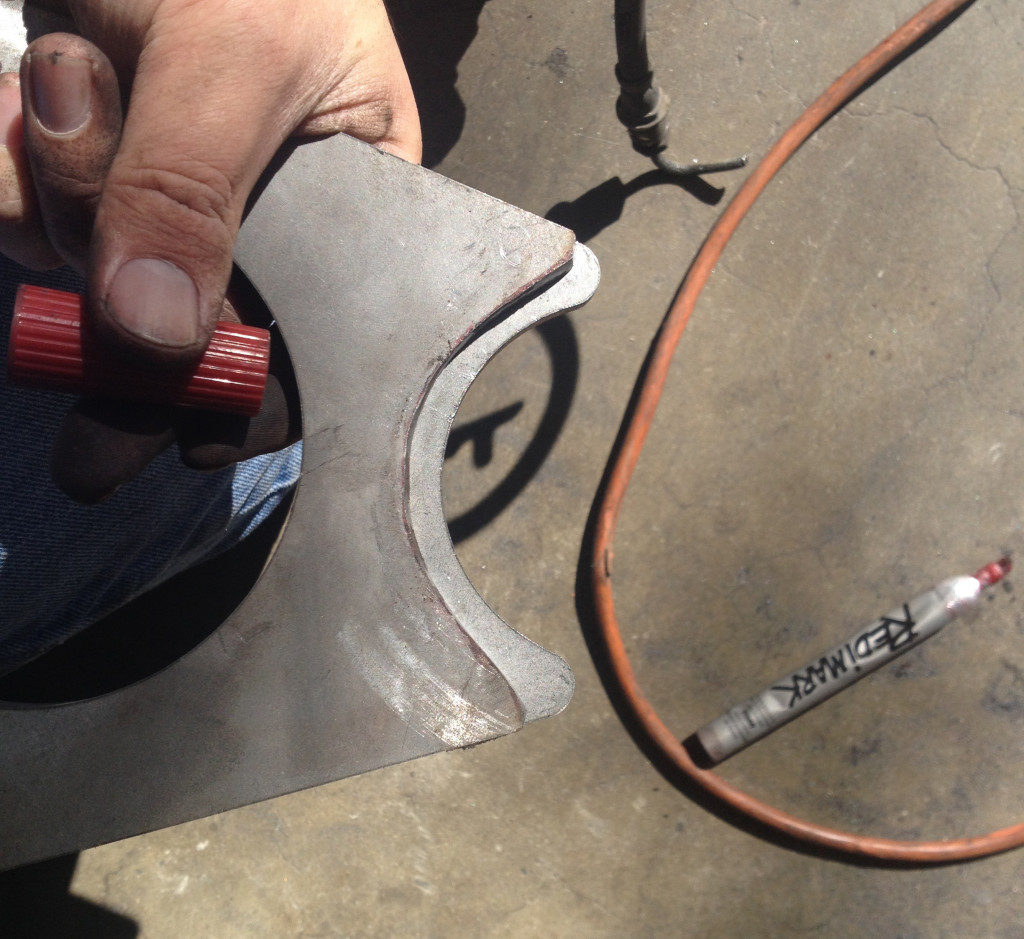
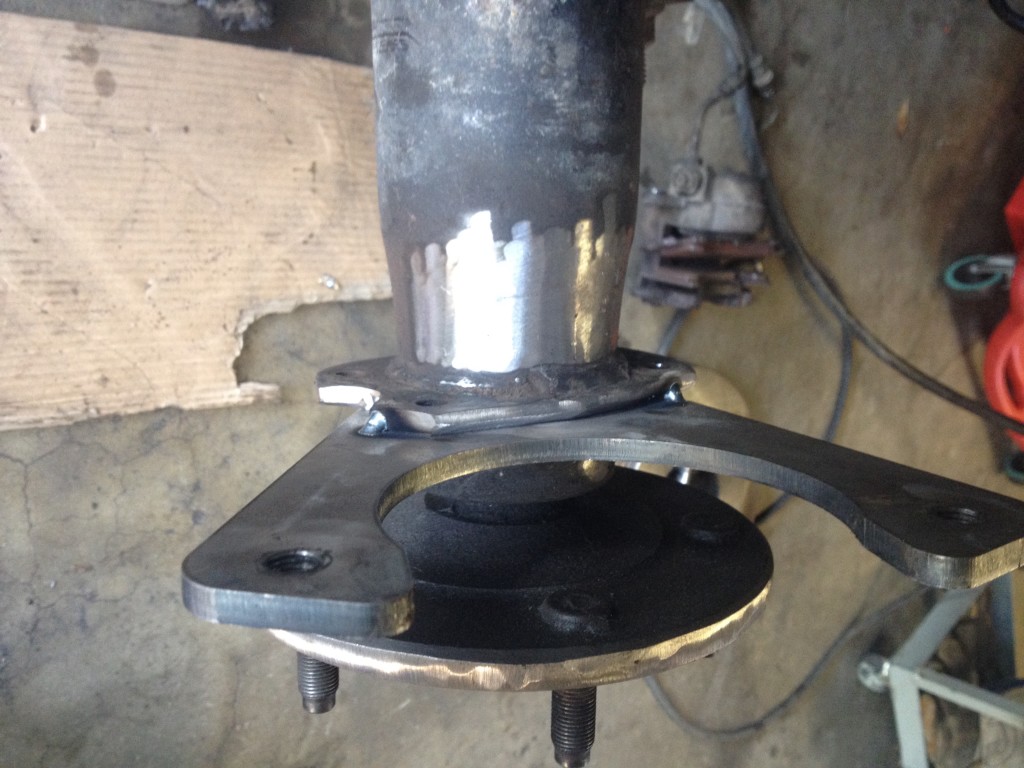
After searching for rotors we settled a set from a 2004 Tracker, with an 11.3” diameter they were a little smaller than the 11.75” required for the brackets, but we were able to shorten the brackets to make it work. The brackets, calipers, and rotor worked great, but when it came time to bolt on the wheels there was a problem. We didn’t have enough backspacing in our wheels to clear the bulky calipers. For now we are going to add 1.25” wheel spacers and start searching for a new, long term solution.
What’s Next
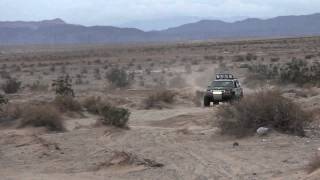
The week we will be straightening out the remaining wiring and cleaning out the inside as we have been using the seats as storage for the last 5 months. Once the inside is complete we will install the master cylinders, run brake lines, hook up the drive shafts, break in the motor and with any luck be able to go for a test drive.
Don’t forget to check back next Tuesday for updates.
Read The Rest
Part 1: It’s Finally Happening
Part 2: Out With the Old
Part 3: The Last of the Stock Components
Part 4: All About Brakes
Part 5: Pulling the 5.2 (time lapse)
Part 6: The Test Fit
Part 7: Cutting and (not) Fitting
Part 8: Broken and Upgraded Parts
Part 9: Leaky Plenum Gasket
Part 10: Side Projects and Summer Fun
Part 11: Setting the Motor
Part 12: Custom Exhaust & Driveline
Part 13: Cutting and Rebuilding
Part 14: Giant Radiator in a Little Jeep
Part 15: Custom Tube Bumper
Part 16: Driveshafts
Part 17: A Real Firewall
Part 18: Starting Final Assembly
Part 19: Extending The Engine Cage
Part 20: Still Assembling
Part 21: It Lives!
Part 22: Brakes and Wiring
Follow us at www.facebook.com/ThreeThirdsFabrication for updates and more stories.