This is Part 6 of our 5.2 magnum swap, we had previously set a goal of September 26th to keep us motivated, but now that we have both motors pulled there are more upgrades we want to add into the overall project. We could rush and finish it all by September 26th, but we would rather push the date back a few weeks and do things the right way.
Read The Rest
Part 1: It’s Finally Happening
Part 2: Out With the Old
Part 3: The Last of the Stock Components
Part 4 – All About Brakes
Part 5: Pulling the 5.2 (time lapse)
Part 6: The Test Fit
Part 7: Cutting and (not) Fitting
Part 8: Broken and Upgraded Parts
Part 9: Leaky Plenum Gasket
Part 10: Side Projects and Summer Fun
Part 11: Setting the Motor
Part 12: Custom Exhaust & Driveline
Part 13: Cutting and Rebuilding
Part 14: Giant Radiator in a Little Jeep
Part 15: Custom Tube Bumper
Part 16: Driveshafts
Part 17: A Real Firewall
Part 18: Starting Final Assembly
Part 19: Extending The Engine Cage
Part 20: Still Assembling
Part 21: It Lives!
Part 22: Brakes and Wiring
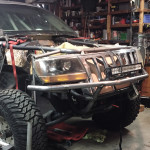
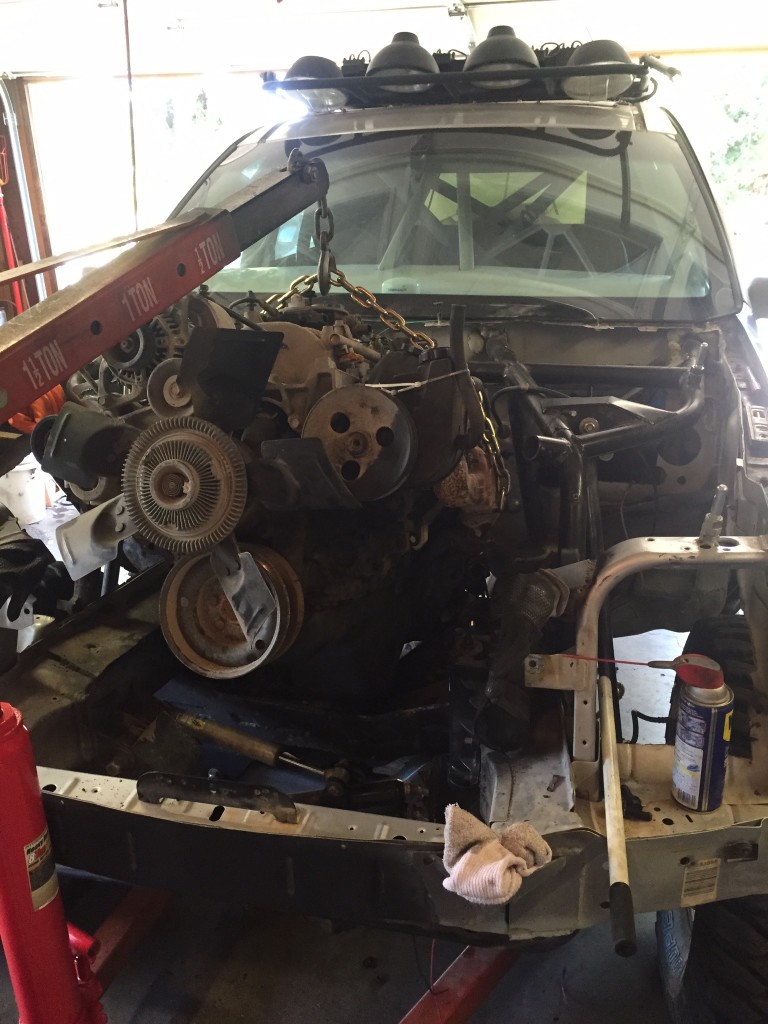
Test Fitting the 5.2
With the 5.2 out it was time for the moment of truth. We had always known it would be a tight squeeze and we may have to modify the firewall a little, but without actually hanging the motor in place we could only measure and make our best guess. Our biggest issue would be the TTB cross member welded between the frame rails. We were able to build it just in front of the 4.0 oil pan, but the 5.2 is a shorter motor meaning the oil pan is a little closer to the front, which was cause for concern.
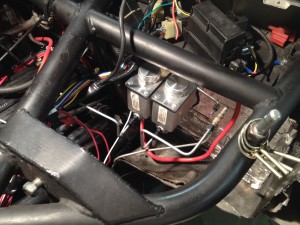
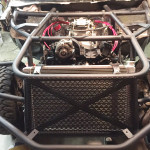
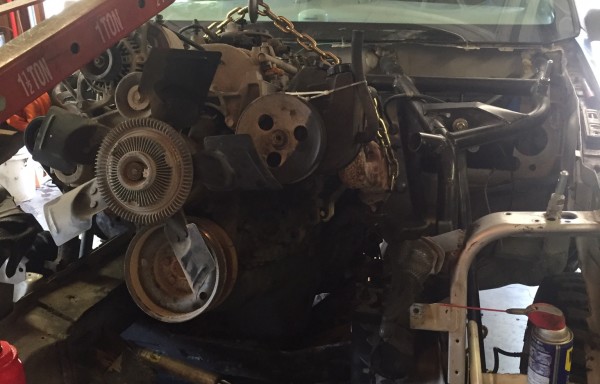
But before we could even get to the oil pan, our engine cage blocked us.
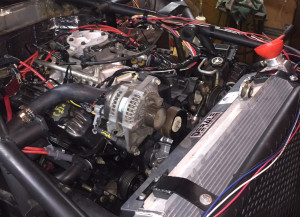
With that gone we could push the motor as far back as it would go then lower it in.
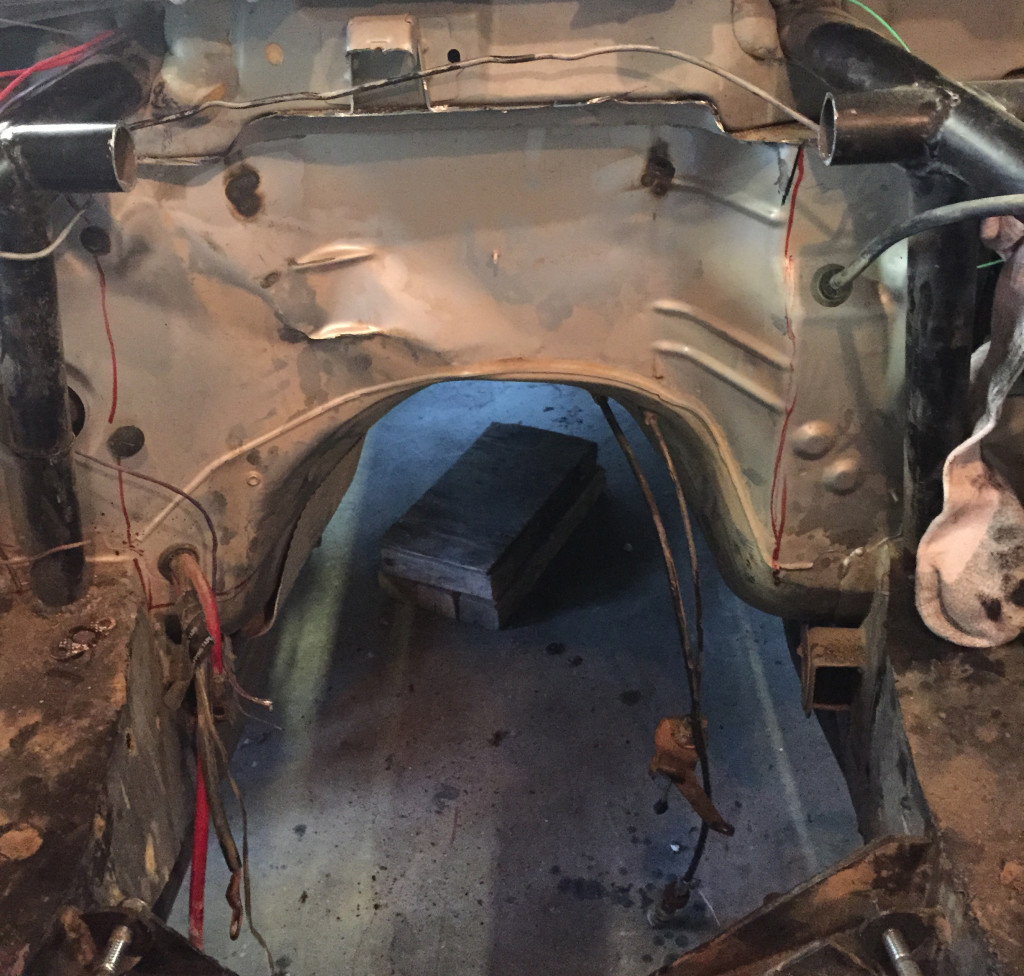
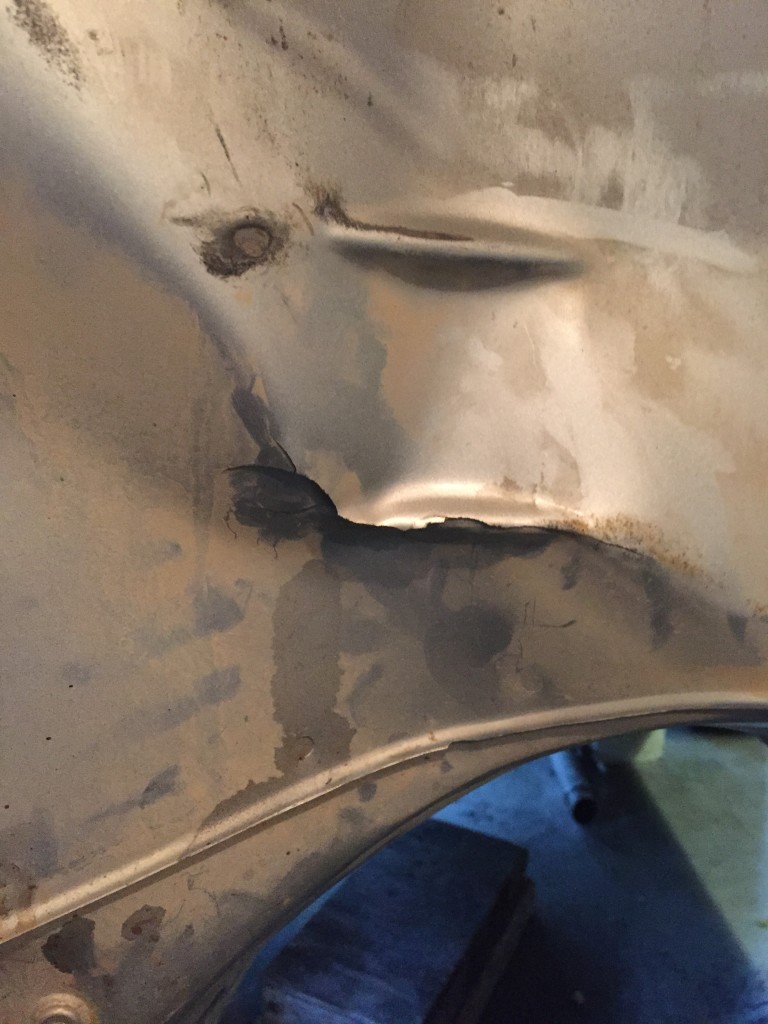
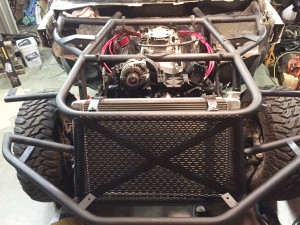
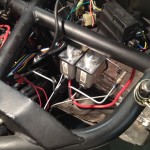
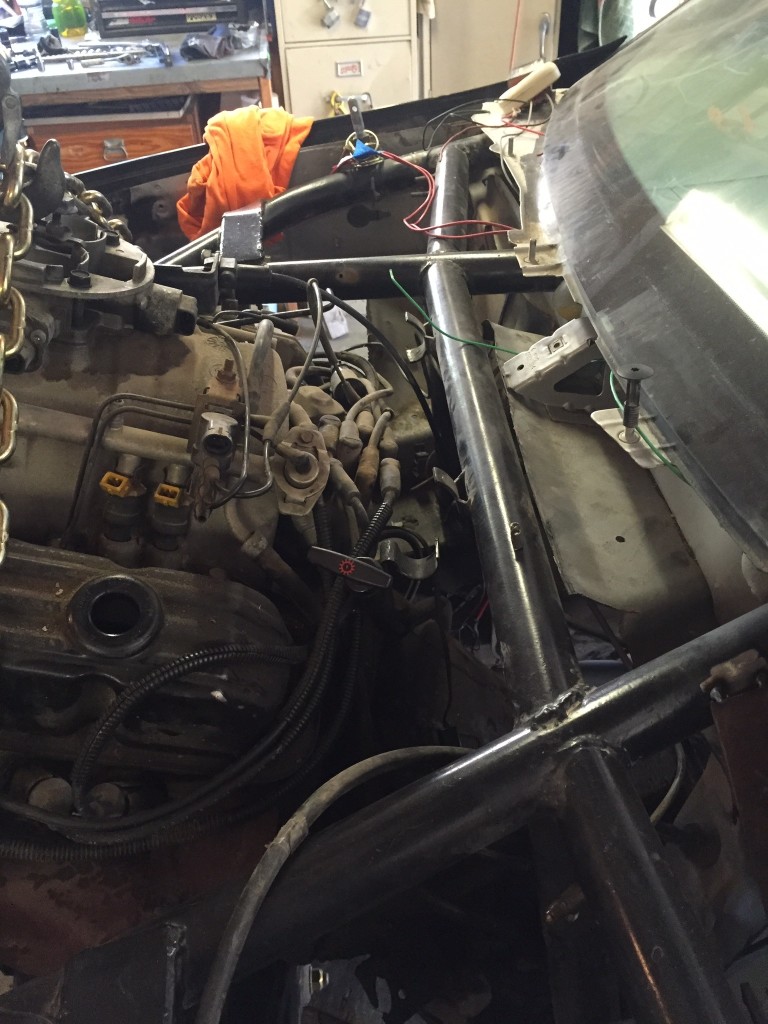
As you can see by the creases in the firewall it is a little too tight of a fit. But the firewall isn’t the biggest issue. The WJ unibody is built specifically for the 4.0 and 4.7 drivelines. This means that the bottom of the unibody is designed to fit just barely around the engine, transmission and transfer case. With the motor pushed back a few inches, and the 46RH being 5″ longer than the 42RE our transfer case is now pushed backwards and out of the tunnel. So along with chopping the firewall we may have to cut a hole behind the seats to clearance the transfer case.
This issue is compounded by the fact that our main hoop for the cage and seat mount sit just outside of the tunnel. Our current options are either making a custom oil pan to bring the motor forward, or pushing the motor back 5-10 inches to push the transfer case back far enough we can cut into the floor without compromising the cage mounts. But we can’t do any final fitment without having the drive train back together so we had to finish the transmission.
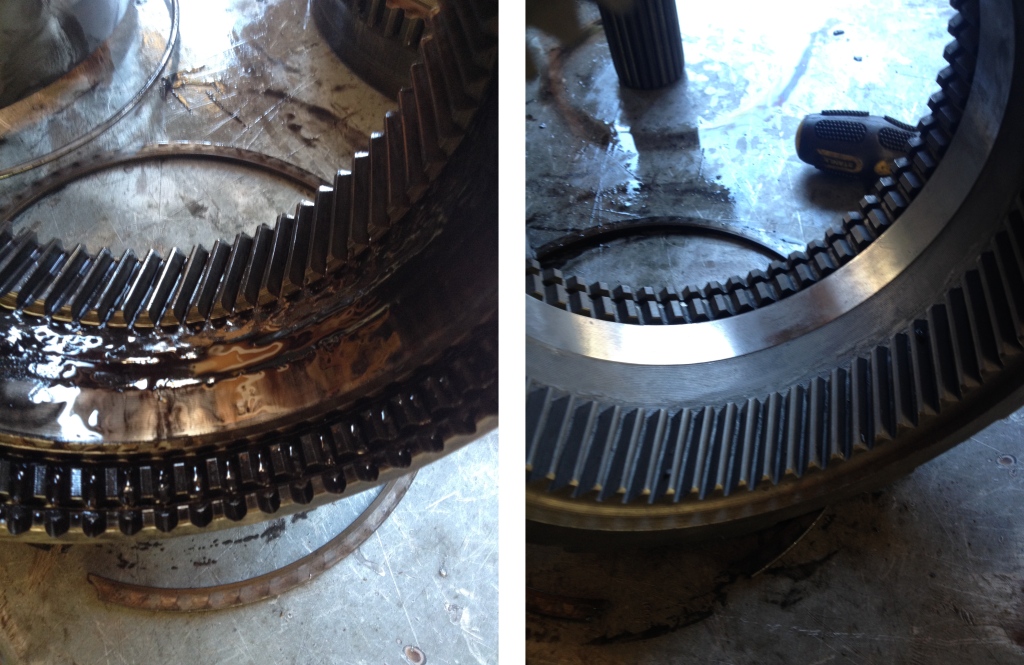
46RH Rebuild Part II
This is going to be a short write up with the hopes of doing a more detail rebuild post in the future. If you remember from last week we rebuilt the overdrive unit, but the steels we used were too thick so we had to buy a smaller pressure plate to make up the difference.
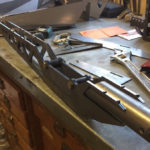
First we removed the retaining snap ring, clutch pack and stuck it in the press to remove the direct clutch.
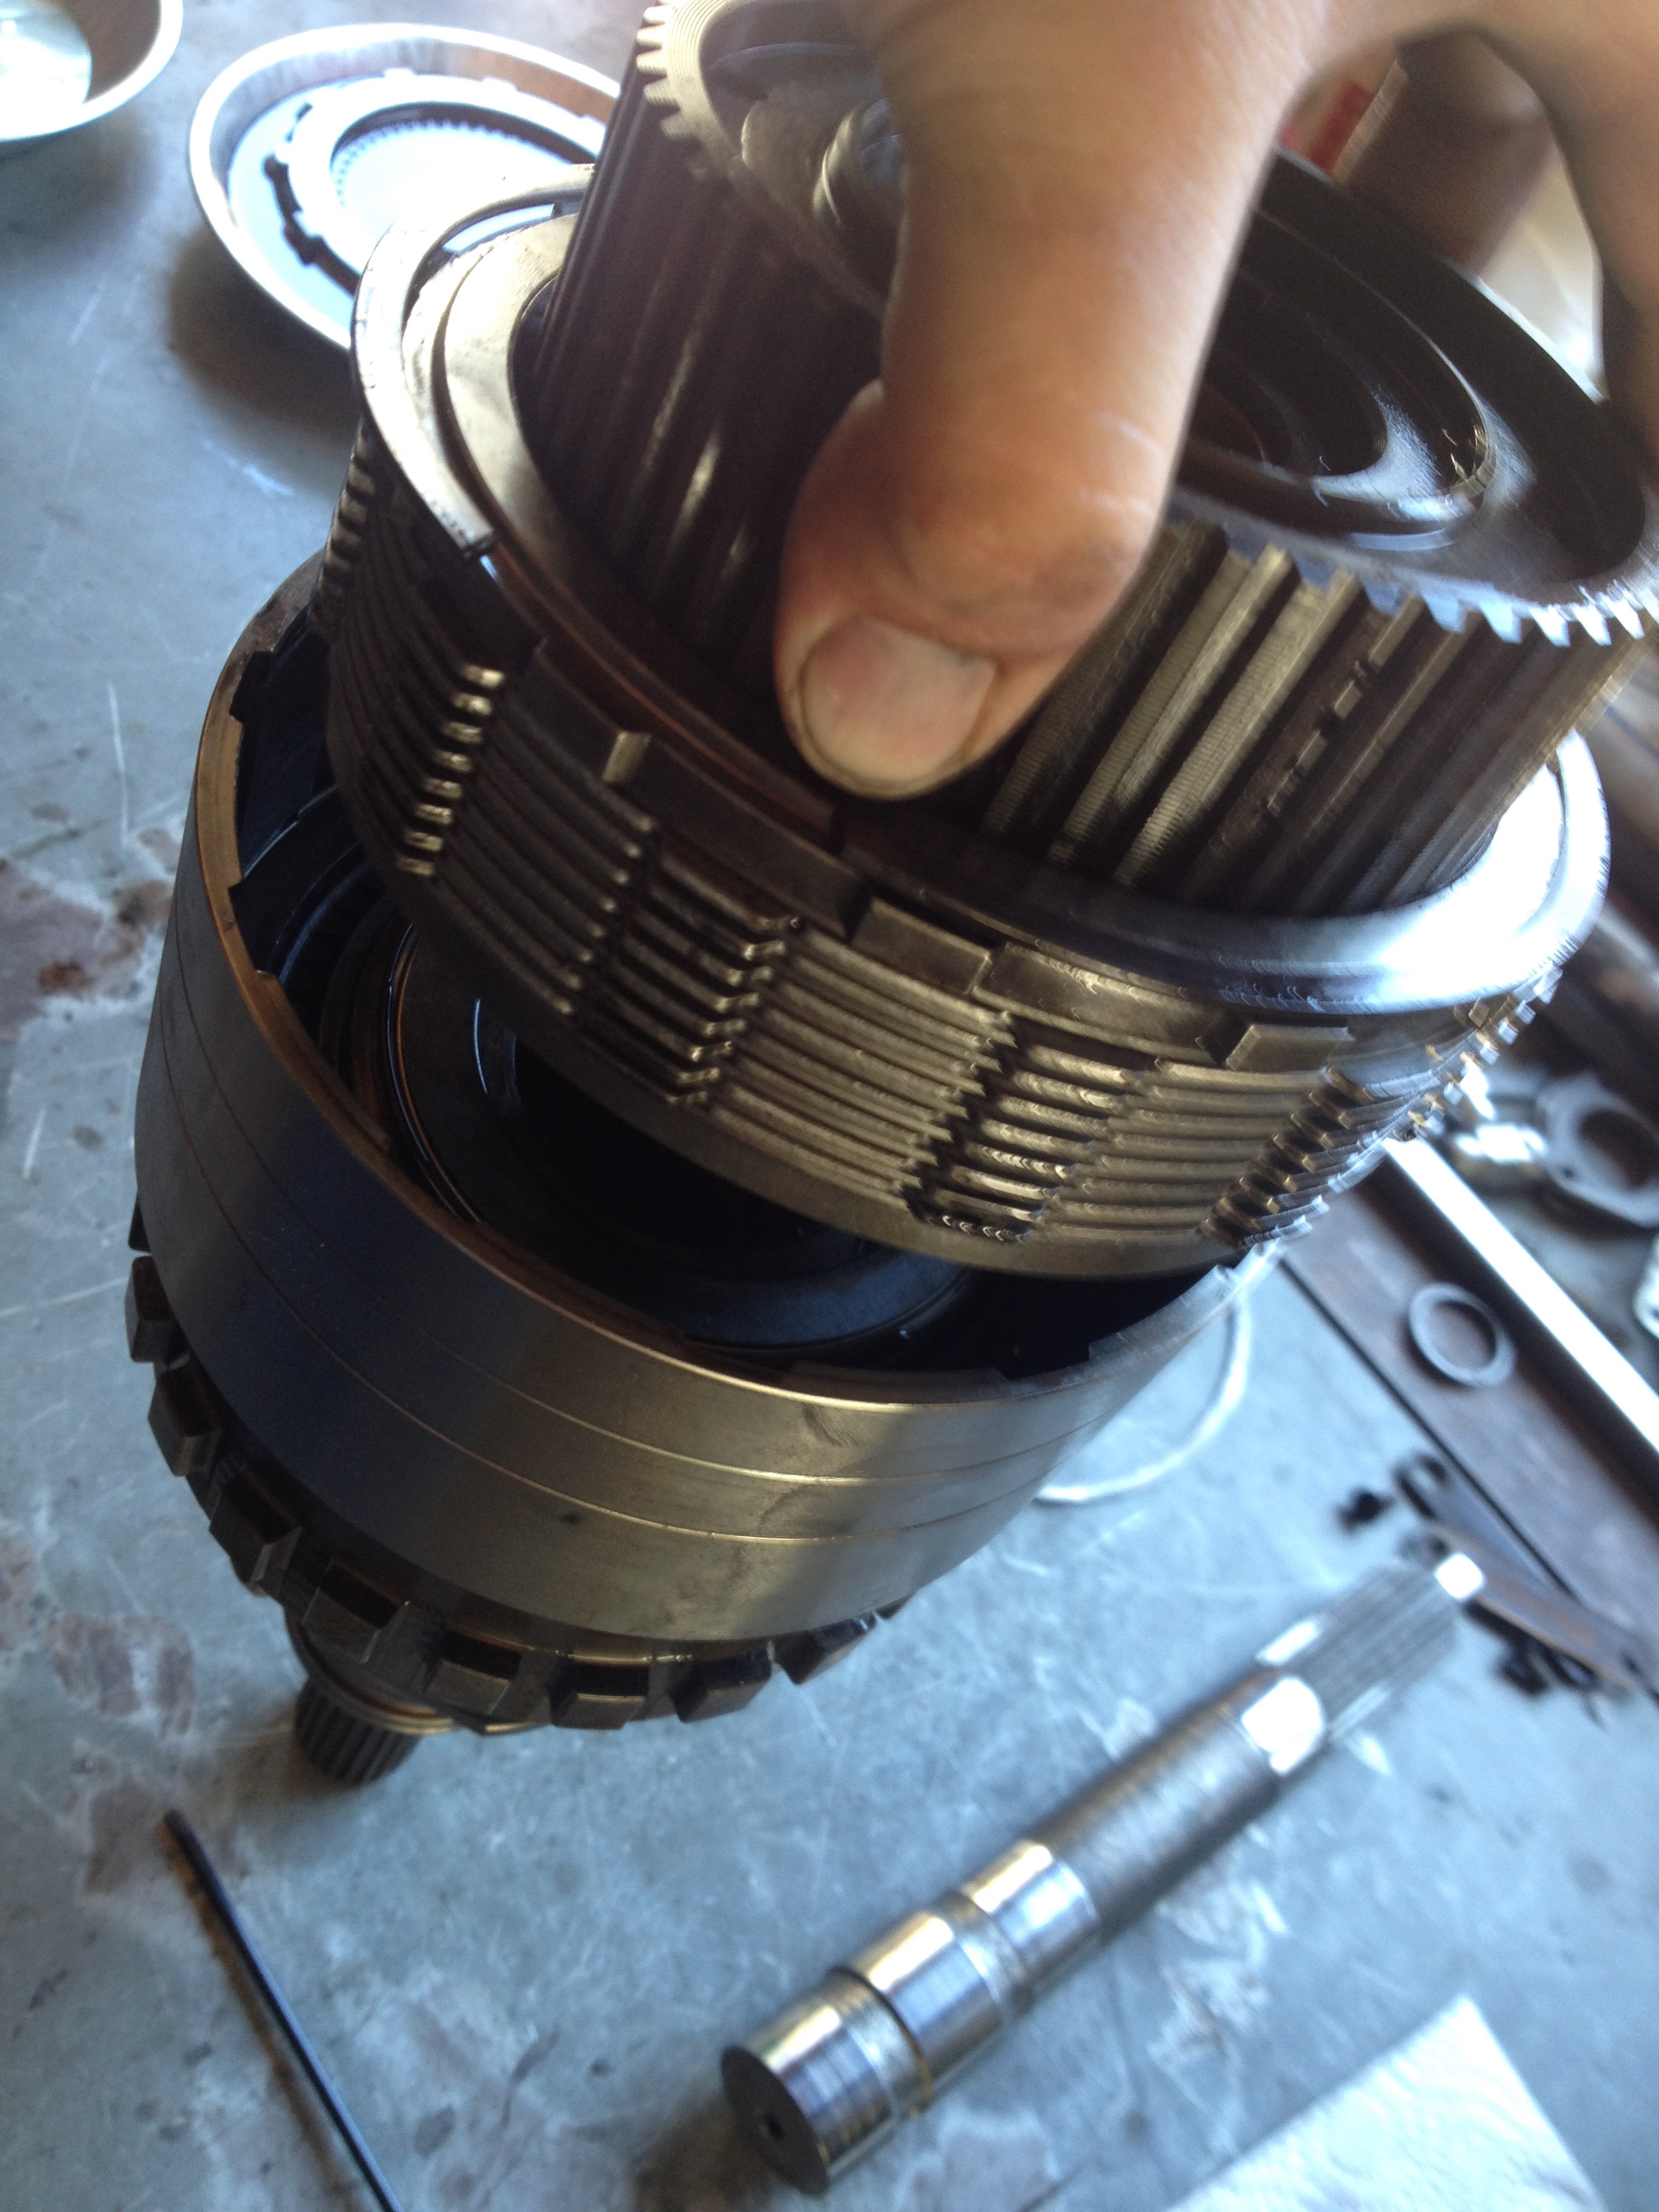
Now it’s a little easier to visualize the issue from last weekend. This clutch pack was too thick causing the clutch hub to sit lower than we needed. With the thinner plate (and now thinner overall clutch pack) the hub won’t be held down as far and will put us back into the correct specifications.

We had a little more time this weekend so we spent some time cleaning the inside a little better than last time. We didn’t take every little piece out, but feel like we make a big difference.
Everything was reassembled and measured for the correct OD spacers and shims. Once we had the sizes we called a few local transmission shops and found one that would sell us the sizes we needed.
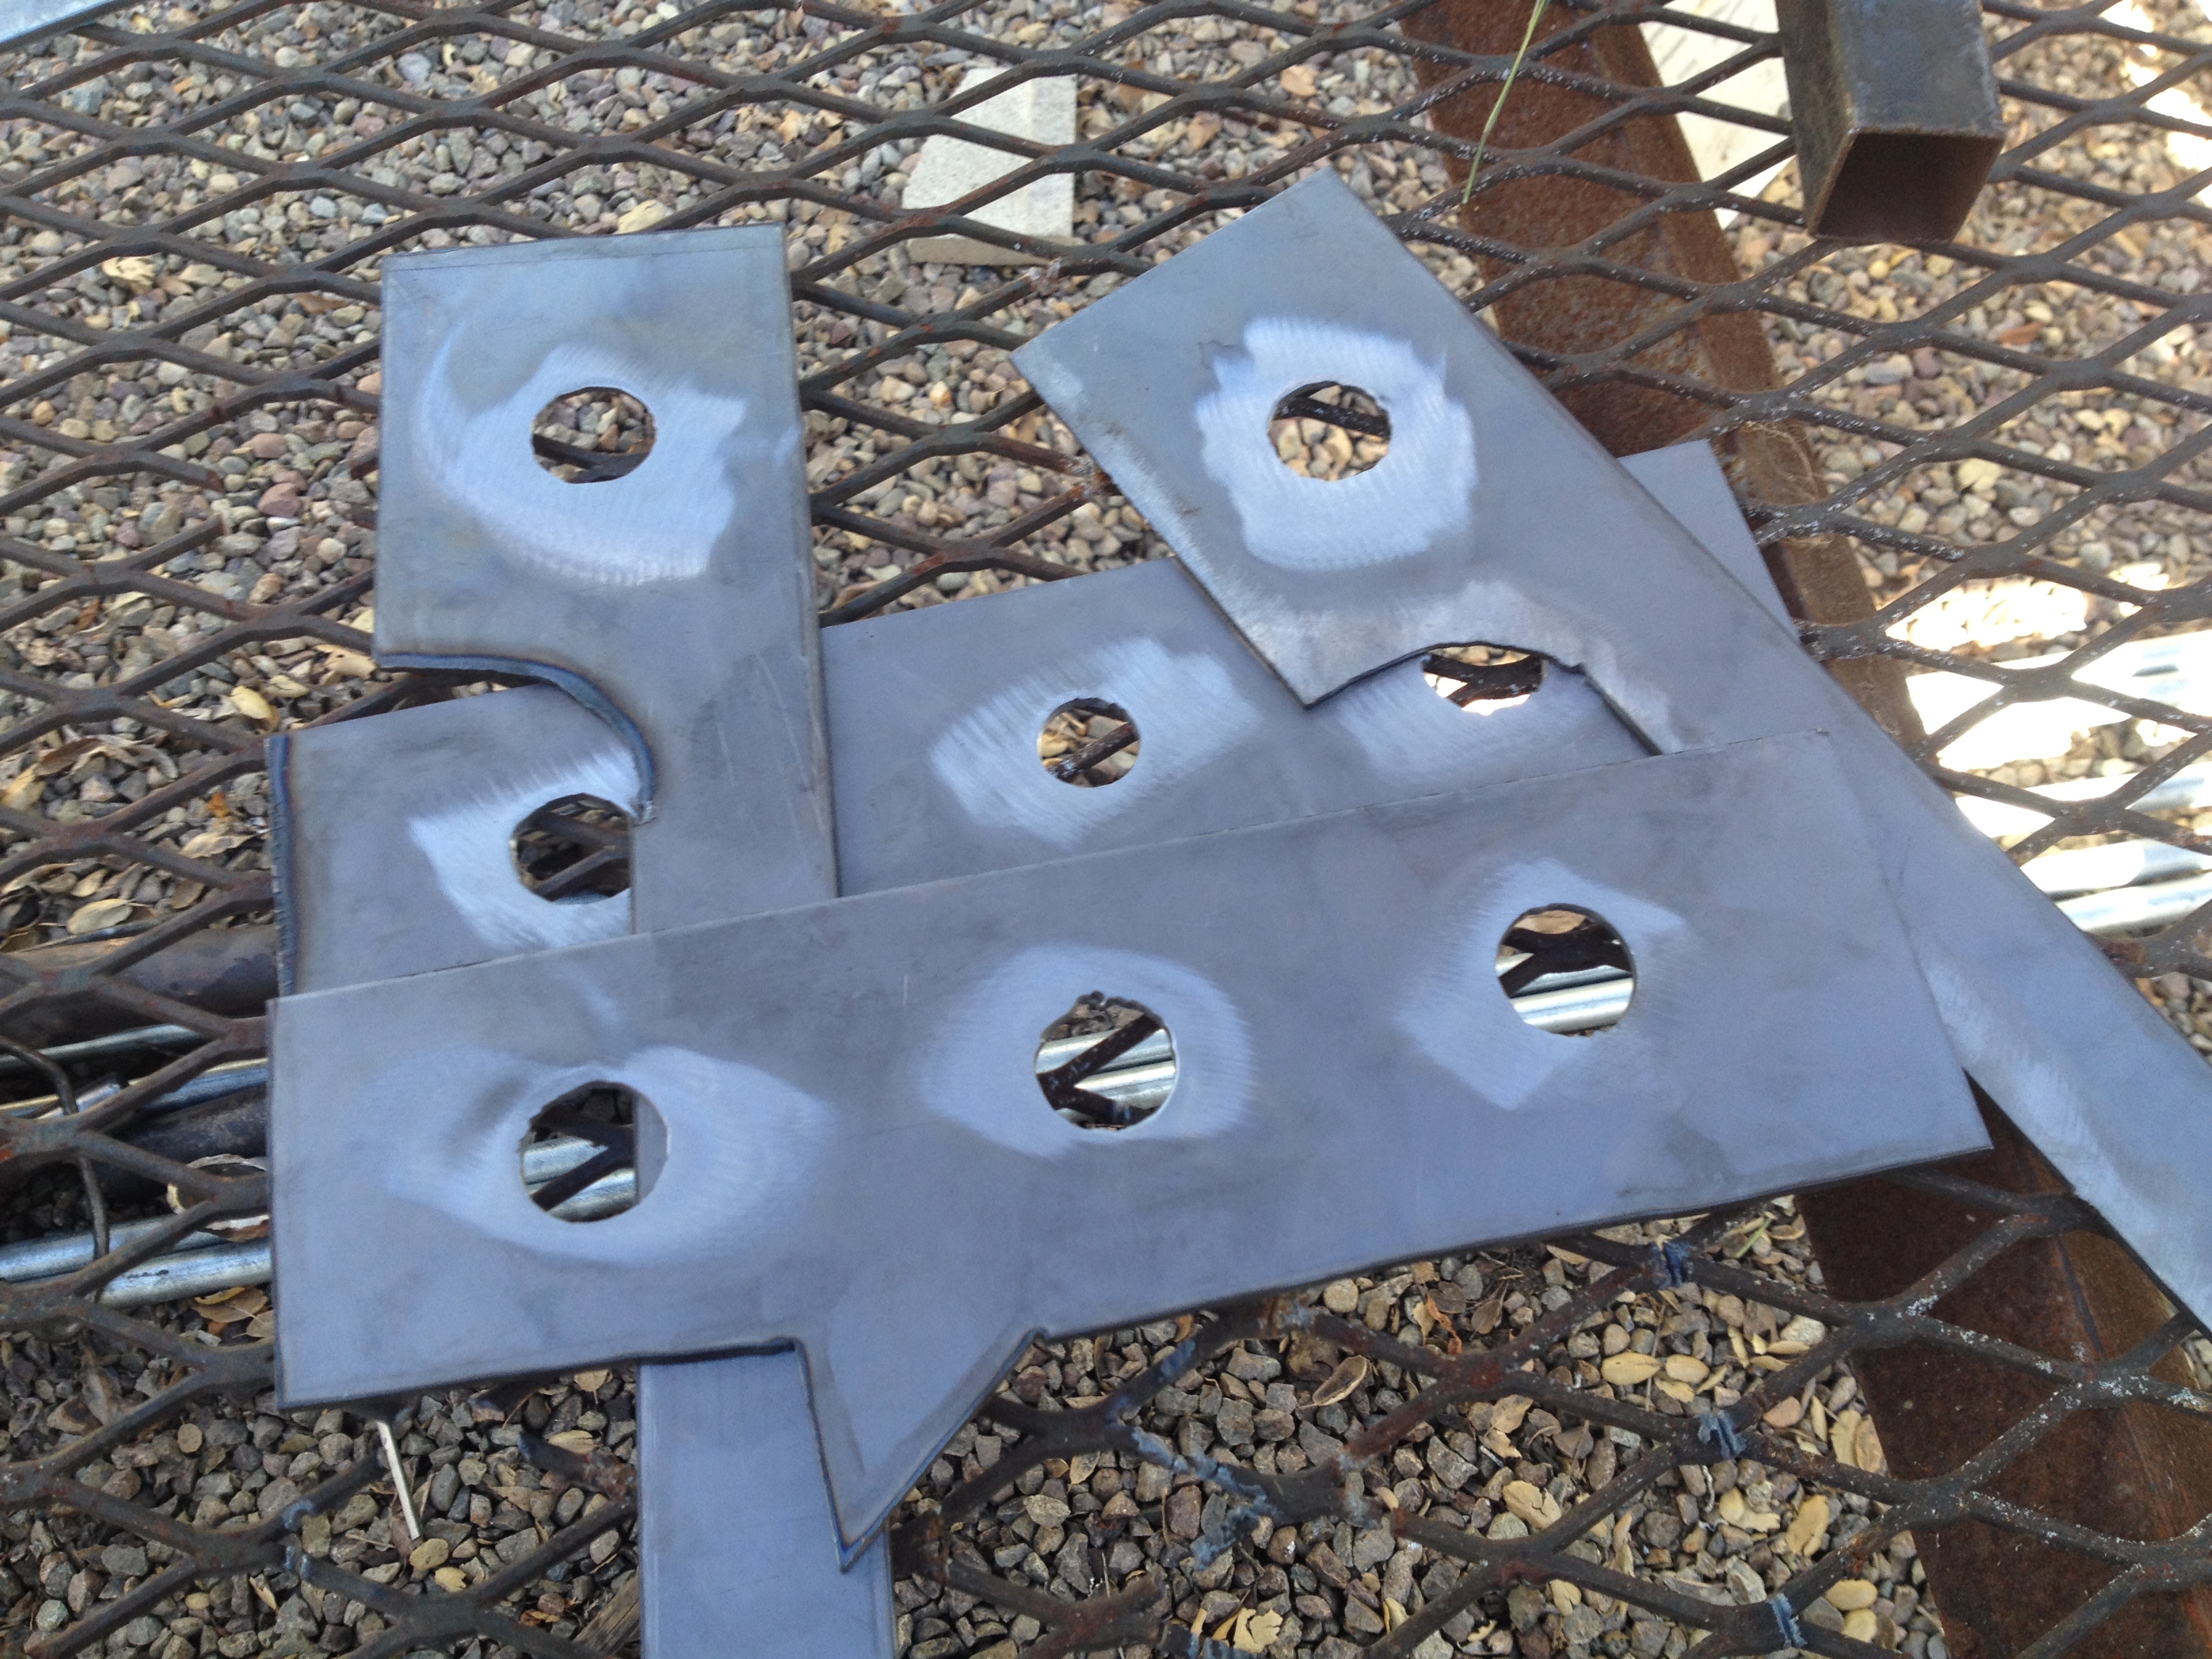
Frame Plates
One of our goals while the motor is out is to finish the frame plates we have been slowing adding over the years. With these new plate on the inside of the frame rails we now have a fully boxed frame front to back.
What’s Next
This week we will be welding in the frame plates, finish welding the brakes, and wheel mount. Our biggest goal will be assembling the full drive line under the TTB WJ to see what we will have to cut out to make it all fit.
Don’t forget to check back next Tuesday for updates.
Read The Rest
Part 1: It’s Finally Happening
Part 2: Out With the Old
Part 3: The Last of the Stock Components
Part 4: All About Brakes
Part 5: Pulling the 5.2 (time lapse)
Part 6: The Test Fit
Part 7: Cutting and (not) Fitting
Part 8: Broken and Upgraded Parts
Part 9: Leaky Plenum Gasket
Part 10: Side Projects and Summer Fun
Part 11: Setting the Motor
Part 12: Custom Exhaust & Driveline
Part 13: Cutting and Rebuilding
Part 14: Giant Radiator in a Little Jeep
Part 15: Custom Tube Bumper
Part 16: Driveshafts
Part 17: A Real Firewall
Part 18: Starting Final Assembly
Part 19: Extending The Engine Cage
Part 20: Still Assembling
Part 21: It Lives!
Part 22: Brakes and Wiring
Follow us at www.facebook.com/ThreeThirdsFabrication for updates and more stories.