Welcome to part 11 of our 5.2 magnum swap, follow along as we swap a 5.2 magnum from a 1993 ZJ in our 2004 4.0 WJ. This week we got busy with the plasma cutter and after removing some of the engine cage and firewall we were able to finally get the motor set in place and motor mounts made.
Read The Rest
Part 1: It’s Finally Happening
Part 2: Out With the Old
Part 3: The Last of the Stock Components
Part 4: All About Brakes
Part 5: Pulling the 5.2 (time lapse)
Part 6: The Test Fit
Part 7: Cutting and (not) Fitting
Part 8: Broken and Upgraded Parts
Part 9: Leaky Plenum Gasket
Part 10: Side Projects and Summer Fun
Part 11: Setting the Motor
Part 12: Custom Exhaust & Driveline
Part 13: Cutting and Rebuilding
Part 14: Giant Radiator in a Little Jeep
Part 15: Custom Tube Bumper
Part 16: Driveshafts
Part 17: A Real Firewall
Part 18: Starting Final Assembly
Part 19: Extending The Engine Cage
Part 20: Still Assembling
Part 21: It Lives!
Part 22: Brakes and Wiring
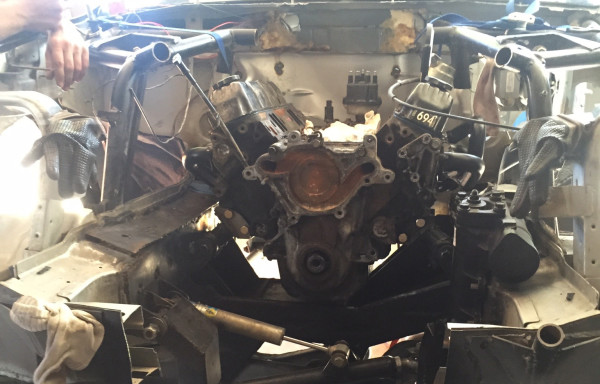
Setting the Motor
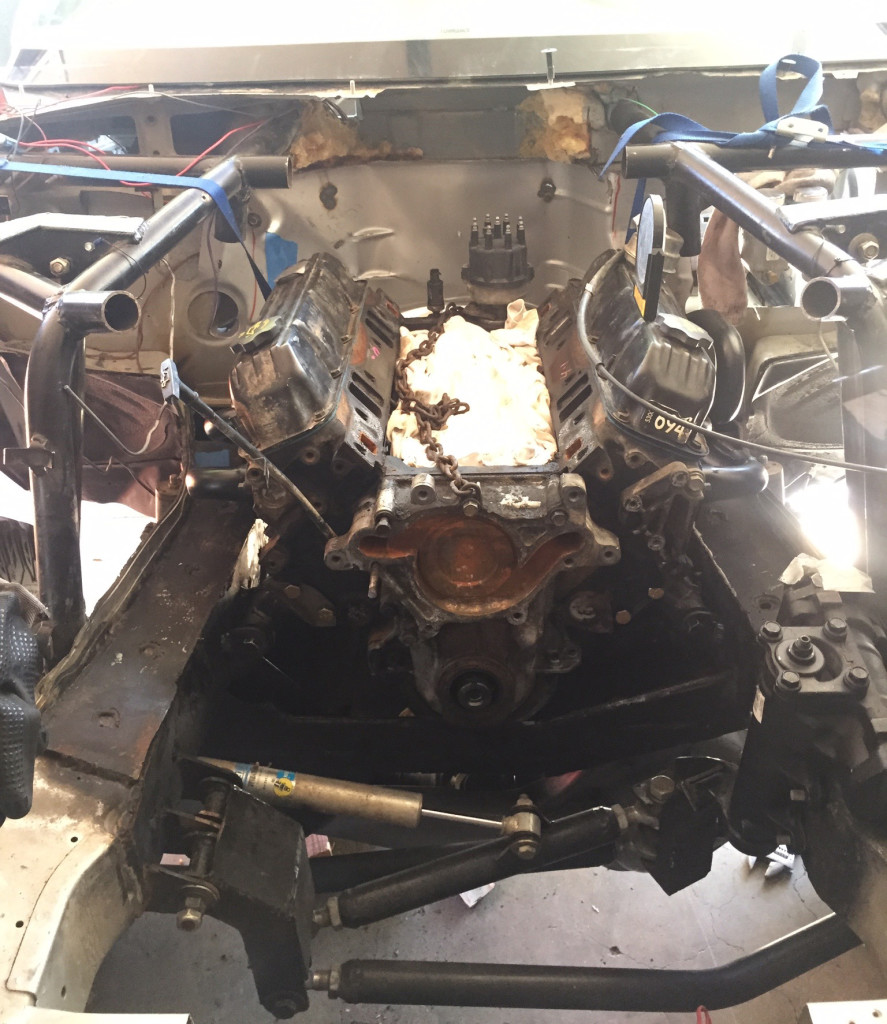
Fitting the motor in the TTB WJ has been a concern ever since we pulled it out of the ZJ. The WJ engine bay is a little narrower than the ZJ and with the TTB crossmember we needed to push the motor back far enough for the oil pan to clear. We test fitted and measured, but still weren’t 100% sure what we would need to cut out to make it would fit.
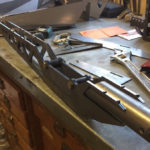
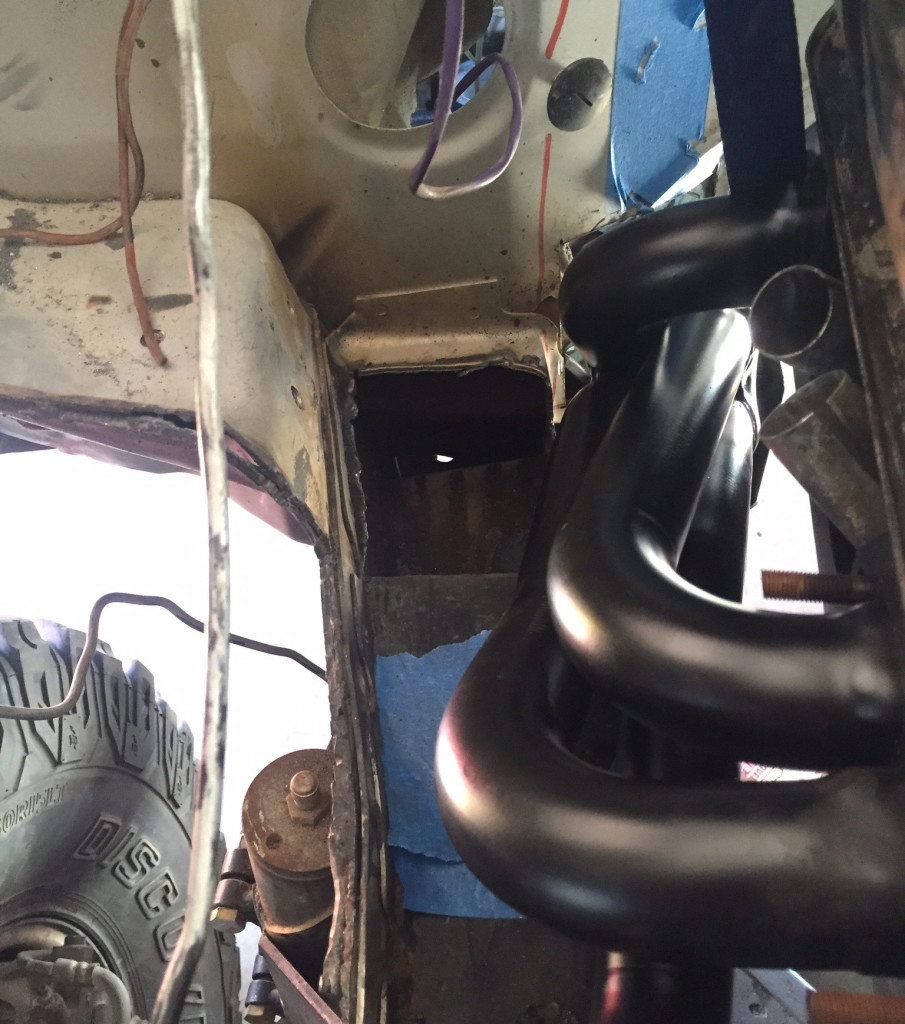
After a final test fit we marked what we thought we would need to remove from the firewall. With plasma in hand we started cutting. One of the first things to go was the front bumper to allow us to get the engine hoist far enough back. Next were the down bars on the engine cage to make room for the wider block.

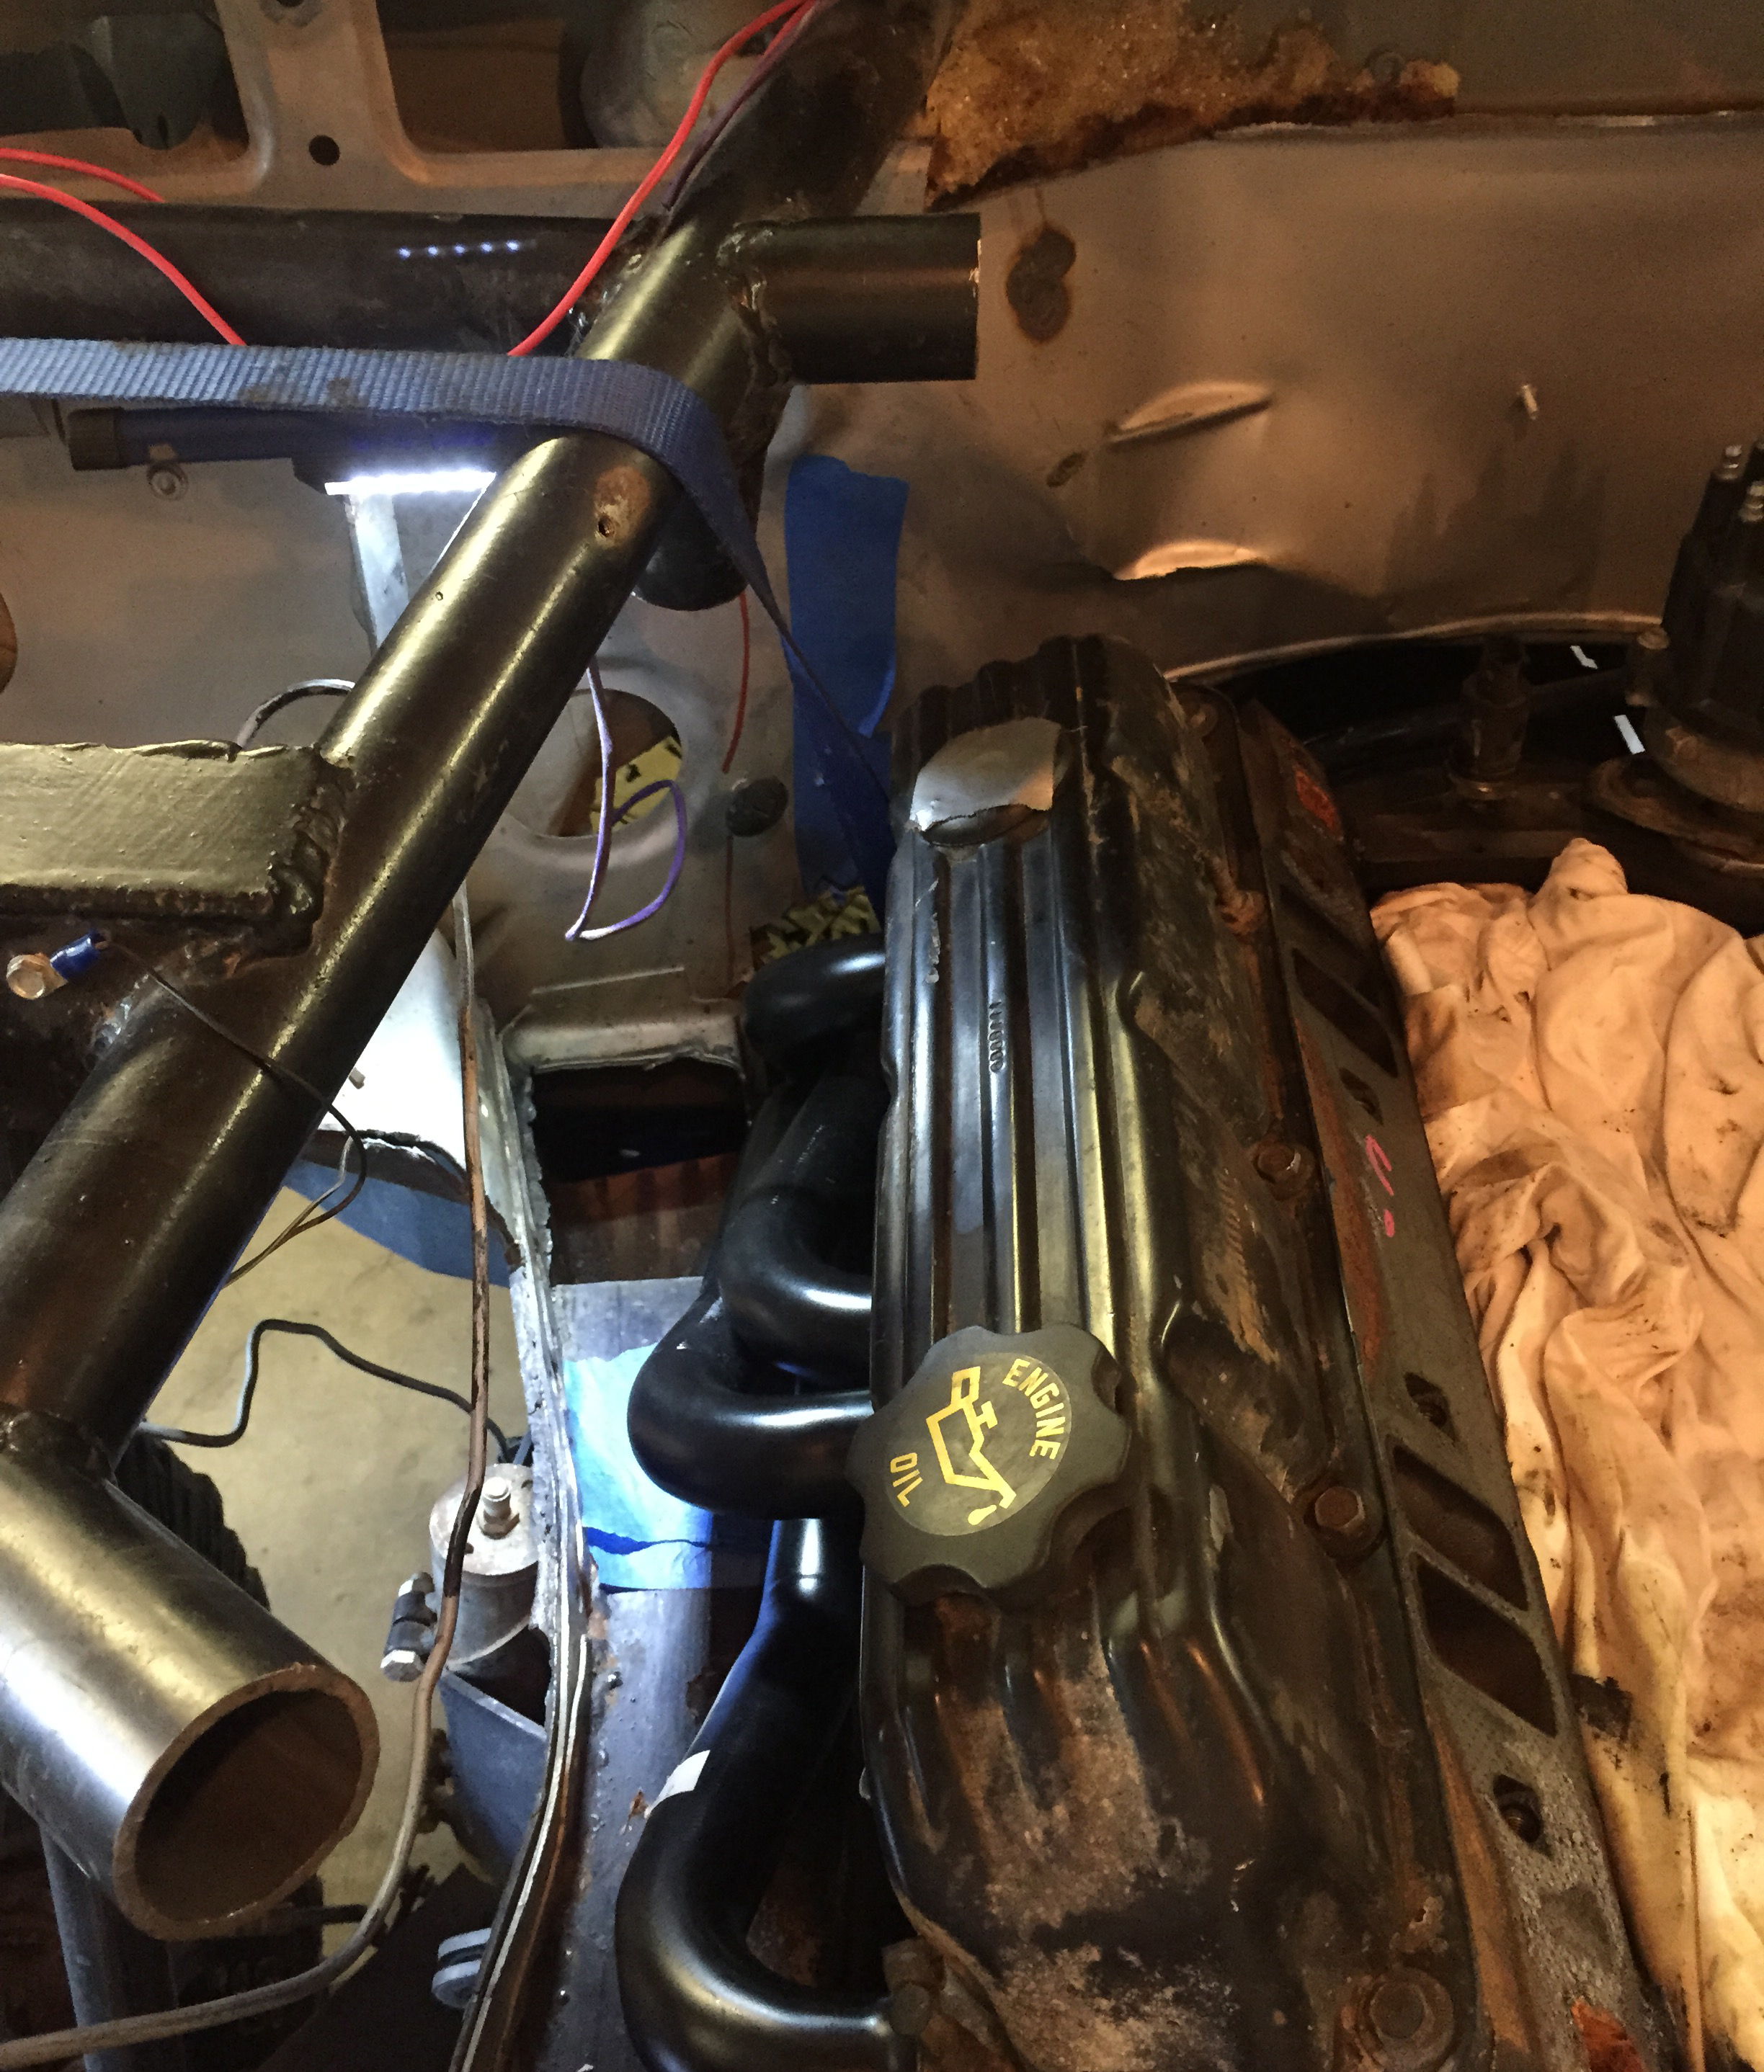
Finally we broke through the firewall. When cutting a unibody vehicle apart there is always a balance between cutting what you need and removing so much that overall strength and rigidity is compromised. We have made this mistake before and now our rear doors don’t close quite right due to overall shape of Jeep changing. We have already removed a lot of firewall to install our manual brakes so we cut slowly and made sure we didn’t remove any more material than we needed.

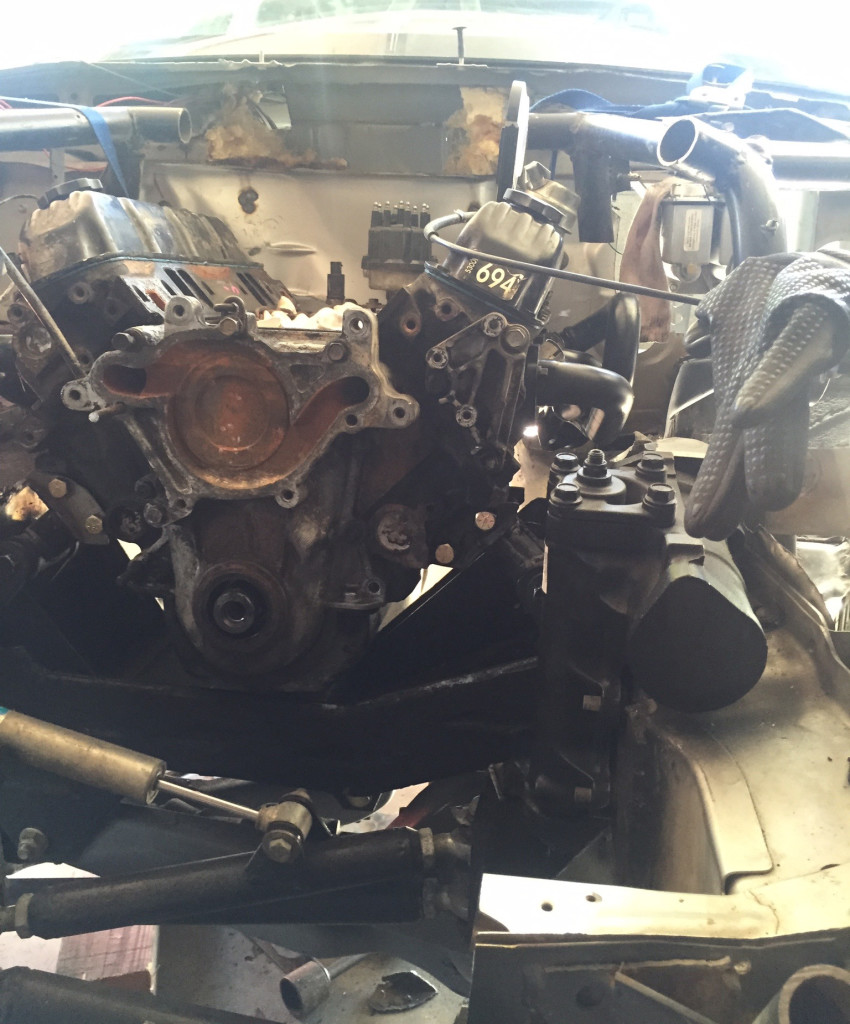
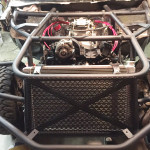
Because of the oil pan binding up on the crossmember we needed the motor to be push back much farther than stock. The downside to this was the amount of cutting required, but the added benefit is now the engine is sitting very low and very far back which will help our center of gravity.
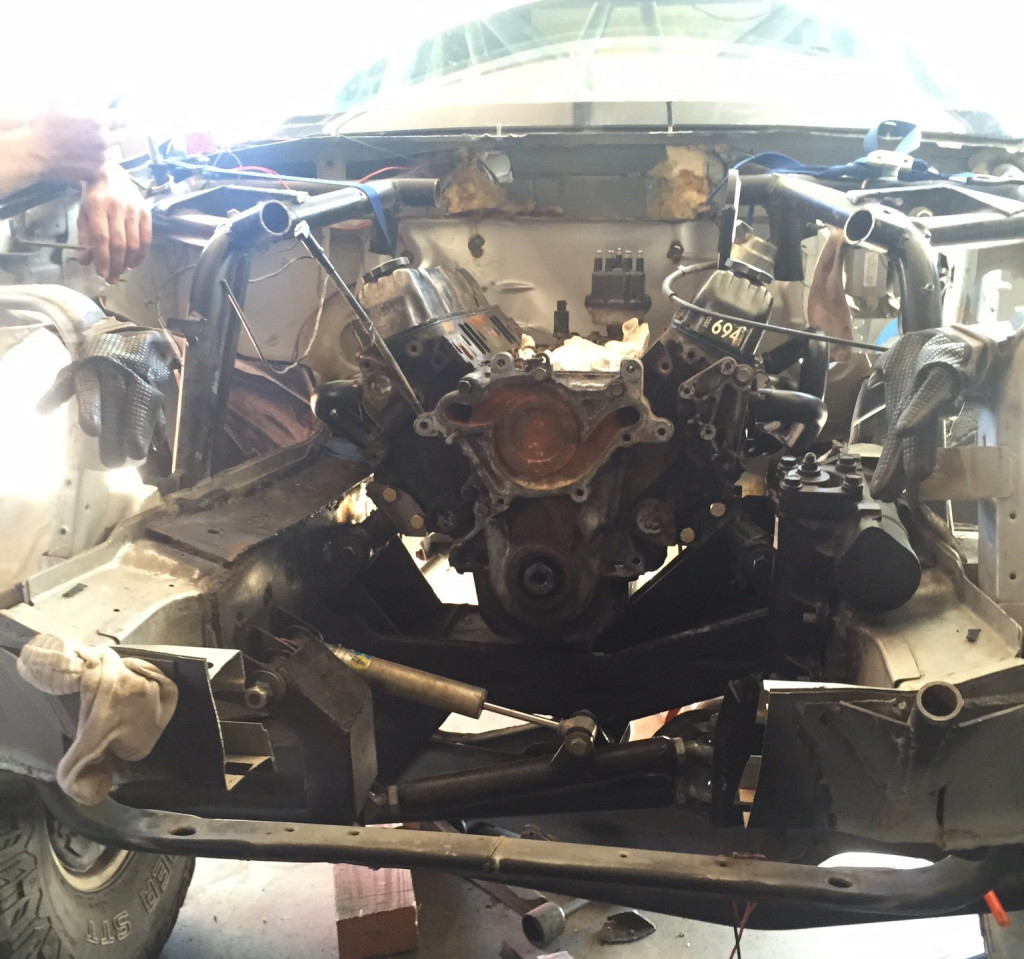
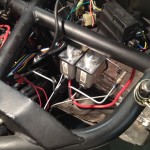
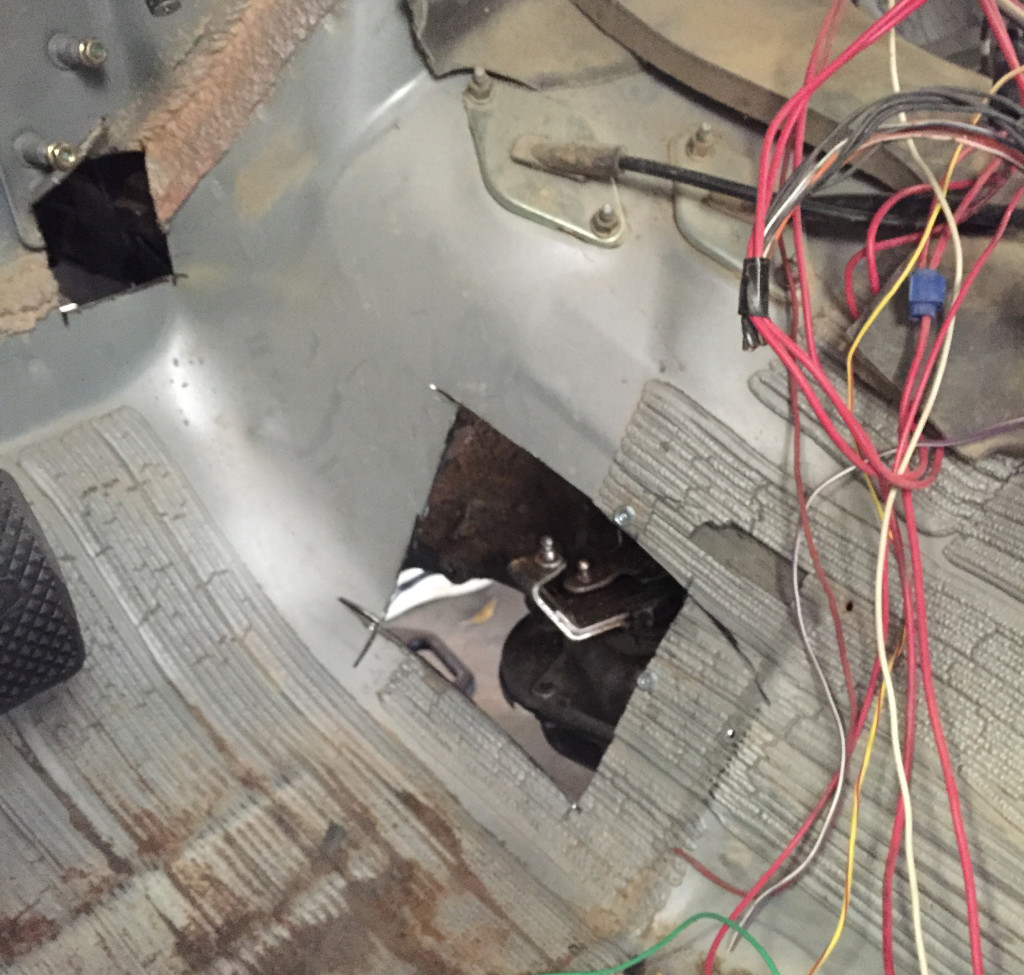
Once the motor was in we looked at the drive line as a whole. The transmission looked to be sitting a little higher than stock which we liked, but the shifter was almost touching the floor boards which we didn’t like. To solve this we added a new access hole just below the driver’s seat. The hole will stay open for now and once the linkage is hooked up we will build a removable plate.
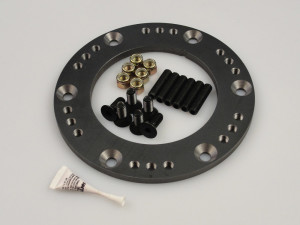
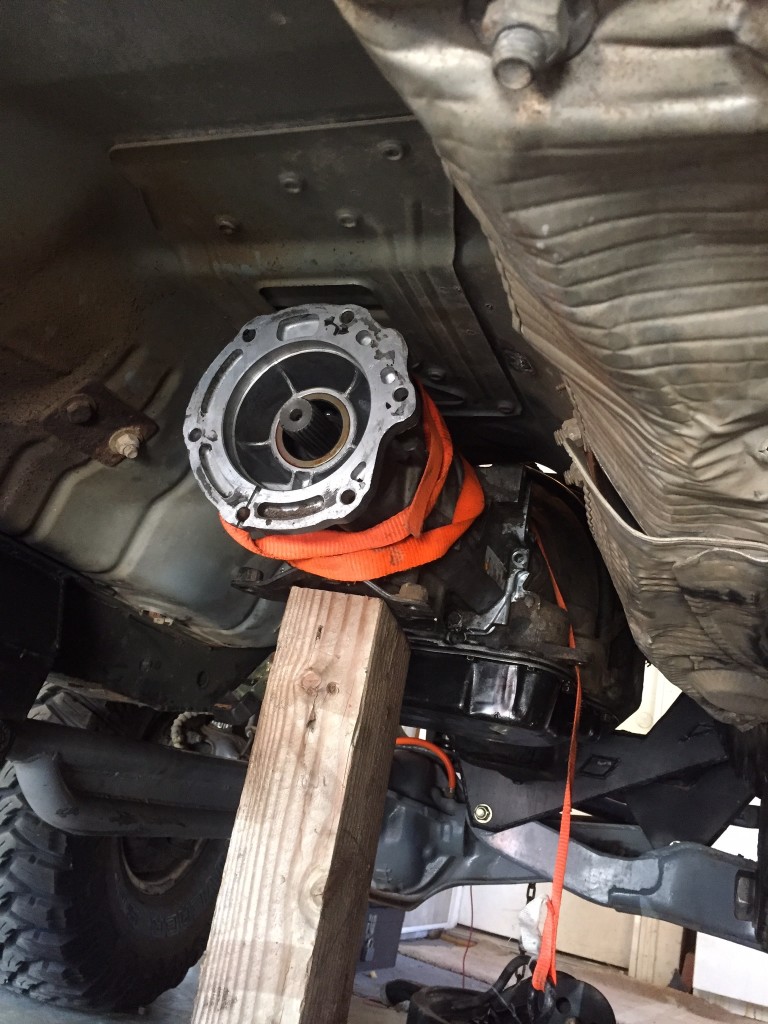
Tucking the Transfer Case
As part of the swap we wanted to clock the transfer case to get it up and out of harms way. There are a few companies that sell clock rings that allow you to rotate the transfer case up a few degrees. We were going to go with the Cut Throat 4×4 clock ring, but now that the motor is set it looks like we will not have the room.
The 46RH is about 5” longer than the 42RE and this extra length is pushing the transfer case out of the tunnel so clocking it would bring it too close to the floor. Although, because of how the engine is sitting the transmission is a little higher and the transfer case will end up being higher than stock, so we are happy.
What’s Next
This week we want to make the new transmission crossmember, get the transfer case bolted on and start looking at exhaust.
Don’t forget to check back next Tuesday for updates.
Read The Rest
Part 1: It’s Finally Happening
Part 2: Out With the Old
Part 3: The Last of the Stock Components
Part 4: All About Brakes
Part 5: Pulling the 5.2 (time lapse)
Part 6: The Test Fit
Part 7: Cutting and (not) Fitting
Part 8: Broken and Upgraded Parts
Part 9: Leaky Plenum Gasket
Part 10: Side Projects and Summer Fun
Part 11: Setting the Motor
Part 12: Custom Exhaust & Driveline
Part 13: Cutting and Rebuilding
Part 14: Giant Radiator in a Little Jeep
Part 15: Custom Tube Bumper
Part 16: Driveshafts
Part 17: A Real Firewall
Part 18: Starting Final Assembly
Part 19: Extending The Engine Cage
Part 20: Still Assembling
Part 21: It Lives!
Part 22: Brakes and Wiring
Follow us at www.facebook.com/ThreeThirdsFabrication for updates and more stories.