Welcome to part 9 of our 5.2 magnum swap, follow along as we swap a 5.2 magnum from a 1993 ZJ in our 2004 4.0 WJ. We are still tearing apart the motor, this week’s goal is to fix our leaking plenum gasket.
Read The Rest
Part 1: It’s Finally Happening
Part 2: Out With the Old
Part 3: The Last of the Stock Components
Part 4: All About Brakes
Part 5: Pulling the 5.2 (time lapse)
Part 6: The Test Fit
Part 7: Cutting and (not) Fitting
Part 8: Broken and Upgraded Parts
Part 9: Leaky Plenum Gasket
Part 10: Side Projects and Summer Fun
Part 11: Setting the Motor
Part 12: Custom Exhaust & Driveline
Part 13: Cutting and Rebuilding
Part 14: Giant Radiator in a Little Jeep
Part 15: Custom Tube Bumper
Part 16: Driveshafts
Part 17: A Real Firewall
Part 18: Starting Final Assembly
Part 19: Extending The Engine Cage
Part 20: Still Assembling
Part 21: It Lives!
Part 22: Brakes and Wiring
Leaky Plenum Gasket
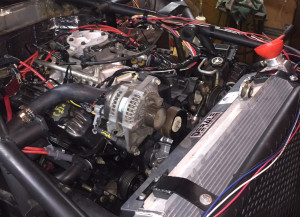
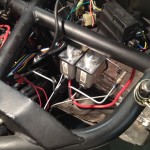
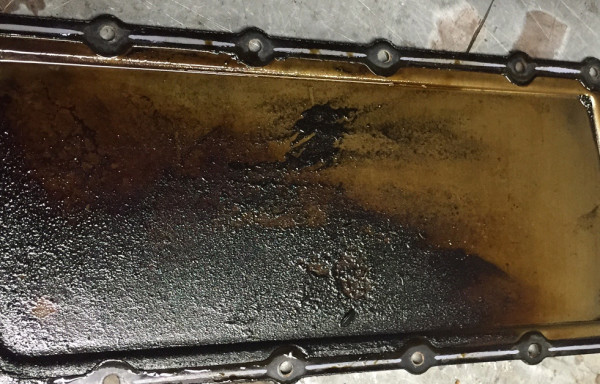
We knew we had a bad plenum gasket after taking a peek down the throttle body and seeing a good coating of oil, but after removing the intake we got an idea of just how bad it was.
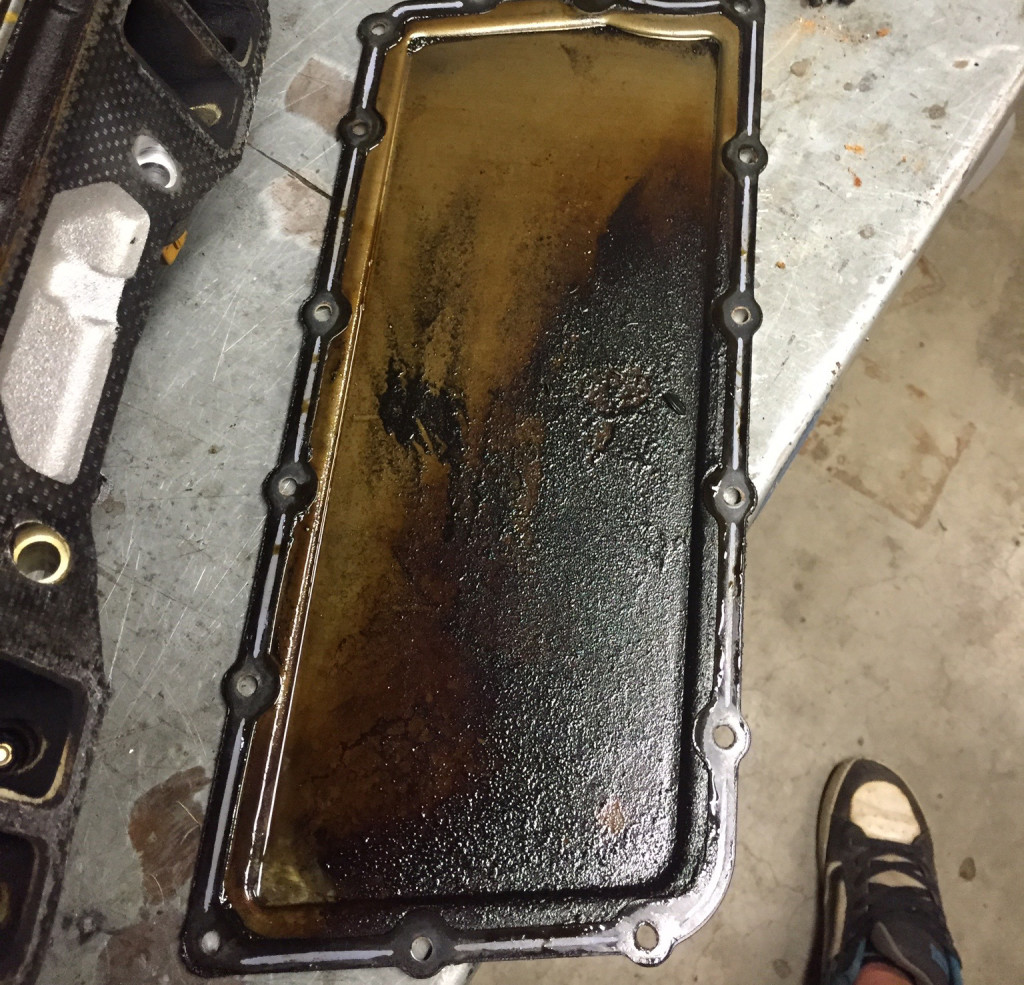
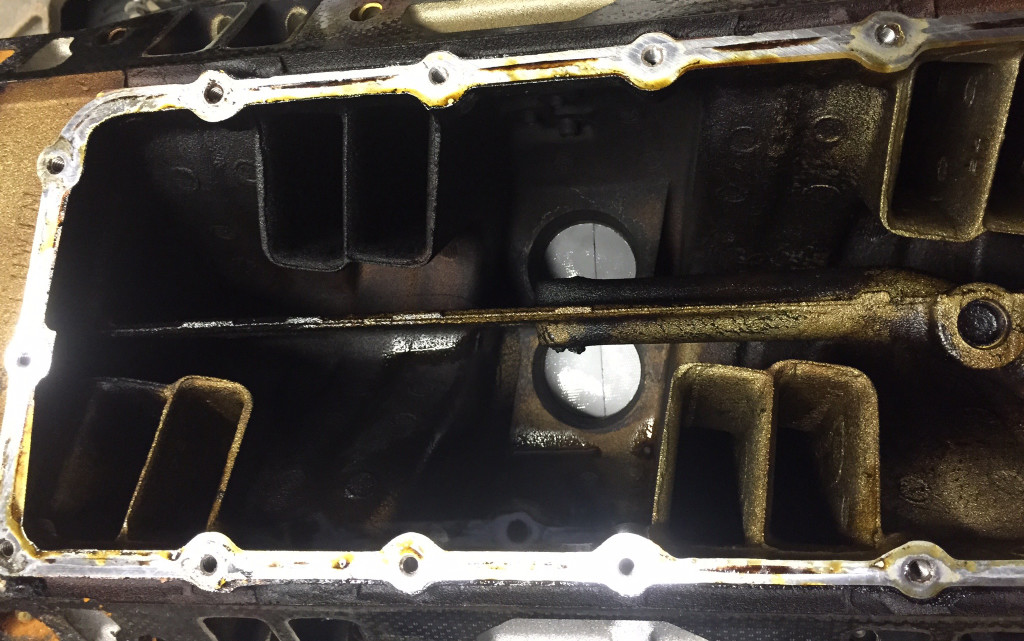
It is a well known fact that the plenum gasket has a pretty much 100% fail rate on magnum series engines. This is due to the different thermal characteristics of the heads and intake. These two metals heat and expand at different rates and eventually tear the gasket allowing oil to leak into the intake. This can cause a loss of power, fouling of spark plugs, blocked or clogged cats, white exhaust smoke, and a number of other issues. Plenum gaskets aren’t terribly hard to replace, but without fixing the root cause it will continue to happen.
There are two main fixes for the plenum gasket issue and they are on the far ends of the money spectrum. Option one is a new intake for $600+, option two is installing a 1/4″ aluminum plate for roughly $100. For intakes, the M1 is the best intake you can find for the Magnums, if you can find one. While they are no longer in production, they do turn up on eBay from time to time. Pretty much the only other option is the Hughes Airgap.
For the plates you will need to look at Hughes again, or spend some time searching eBay. There are a few people making these and they come up pretty often.
What To Do With The Exhaust?
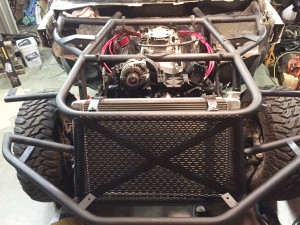
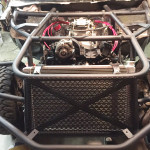
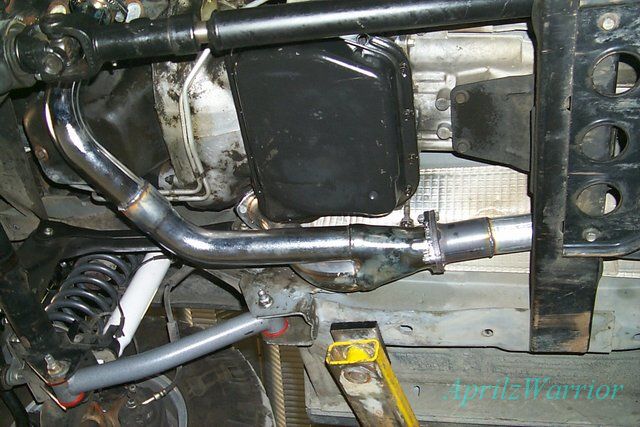
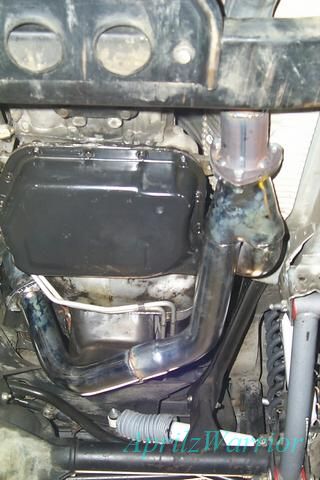
Before we pulled the intake we bolted on the headers to get an idea of what the final motor will look like. With the headers attached we took some measurements and starting looking at our exhaust system. We want to build a custom exhaust, partly because we can, and partly because this is becoming such a custom build it is hard to find bolt on parts.
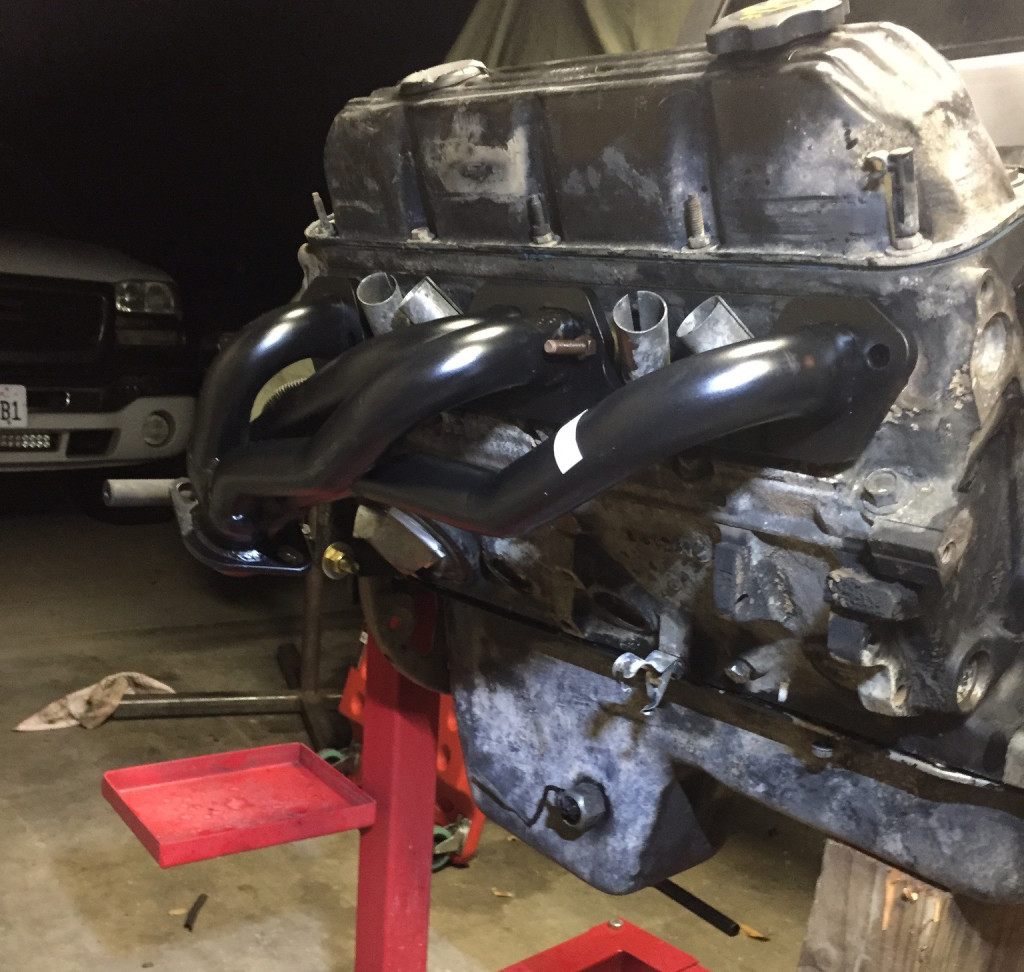
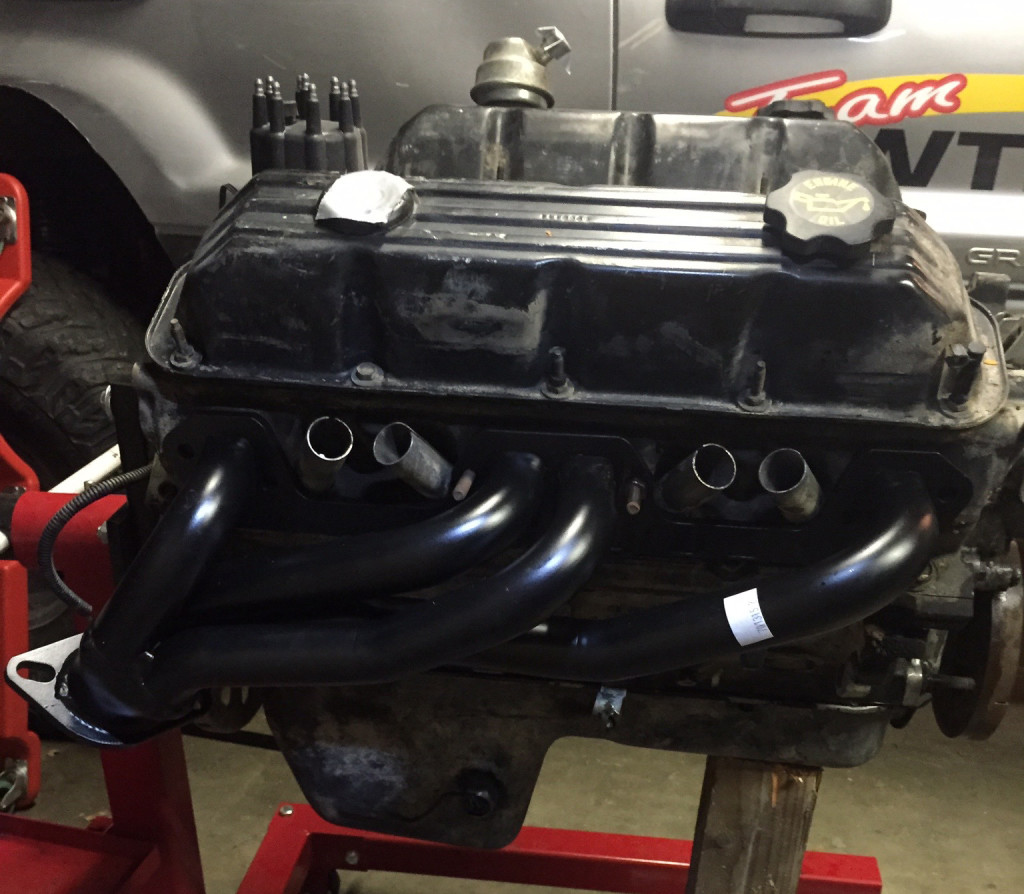
After looking at the room we have, and finding some designs online we are looking for a slightly custom kit and will probably end up buying a selection of pre bent 2.5″ pipes. Currently we are looking at two 90s, two 45s, and y-collector and a 3” straight pipe. These should give us the bend option we need to make it around the unibody and out the back. We don’t know what muffler we will go with yet, but with the motor still on the stand we have plenty of time.
This is a design we like, found on www.jeepsunlimited.com.
What’s Next
Next week we will be finish welding the frame plates and continuing to clean the motor both inside and out as we found a considerable about of scale in the coolant system. There are also some side projects coming into the shop to help refill the bank account.

Don’t forget to check back next Tuesday for updates.
Read The Rest
Part 1: It’s Finally Happening
Part 2: Out With the Old
Part 3: The Last of the Stock Components
Part 4: All About Brakes
Part 5: Pulling the 5.2 (time lapse)
Part 6: The Test Fit
Part 7: Cutting and (not) Fitting
Part 8: Broken and Upgraded Parts
Part 9: Leaky Plenum Gasket
Part 10: Side Projects and Summer Fun
Part 11: Setting the Motor
Part 12: Custom Exhaust & Driveline
Part 13: Cutting and Rebuilding
Part 14: Giant Radiator in a Little Jeep
Part 15: Custom Tube Bumper
Part 16: Driveshafts
Part 17: A Real Firewall
Part 18: Starting Final Assembly
Part 19: Extending The Engine Cage
Part 20: Still Assembling
Part 21: It Lives!
Part 22: Brakes and Wiring
Follow us at www.facebook.com/ThreeThirdsFabrication for updates and more stories.