Welcome to part 8 of our 5.2 magnum swap, follow along as we swap a 5.2 magnum from a 1993 ZJ in our 2004 4.0 WJ. While we are still moving forward with the motor swap, this week we took a side trip through ‘Magnum Performance Land’ to see what we could add to the build.
Read The Rest
Part 1: It’s Finally Happening
Part 2: Out With the Old
Part 3: The Last of the Stock Components
Part 4: All About Brakes
Part 5: Pulling the 5.2 (time lapse)
Part 6: The Test Fit
Part 7: Cutting and (not) Fitting
Part 8: Broken and Upgraded Parts
Part 9: Leaky Plenum Gasket
Part 10: Side Projects and Summer Fun
Part 11: Setting the Motor
Part 12: Custom Exhaust & Driveline
Part 13: Cutting and Rebuilding
Part 14: Giant Radiator in a Little Jeep
Part 15: Custom Tube Bumper
Part 16: Driveshafts
Part 17: A Real Firewall
Part 18: Starting Final Assembly
Part 19: Extending The Engine Cage
Part 20: Still Assembling
Part 21: It Lives!
Part 22: Brakes and Wiring
Broken and Performance Parts
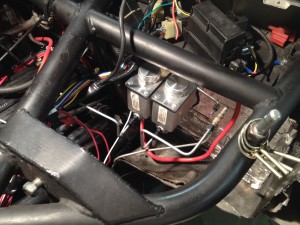
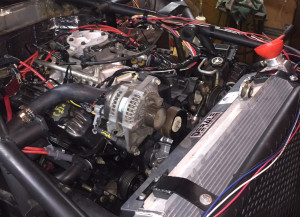
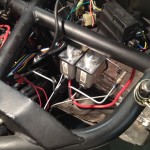
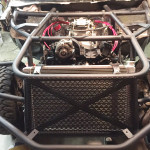
We started this week by removing the transmission which finally gave us the clearance to drop the 5.2 in place. It will be tight, but it sits in place very nicely. Although, we still need to adjust the engine cage a little to accommodate the exhaust. Now that we were 100% sure the 5.2 would sit in the WJ we started breaking it down and clean it up.
We started by removing the A/C compressor, alternator, throttle body, plugs and wires. After a healthy dose of engine degreaser and some time under the hose it is looking better. Next we plugged the extra coolant holes and flushed the inside. We used fresh water, which is not recommended because it leaves fresh water deposits and can cause the block to rust and corrode if left sitting inside the block for too long. We solved this by tipping the block upside down on the engine stand and letting it dry out before wheeling it back into the shop.
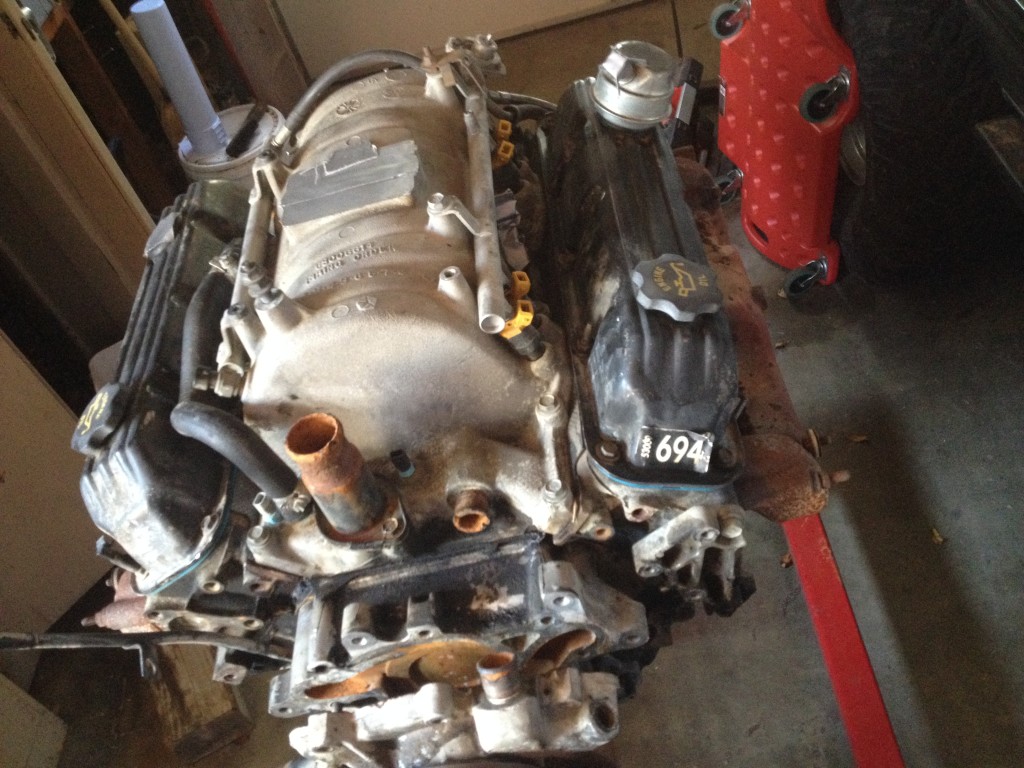
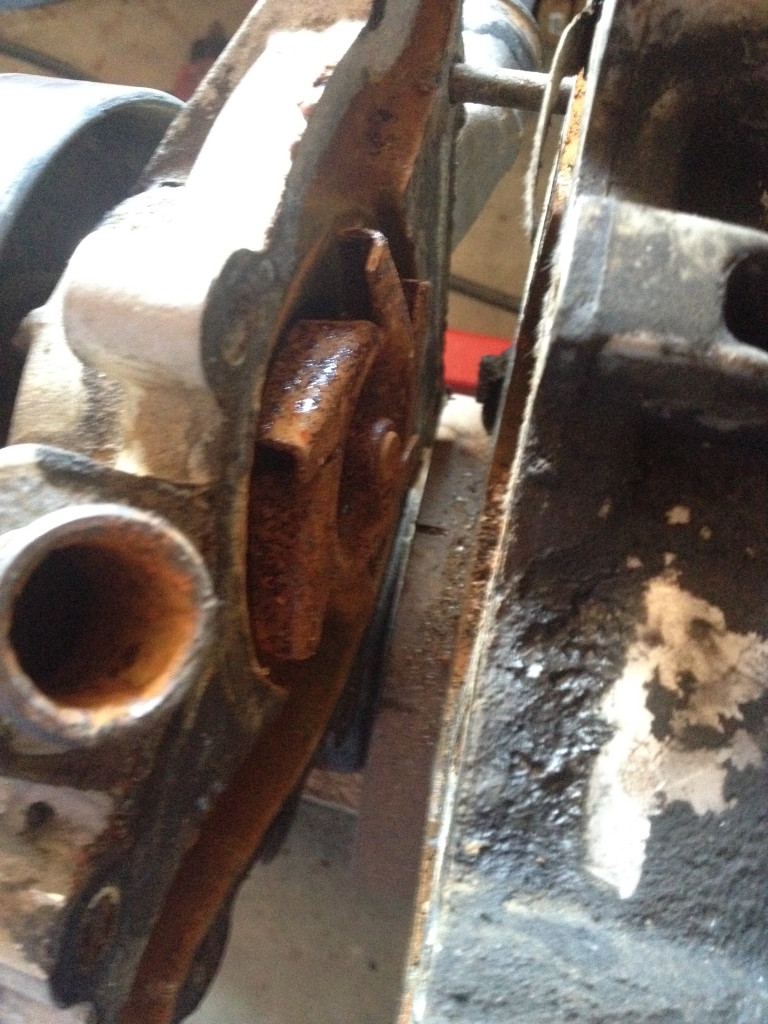
From how loose our fan was we knew we needed a new water pump, so that came off next, followed by the timing cover. We replaced the timing chain because we were only a few bolts away and it never hurts to have a fresh chain.
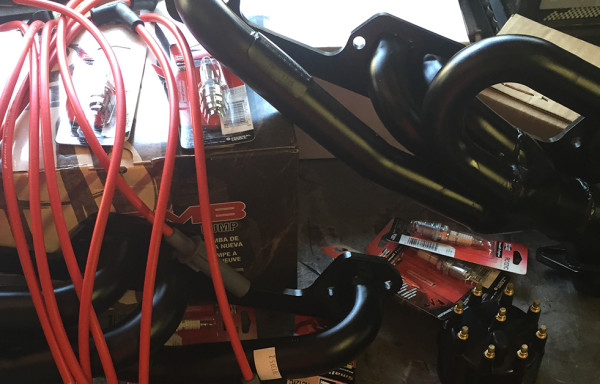
Upgraded and New Parts
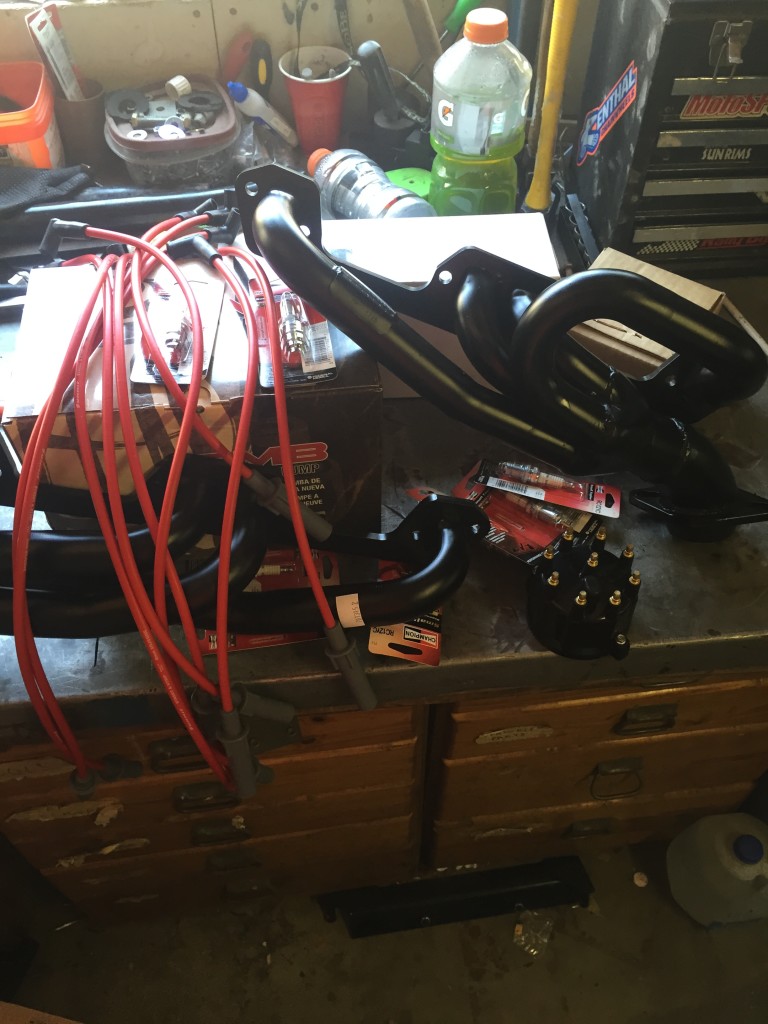
While we had the engine torn down we spent this week looking into what we could upgrade for cheap(ish). The water pump is shot so we are replacing that with a high flow pump. New distributor cap, wires and plugs were a given. Since we already have to build a custom exhaust we bought headers. We already have a 52mm throttle body and plenum gasket plate waiting to go on. We looked at cams and intakes but decided to save those for another time.
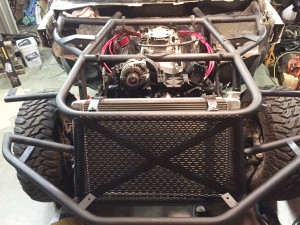
Outside of the engine we are buying a new radiator from a 2003 Durango 5.9. It is the same thickness but a little larger than stock ZJ. It is also the same width as the WJ so it might bolt in the stock location! We are ditching the clutch fan and opting for dual electric fans that pump out 4000 CFM on high. The transmission cooler will be relocated to the rear and will get its own dedicated fan. A 160 amp alternator, also from a 2003 Durango 5.9, will help power the added fans. We are using a remote oil filter, to add a little more volume and make it easier to change filters. Finally (for now) we are getting a Mopar Performance PCM to help with timing and take advantage of our added air flow.
These are the products and upgrades we are looking at as of now.
- Champion Copper Spark Plugs
- Spark Plug wires
- Distributor Cap
- Timing Chain
- 52mm Throttle Body
- Aluminum Plenum Plate
- Mopar Performance PCM
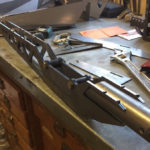
- Headers
- Water Pump
- Radiator – 2003 Durango 5.9
- 160 amp alternator – 2003 Durango 5.9
- Dual Electric Fan – Derale Performance
- Electric Fan Controls – Derale Performance
- Remote Oil Filter
What’s Next
Next week we will be bolting on the headers to get and idea of the final size of the motor. Then removing the intake to fix the leaking plenum gasket.
Don’t forget to check back next Tuesday for updates.
Read The Rest
Part 1: It’s Finally Happening
Part 2: Out With the Old
Part 3: The Last of the Stock Components
Part 4: All About Brakes
Part 5: Pulling the 5.2 (time lapse)
Part 6: The Test Fit
Part 7: Cutting and (not) Fitting
Part 8: Broken and Upgraded Parts
Part 9: Leaky Plenum Gasket
Part 10: Side Projects and Summer Fun
Part 11: Setting the Motor
Part 12: Custom Exhaust & Driveline
Part 13: Cutting and Rebuilding
Part 14: Giant Radiator in a Little Jeep
Part 15: Custom Tube Bumper
Part 16: Driveshafts
Part 17: A Real Firewall
Part 18: Starting Final Assembly
Part 19: Extending The Engine Cage
Part 20: Still Assembling
Part 21: It Lives!
Part 22: Brakes and Wiring
Follow us at www.facebook.com/ThreeThirdsFabrication for updates and more stories.