This is Part 4 of our 5.2 magnum swap, our goal is September 26th but we are hoping to be done done one week earlier for some pre testing.
Read The Rest
Part 1: It’s Finally Happening
Part 2: Out With the Old
Part 3: The Last of the Stock Components
Part 4: All About Brakes
Part 5: Pulling the 5.2 (time lapse)
Part 6: The Test Fit
Part 7: Cutting and (not) Fitting
Part 8: Broken and Upgraded Parts
Part 9: Leaky Plenum Gasket
Part 10: Side Projects and Summer Fun
Part 11: Setting the Motor
Part 12: Custom Exhaust & Driveline
Part 13: Cutting and Rebuilding
Part 14: Giant Radiator in a Little Jeep
Part 15: Custom Tube Bumper
Part 16: Driveshafts
Part 17: A Real Firewall
Part 18: Starting Final Assembly
Part 19: Extending The Engine Cage
Part 20: Still Assembling
Part 21: It Lives!
Part 22: Brakes and Wiring
All About Brakes
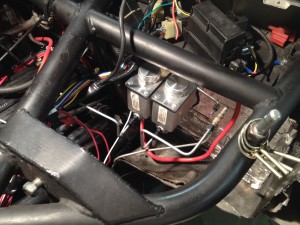
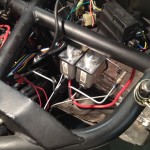
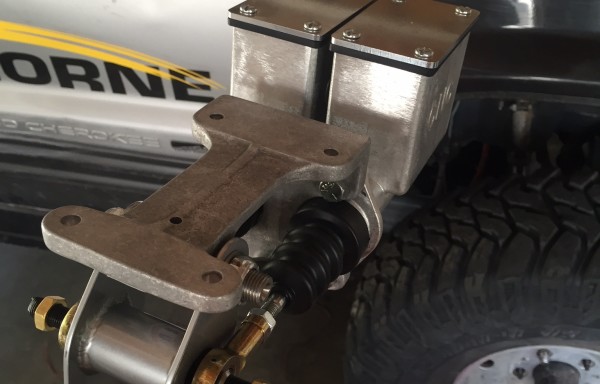
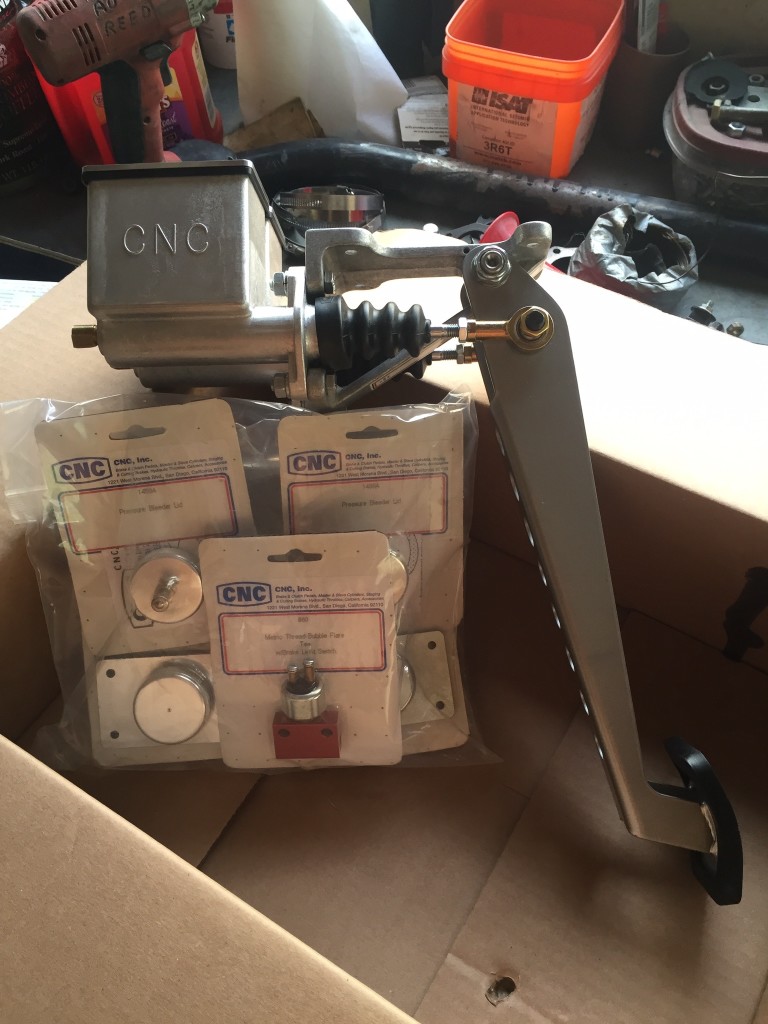
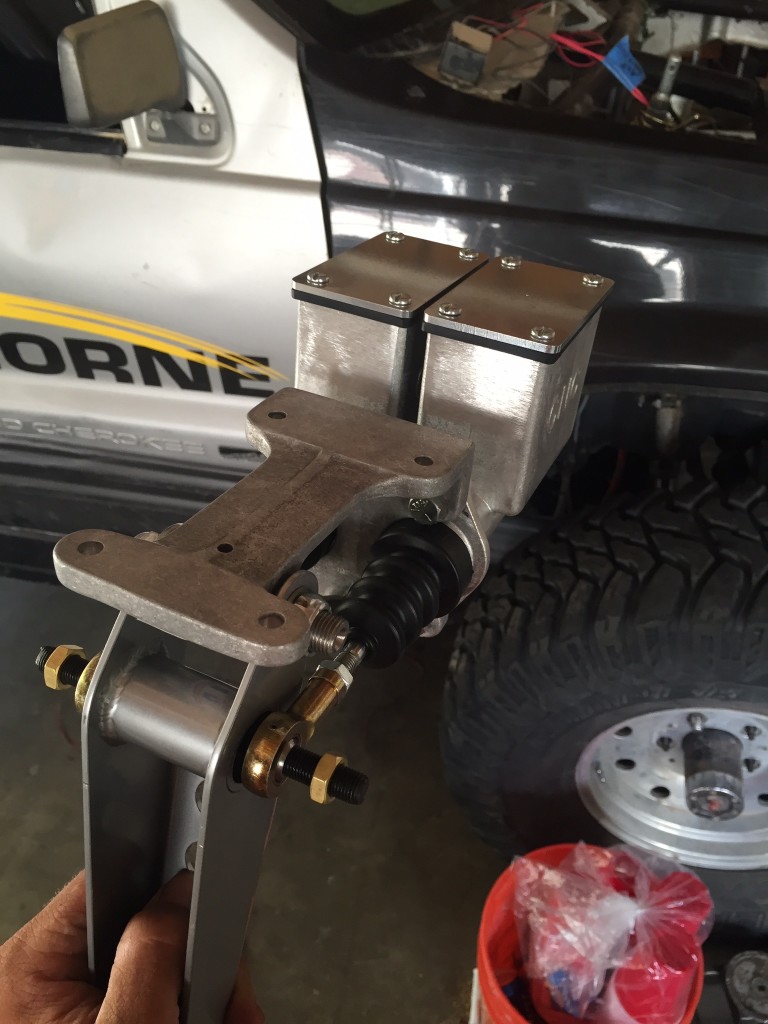
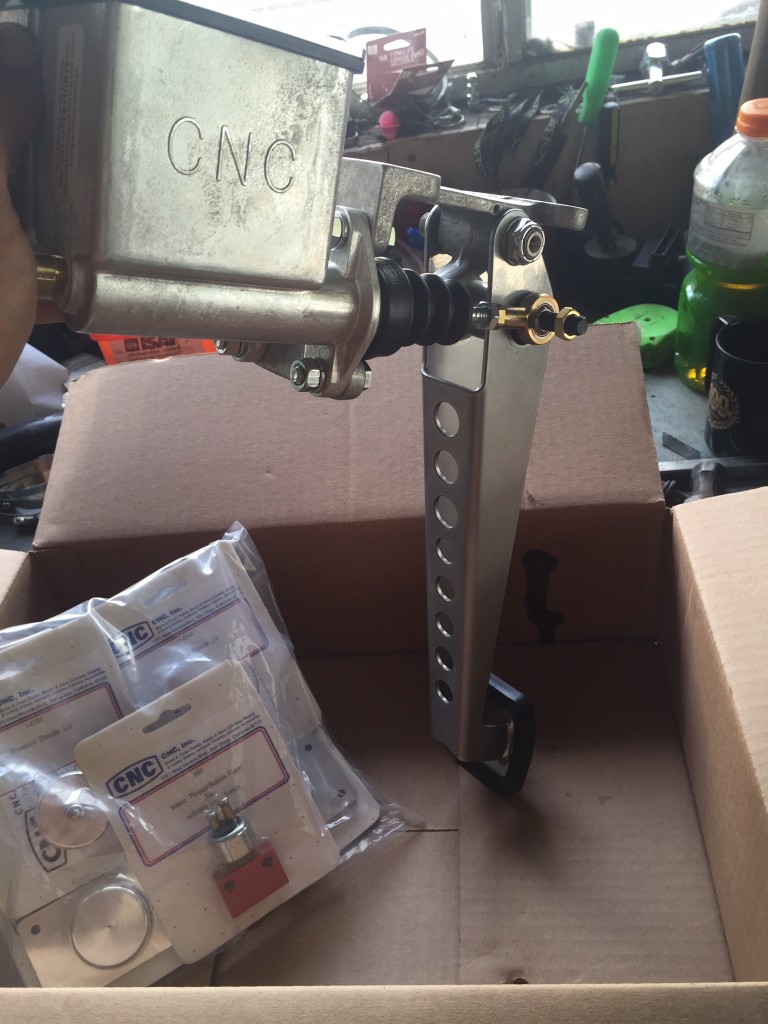
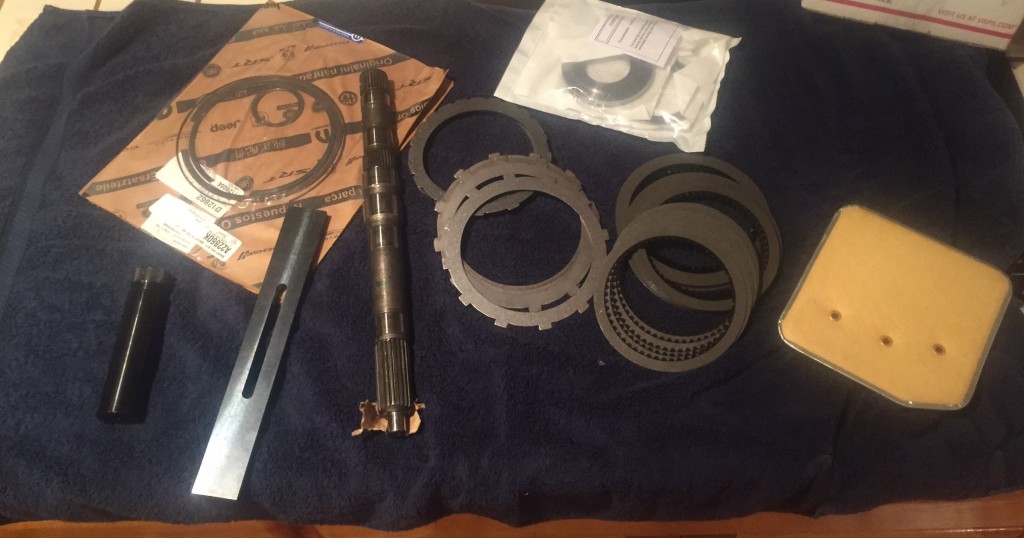
This has been a big week for the parts department. We finally have all of the tools and parts to rebuild our overdrive and hopefully fix reverse in the 46RH. We ordered a new Grant 414 wheel and Grant 3024 quick release, because why not. Also our new CNC dual master cylinder pedal assembly we brought from Off Road Warehouse is finally in. We are ditching the stock brake booster to eventually make room for more shocks. Dual manual master cylinders are not only smaller but mean we will have less moving parts and the front lines are isolated from the rear. Meaning, in the event we rip a brake line we will still have 50% braking power instead of zero. After a lot of reading and research we finally picked a pedal and master cylinder sizes. There are a lot of elements to take into account when choosing master cylinders and we are excited to finally have the final product in hand.
What’s The Deal With Manual Brakes?
We aren’t going to pretend to be brake experts so we are going to give a quick rundown of how a brake system works then give you some great links to articles from people who are experts.
Braking starts with your foot on the pedal, lets say you push with 100 pounds of force on the pedal. (average is 50-100). That force multiplied by the pedal ratio become the force on the master cylinders. With a pedal ratio of 8.4:1 that would be 840 lbs of force total on both master cylinders. At this point we have the option to use a bias bar on the pedal assembly to split this pressure 70/30 to give the front master cylinder 588 lbs and the rear 252 lbs. Take this force times the surface area of each master cylinder piston and you have the line PSI for the front and rear.
We went with a 7/8″ master cylinder for the front and a 3/4″ for the rear. With these sizes the line pressure is 978 front and 571 rear. It is important to note that the smaller the master cylinder, the greater your line pressure will be. So with the smaller rear master cylinder we are able to get more PSI with less pedal force. This turns our previous bias of 70/30 into 63/37. The downside of using smaller bores is volume. While smaller bores produce a higher pressure in the system the master cylinder needs to be large enough to push enough fluid to move the brake caliper piston and apply the brakes. We are able to use a smaller master cylinder for the rear because we have a smaller rear caliper that requires less volume.
From line pressure we can find the total clamping force by multiplying line PSI by caliper area. Our front calipers have a 2.87″ bore, rear is 2.50″. This gives us roughly 12,670 lbs front and 5,083 lbs rear. We might have a little too much front force, but this is easily adjustable using the initial bias setting on the pedal.
This a only a brief rundown for a brake system, other things to take into account in a brake system are: effective rotor radius, brake torque, coefficient of friction, thermal capacity, reservoir size, residual valve, brake tubing and hoses, calipers, rotors and pad, and I am sure I missed a lot. If you have any questions ask them in the comments or on our Facebook page. Check out the articles below to learn more about brake systems.
Pirate4x4 Brake Bible
Wilwood Tech FAQ
Master Cylinder Selection
The Physics of Braking Systems
Pirate4x4 Master Cylinder Upgrade Thread
Race Dezert MC Bore Sizes
Notes
Bore = Diameter
Master Cylinder Area = Bore*Bore*0.875. Also 3.14*radius*radius
Pedal Ratio: Distance between the pedal’s pivot point and the center of the foot pad, divided by the distance between the pivot point and the master cylinder push rod. (usually stamped on the pedal)
Why Brake Bias? The front of your car is usually heavier, as you brake more weight shifts forward, causing your rear to be even lighter. If you apply the same force to the front and rear, but the rear is lighter, it will lock up your tires before the front has enough stopping force.
Manual vs. Power Brakes: Most vehicles have vacuum or hydraulic assisted brakes that use either vacuum or hydraulic pressure to add force to the master cylinder when the driver steps on the brakes. With manual brakes there is no assist.
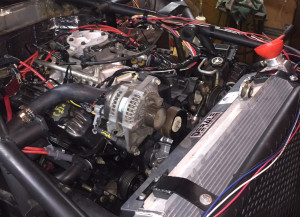
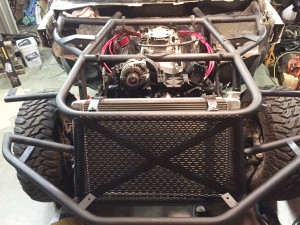
Meanwhile in the shop
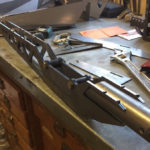
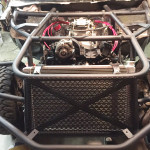
This week we started cleaning up the old steering wheel mounts, made room for the new master cylinders to fit through the fire wall and began designs for a new transmission crossmember. We will be making two new crossmembers one for transmission and one for rear of skid plate. In the past these items were built separate of each other and always looked a little out of place. The goal now is to create a solid set of crossmembers that will allow skid plates to protect the vital items under the Jeep. The crossmember mounts will also be incorporated into the frame plating we are adding now for future trailing arms. This new design will sure up the rear of the Jeep and combined with the frame plating up front create a solid frame from front to rear in place of the factory unibody.
What’s Next
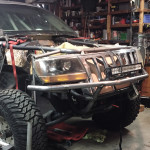
Next week we will be installing the brakes and new steering wheel. This will let us roll the WJ outside to make room for the ZJ to drive in for the last time. This weekend our goal is to pull the drive train and rebuild our blown overdrive in the 46RH. If time permits we will also test fit the 5.2 into the TTB WJ so we will know how much fab work is required to make the engine fit.
Don’t forget to check back next Tuesday for updates.
Read The Rest
Part 1: It’s Finally Happening
Part 2: Out With the Old
Part 3: The Last of the Stock Components
Part 4: All About Brakes
Part 5: Pulling the 5.2 (time lapse)
Part 6: The Test Fit
Part 7: Cutting and (not) Fitting
Part 8: Broken and Upgraded Parts
Part 9: Leaky Plenum Gasket
Part 10: Side Projects and Summer Fun
Part 11: Setting the Motor
Part 12: Custom Exhaust & Driveline
Part 13: Cutting and Rebuilding
Part 14: Giant Radiator in a Little Jeep
Part 15: Custom Tube Bumper
Part 16: Driveshafts
Part 17: A Real Firewall
Part 18: Starting Final Assembly
Part 19: Extending The Engine Cage
Part 20: Still Assembling
Part 21: It Lives!
Part 22: Brakes and Wiring
Follow us at www.facebook.com/ThreeThirdsFabrication for updates and more stories.